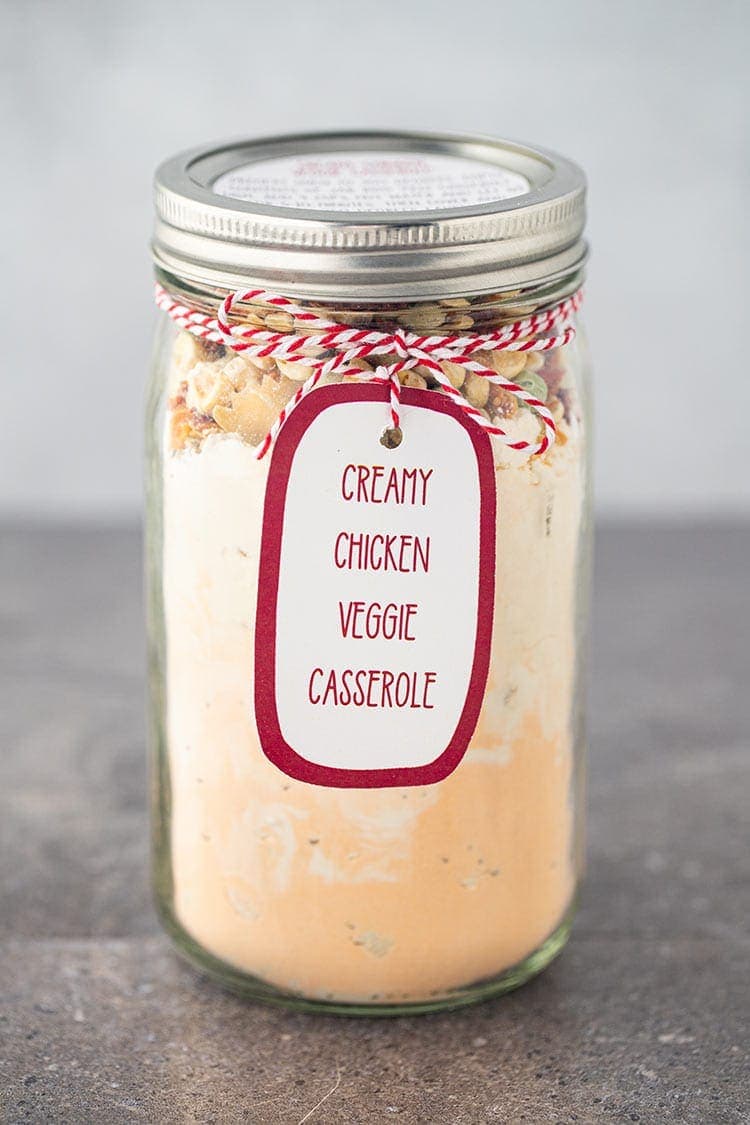
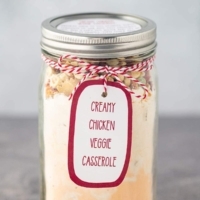
Creamy Chicken Veggie Casserole Meal in a Jar
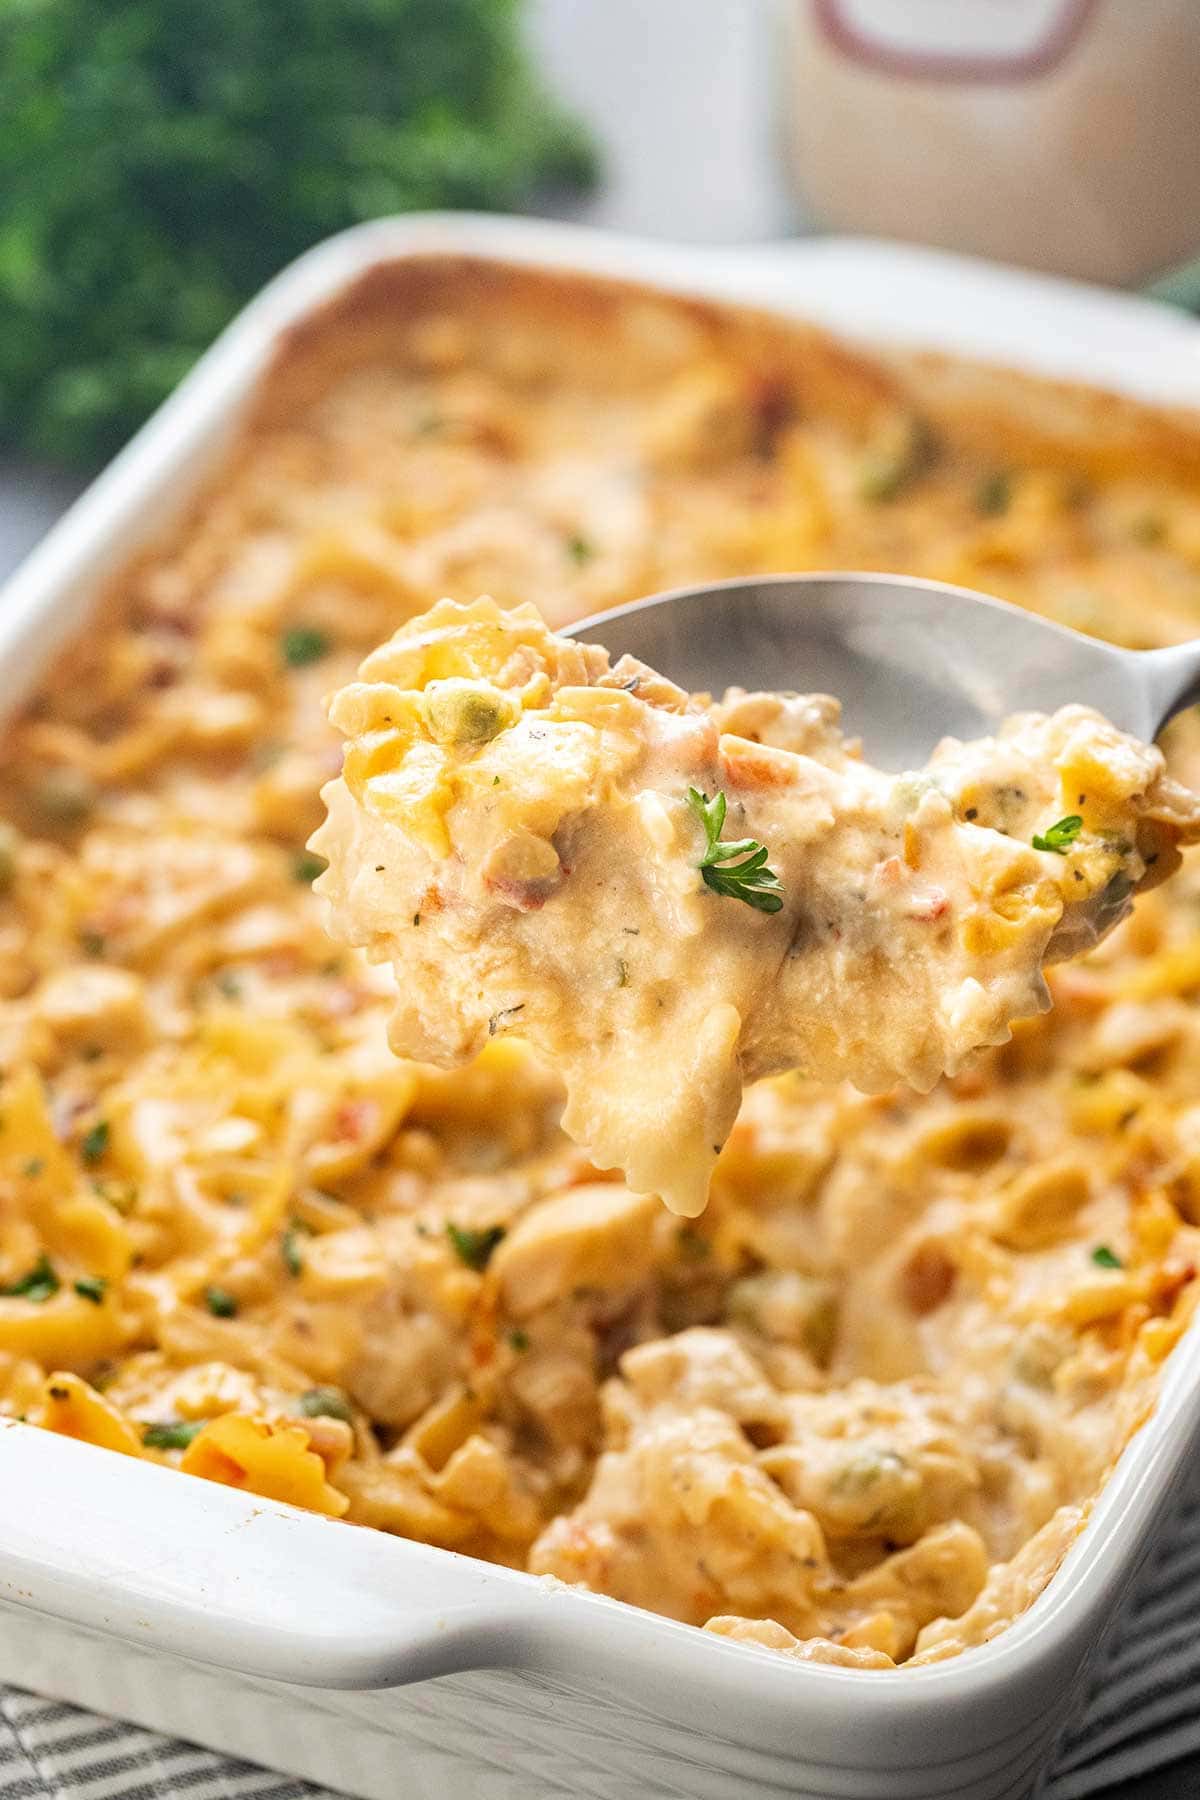
Peas, carrots, chicken, and bow tie pasta all nestled in a warm, creamy cheese sauce! This is easy peazy comfort food that you have on the table in under 40 minutes. Just add water and bake!
Creamy Chicken Veggie Casserole Meal in a Jar
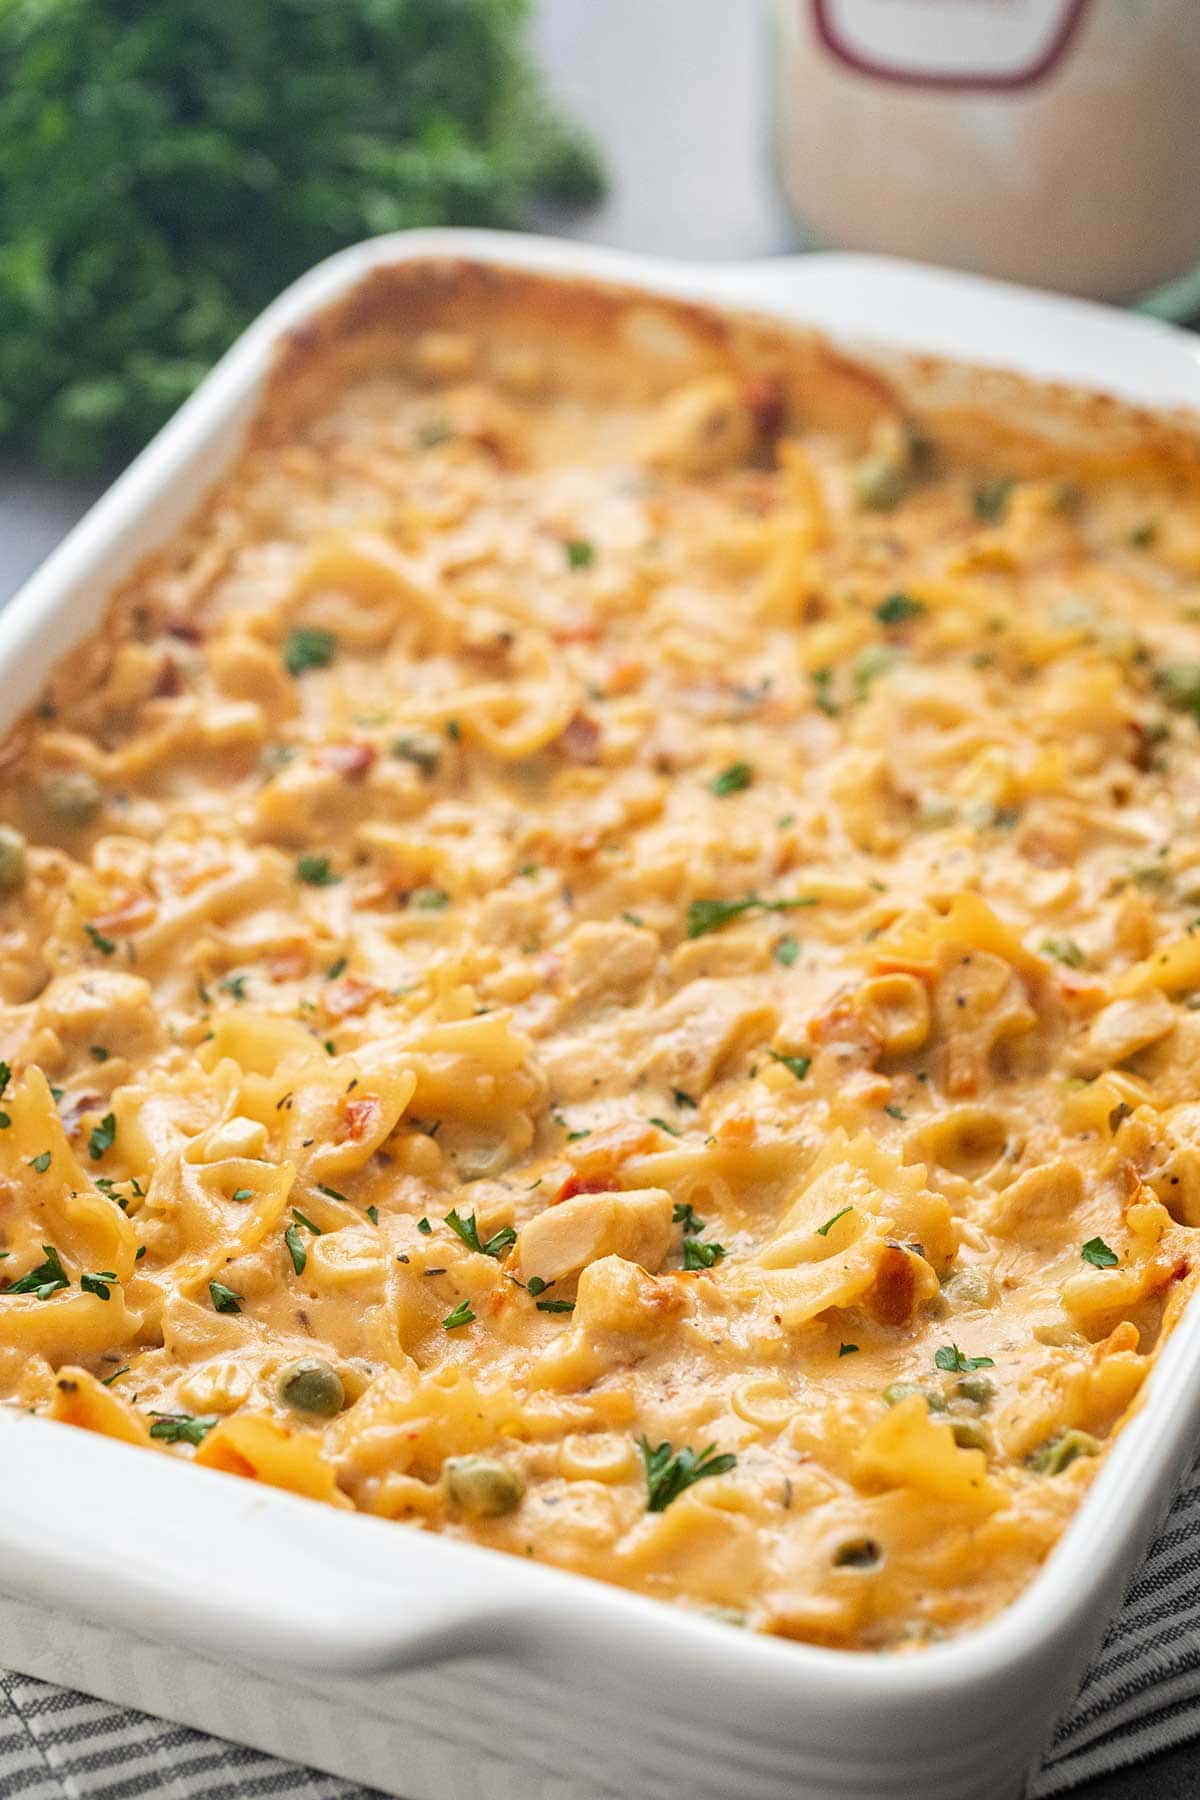
When you need comfort food fast, this Creamy Chicken Veggie Casserole meal in a jar is sure to please! It’s one of the cheesiest of my meal in a jar recipes, and I just love the combination of pasta and veggies and chicken all in a rich, creamy, cheesy sauce.
I like to go all out and use a variety of my favorite veggies in here, but you can modify to fit your personal tastes.
This meal is like a creamy version of chicken noodle soup, but in casserole form. So it definitely meets comfort-food criteria! If chicken noodle soup is one of your comfort foods, that is.
This Creamy Chicken Veggie Casserole meal in a jar recipe is adapted from Chef Tess’s version of this meal, and you can see her original recipe at the link provided.
Items You Will Need:
- Wide-mouth quart mason (canning) jars, with new lids, and rings
- Foodsaver vacuum sealer with hose and wide-mouth jar sealer attachment, AND/OR 100cc oxygen absorbers (one per jar)
- Instruction labels or Sharpie marker to write instructions on lid
- (optional) Printable gift tags for Cricut machine
- Ingredients
- Bow-tie pasta
- Freeze-dried vegetable mix (see notes below for substitution information)
- Freeze-dried diced chicken (see note below for 2020 substitution information)
- Dry minced onion (you can usually find this at most grocery stores or club stores like Sam’s or Costco)
- Instant non-fat dry milk (Carnation brand can be found in most grocery stores) or regular non-fat dry milk powder if you have some in your food storage already
- Cheese powder
- Sour cream powder
- Butter powder
- Italian seasoning (found in most grocery stores in the spice aisle)
- Salt and pepper
How to Make Creamy Chicken Veggie Casserole as a Meal in a Jar
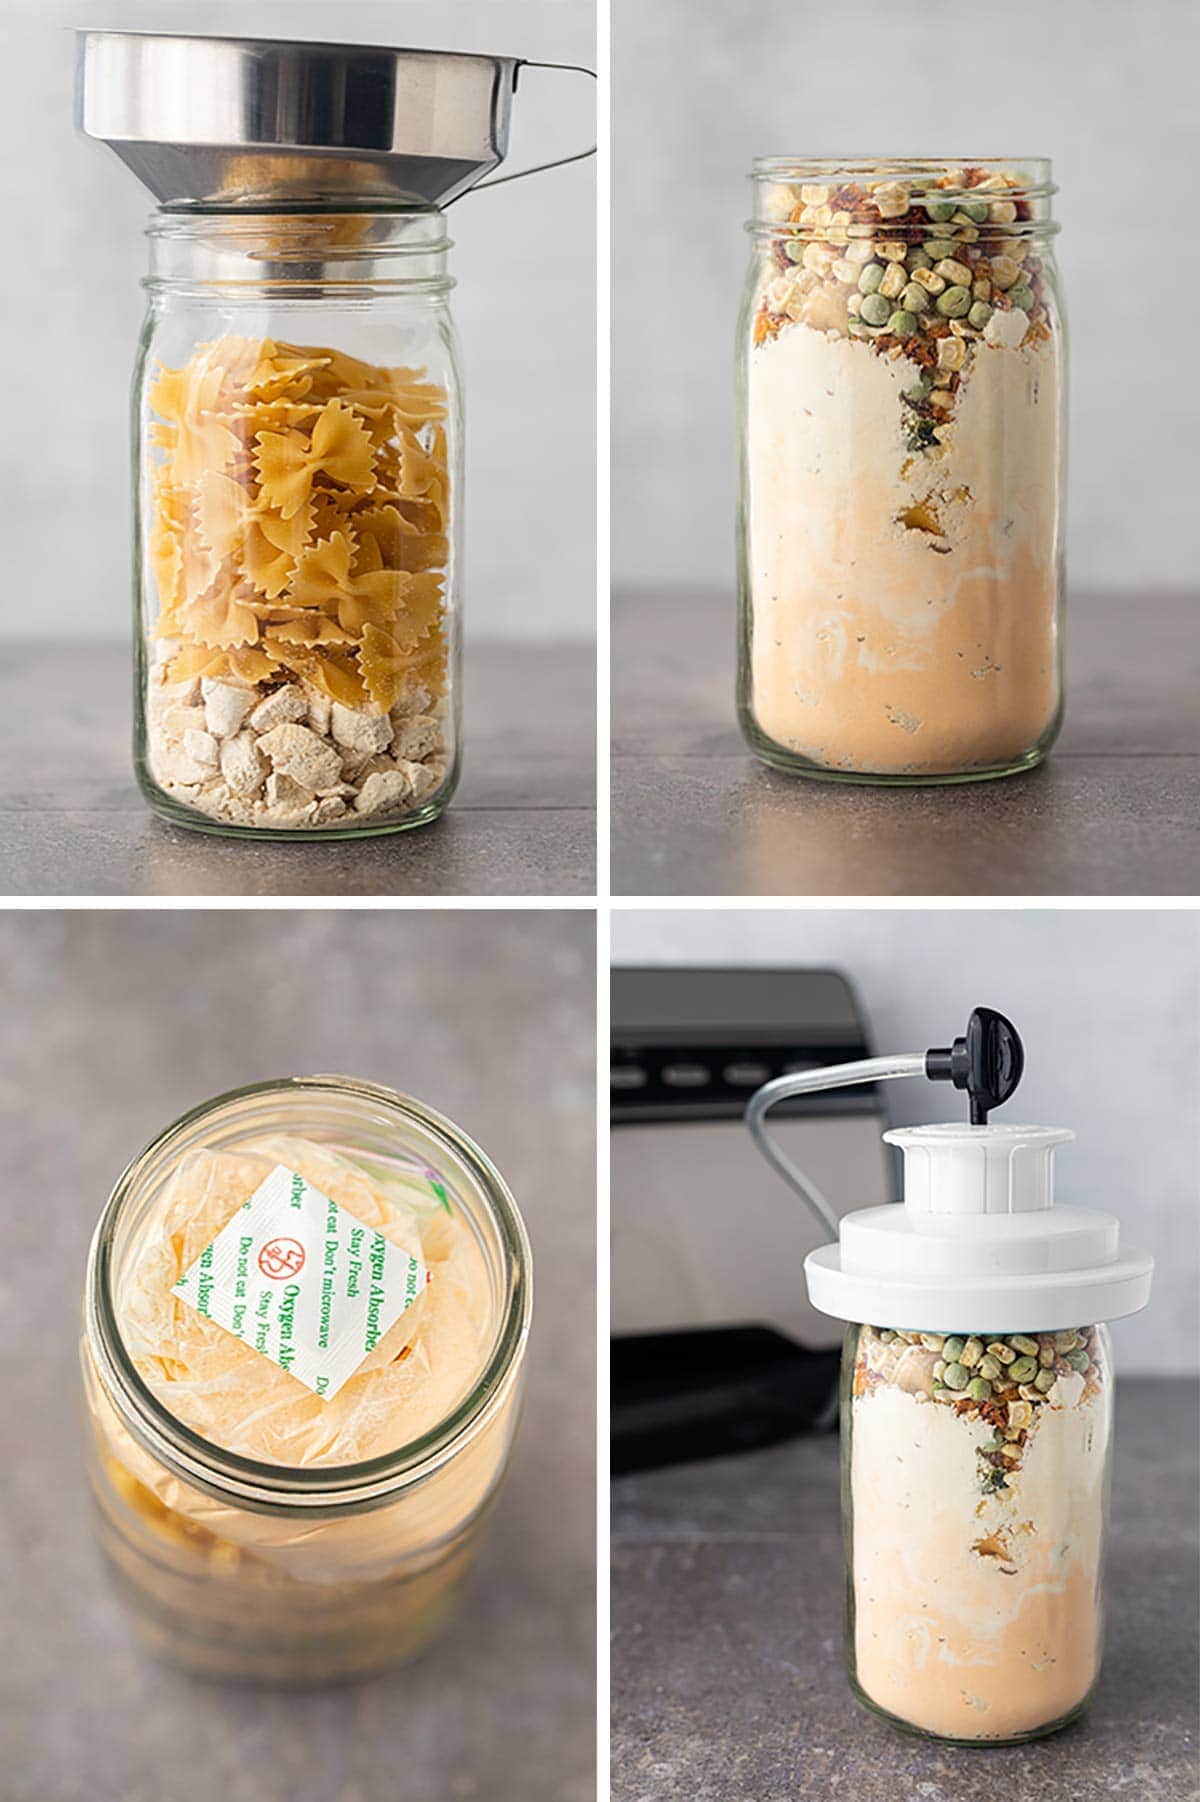
- Layer each ingredient, one at a time, into a clean wide-mouth quart mason jar in the order listed in the recipe.
- When adding the powdered ingredients, you will need to shake gently to settle contents to make room for everything. The powdered ingredients should settle to the bottom around the beans. Space in the jar is at a premium for this recipe, so if you find that the contents just don’t quite fit fully in the jar, even after shaking and settling, you can place all the ingredients in a large bowl, stir them up slightly, and then scoop them into the jar – that often helps save a little space.
- If not using a Foodsaver to vacuum seal the jar, place one 100cc oxygen absorber on top of the dry ingredients. (You can use an oxygen absorber in addition to vacuum sealing the jar as well.)
- Wipe off the rim of jar to make sure it is clean. Then place a new lid on the jar.
- To seal:
- If using a FoodSaver to vacuum seal the jar, carefully place the wide-mouth jar attachment over the top of the jar and lid, attach it to the FoodSaver, and vacuum seal following your model’s instructions (for most newer models you’ll use the Marinate or Accessory option). Once done, remove the hose from the top of the jar sealer, and then carefully remove the jar sealer attachment off of the jar. Place ring onto jar and tighten.
- If using just an oxygen absorber, place the lid on the jar and screw on the ring. Allow jar to sit undisturbed as oxygen absorber works. At some point, the lid of the jar should suck down and seal. You will know it is sealed when you press on the center of the lid and it does not flex. (If it flexes, it is not sealed.)
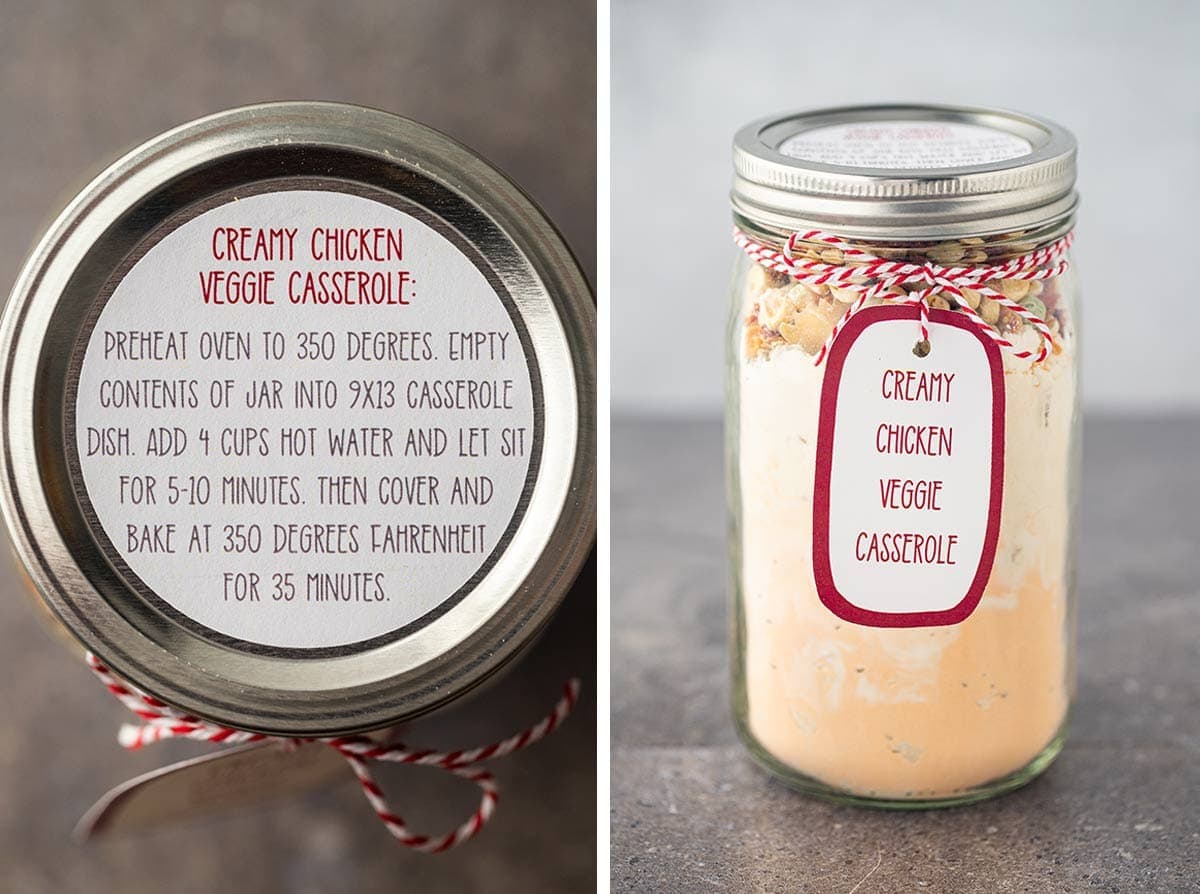
- Attach instruction label to top of jar, or write cooking instructions on lid with sharpie marker.
- Store jar in cool, dry place away from direct sun.
A Note on Storing or Gifting the Meals in a Jar
You’ll need to store the jar(s) where it will not be jostled as this can inadvertently pop the seal. And you should check on the seal periodically to make sure that it is holding. Most of the time this has not been a problem for me, but occasionally I find one that loses the seal over time. Using an oxygen absorber in combination with the vacuum sealing with the FoodSaver will help keep that seal extra tight.
Be especially vigilant in periodically checking the jars that contain freeze-dried meats, as they will tend to soak up moisture from in the air once that seal pops.
There’s no need to get fancy with these if they are going into your food storage, but you should make sure to label them, and it helps to write the cooking instructions on the lid as well.
If you’d like, my friend Amy at The Happy Scraps has designed printable label stickers that you can use, and she also has gift tags available that you can cut with a Cricut machine if you’d like to give these meals in a jar as gifts!
Questions and Substitutions
How long are these Creamy Chicken Veggie Casserole in a Jar meals good for?
As long as they are stored properly and the seals stay holding, these jars are shelf-stable for up to 10 years! Shelf life for the meal is calculated using the shelf life of whichever ingredient in the meal has the shortest shelf life on its own. In this case, that is the freeze-dried chicken and the powdered dairy products, which all have a typical shelf life of about 10 years.
Freeze-dried meat is so expensive, can I substitute something else?
Absolutely! Freeze-dried meat can be very expensive, even when you can find it on sale. If cost is a factor, you can choose to substitute a vegetarian meat substitute called TVP or “textured vegetable protein”. It is soy-based, and made to resemble the taste, if not always the texture, of meats. Wholesome Provisions makes a version of chicken TVP that is similar to chicken chunks (although I have not tried this brand personally). I have used the Augason Farms brand of chicken TVP in years past – it is more like ground chicken, but it works just fine in this meal. (No more TVP for me due to a soy allergy.)
Update for 2020: As the pandemic has progressed, it has become increasing more difficult to find freeze-dried items, especially freeze-dried meats. And if you are lucky enough to find some, it is often marked up beyond belief. SO, for right now, I DO NOT RECOMMEND using freeze-dried chicken in this recipe unless you can find it at a reasonable price and have the budget for it. A great alternative is to use the TVP option above OR make the meal as written, but leave out the chicken all together. Then, purchase some canned chicken online or at warehouse stores such as Sam’s Club or Costco (or even better can your own!), and store that or gift that together with the jarred meal.
Where do I find freeze-dried vegetable mix? All I can find online is dehydrated – is there a difference?
There is actually a big difference. The dehydrated vegetables are heat dried, and are more difficult to rehydrate, and they don’t taste quite the same as their original versions of themselves. I do not recommend using dehydrated versions of peas or corn in this recipe, as you would have to cook it so long to get the peas and corn soft that you would destroy the noodles.
Personally, I use the Honeyville brand of freeze-dried vegetable mix. Fresh and Honest Foods also has a version (which I’ve never tried before). However, you can easily make your own “mix” using a combination of freeze dried peas and corn and dehydrated carrots if you have them already in your food storage, or you can even go just straight freeze-dried corn or peas or carrots or really any combination of them.
How do I make the Creamy Chicken Veggie Casserole to eat?
Stove Top Instruction: To make the meal, remove the ring and gently pry off the sealed lid. Remove oxygen packet (if used) and discard. Empty the contents of the jar into large baking dish or casserole dish. Add 4 cups of hot water and let sit for 5-10 minutes (this helps rehydrate the chicken and freeze-dried veggies). Then, cover and bake at 350 degrees Fahrenheit for 35 minutes. If you’d like, you can uncover and top with fresh grated cheese for the last five minutes of baking time.
I like to serve this with my Best Ever Make-Ahead Cornbread!
And if you’re looking for other great meal in a jar recipes, be sure to check out these others from the blog:
- Taco Soup in a Jar
- Beef Taco Rice Meal in a Jar
- Mac & Cheese Meal in a Jar
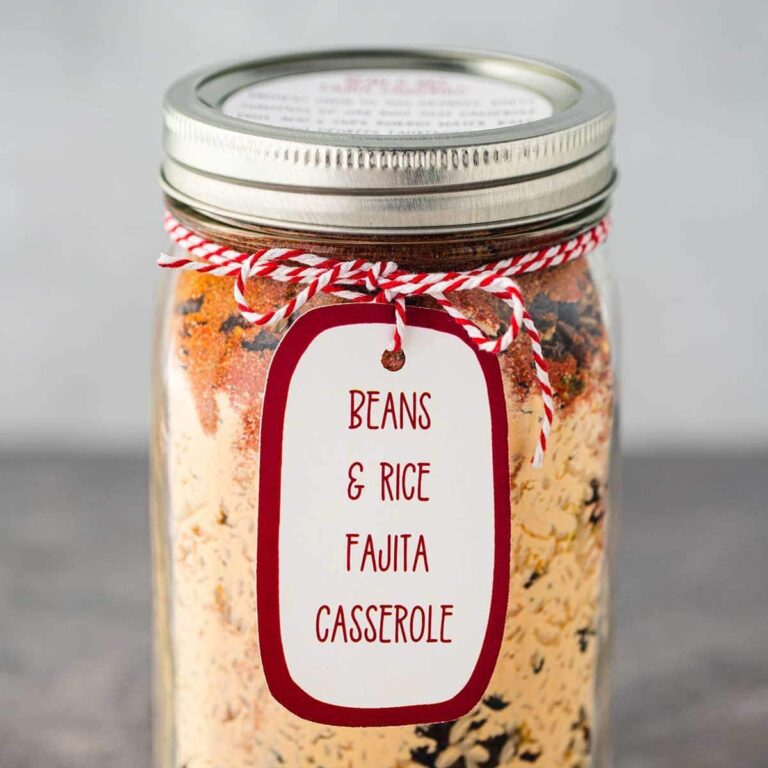
- Bean & Rice Fajita Casserole Meal in a Jar
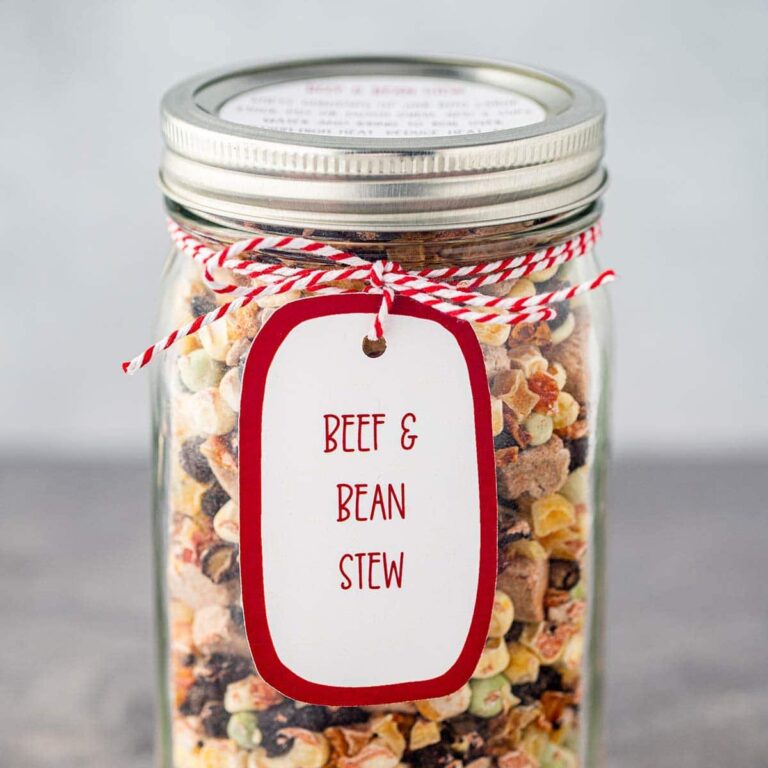
- Beef & Bean Stew in a Jar
- Chicken Noodle Skillet Meal in a Jar
- Potato Sausage Cheese Casserole in a Jar
Creamy Chicken Veggie Casserole in a Jar
EQUIPMENT
- Augason Farms Freeze-Dried Peas (use half peas and half corn if you cannot find a freeze-dried mixed veggies)
INGREDIENTS
- 2 cups bow tie pasta
- 1 cup freeze-dried vegetable mix
- 1 cup freeze-dried chicken chunks or chicken TVP
- 2 tablespoons dehydrated minced onions
- 1 teaspoon Italian seasoning
- 1/3 cup cheese powder
- 1/3 cup instant dry milk
- 1/3 cup sour cream powder
- 1/4 cup butter powder
- 1/2 teaspoon salt
- 1/4 teaspoon pepper
INSTRUCTIONS
- Put all ingredients into a quart-size wide-mouth mason jar in the order listed above, and shake to settle contents.
- Place new canning lid on top of jar. Using wide-mouth attachment for a FoodSaver, vacuum seal lid onto jar following instructions from your FoodSaver manual. (You can also insert an oxygen absorber before putting on lid if you'd like.)
- Remove vacuum attachment and put ring on. Tighten by hand, but don't over tighten.
- Label and date. Store in cool, dry location.
To cook:
- Gently pry lid off of jar and discard. Remove oxygen packet (if used). Empty contents of jar into casserole dish. Add 4 cups hot water and let sit for 5-10 minutes. Cover and bake at 350 degrees Fahrenheit for 35 minutes.


Is it possible to make this dish with Parmesan cheese (or a combination of cheddar and Parmesan) to make it more of an Alfredo Sauce? If so, what proportions? Thank you!
As a shelf-stable jar meal? Possibly. The cheese powder called for in the recipe is already cheddar-based. You would have to use a Parmesan cheese powder (not just parmesan cheese – too high of moisture content), and that would require tweaking the recipe as I don’t know if a straight substitution would work (it might – just haven’t ever tried it yet). Although, I love the suggestion and I think I will take some time to see if I can develop a chicken alfredo bake jar meal because that would be amazing… 😉 It could also possibly be done with freeze-dried mozzarella and or Parmesan cheese, but again, would require tweaking the recipe rather than just a substitution.
For a non-meal-in-a-jar option, you can try this one:
https://www.makeaheadmealmom.com/chicken-alfredo-bake/
And I’ll see what I can do about coming up with a meal-in-a-jar version! 🙂
Can I freeze dry my own cheese and sour cream make the powder and use that instead of buying it. I do have a harvest right freeze dryer and I’m doing my own chicken and veggies. I have also done my own pizza sauce and powdered it. I can’t do the butter so I will by that but I was just wondering about the rest.
For sure you can freeze dry your own cheese in the Harvest Right! (I’m super jealous – I’ve wanted one for years now!!) I don’t know about the sour cream. If the machine can physically do the sour cream then you can absolutely use it in the recipe. You may need to tweak the amount just a bit. You’ll probably need to tweak the liquid amount if you use your own freeze dried cheese too potentially as the FD stuff may require more liquid yo rehydrate than the cheese powder called for in the recipe. If you try it out definitely let me know how it goes!
Can you use dehydrated vegetables instead of freeze dried?
Yes. Just know that it can change the cook time (as dehydrated takes longer to rehydrate than freeze-dried). And you may need to add additional liquid. Sometimes I cannot find the FD stuff so I use a dehydrated mix. 👍🏻