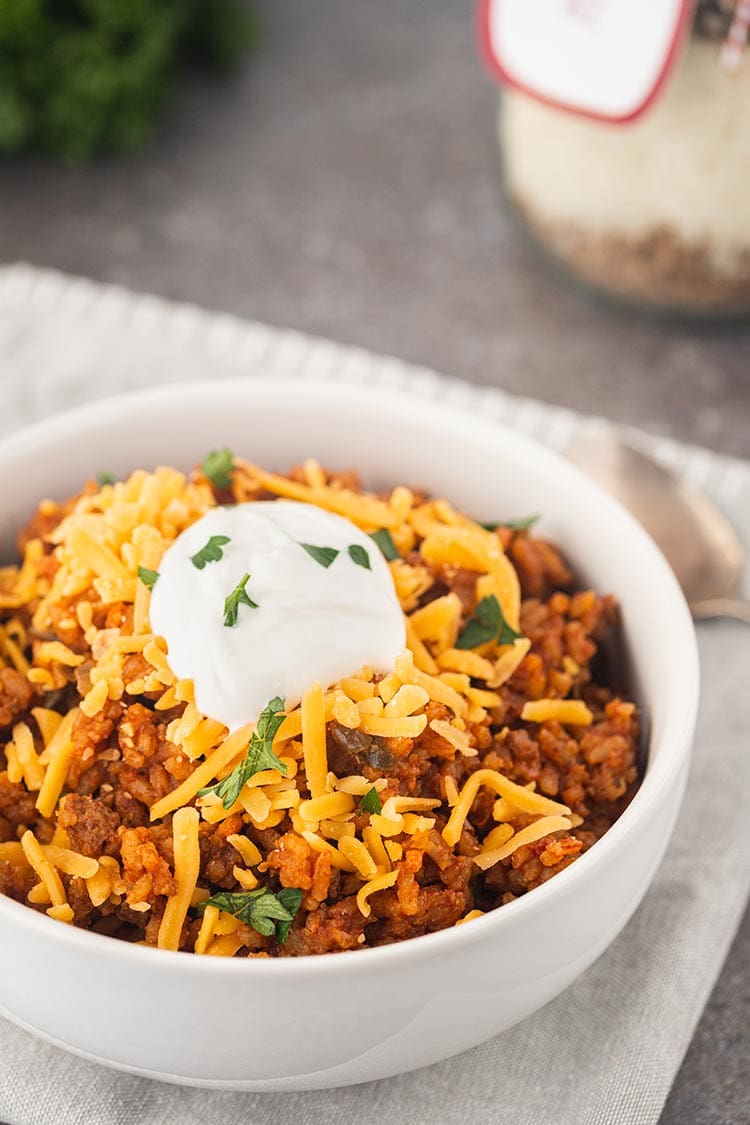
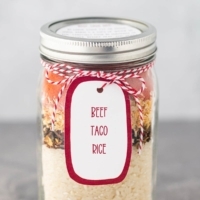
Beef Taco Rice Meal in a Jar
Beef and rice and a flavorful tomato sauce – a simple but filling meal even the kids will enjoy! Makes a great filling for burritos or enchiladas as well!

Beef Taco Rice Meal in a Jar
This Beef Taco Rice Meal in a Jar is a family favorite around our house! The kids love the flavor. I love that it is super easy to make! I also like that it is so versatile. It is great for a main course, but it also makes a great side dish, or a filling for burritos or enchiladas! And yes, you could make this up and use it in burritos or enchiladas as a freezer meal – um, how cool is that?!?
The recipe is adapted from one that I got from Chef Tess Bakeresse. (The recipe used to be posted on her blog, but is no longer available.) I have modified it to fit my personal preferences and my family’s tastes.
As with other meal in a jar recipes, this Beef Taco Rice Meal in a Jar contains all the ingredients (except water, of course) needed for the meal in dried format. That means the meal is shelf stable for up to ten years. And it’s ready to go when needed. You just need to add water and cook. It makes a great addition to food storage, and can also work well for camping or hiking activities! It also makes a very thoughtful and useful neighbor gift!!
Items You Will Need:
- Wide-mouth quart mason (canning) jars, with new lids, and rings
- Foodsaver vacuum sealer with hose and wide-mouth jar sealer attachment, AND/OR 100cc oxygen absorbers (one per jar)
- Instruction labels or Sharpie marker to write instructions on lid
- (optional) Printable gift tags for Cricut machine
- Ingredients
- Freeze-dried ground beef
- White rice (not instant or minute rice)
- Dehydrated diced bell peppers
- Dry minced onion (you can usually find this at most grocery stores or club stores like Sam’s or Costco)
- Taco seasoning, either store bought or make your own (I have a great recipe!)
- Dehydrated minced garlic
- Smoked paprika (smoked will give you a richer, deeper flavor, but regular paprika works just fine if that’s all you’ve got)
- Tomato powder
- Beef bouillon (powdered or granule if you can find it, if not you can crush bouillon cubes to make your own “powder”)
- Salt and pepper
- Bay leaf
How to Make Beef Taco Rice Meal in a Jar
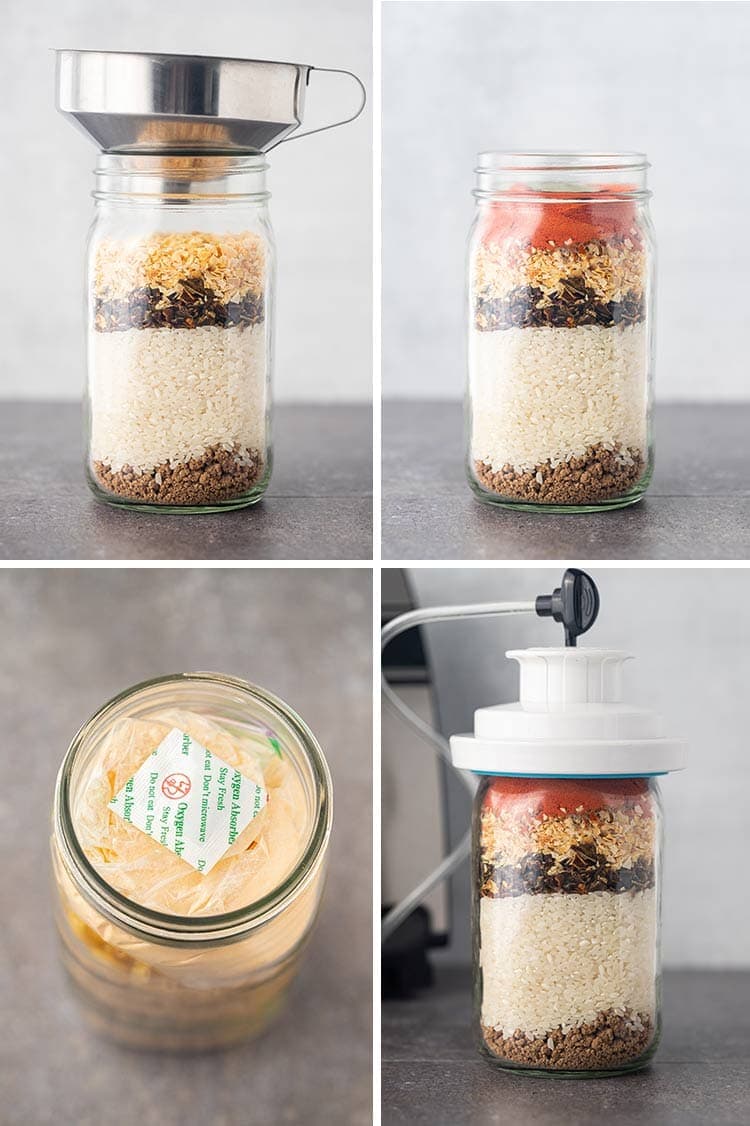
- Layer each ingredient, one at a time, into a clean wide-mouth quart mason jar in the order listed in the recipe, ending with the bay leaf on top. (Be careful not to crush the bay leaf.)
- Shake gently to settle contents between ingredients or if jar becomes too full.
- If not using a Foodsaver to vacuum seal the jar, place one 100cc oxygen absorber on top of the ingredients just before sealing your jar. (You can use an oxygen absorber in addition to vacuum sealing the jar as well.)
- Wipe rim of jar to make sure it is clean. Then place new lid on jar.
- To seal:
- If using a FoodSaver to vacuum seal the jar, carefully place the wide-mouth jar attachment over the top of the jar and lid, attach it to the FoodSaver, and vacuum seal following your model’s instructions (for most newer models you’ll use the Marinate or Accessory option). Once done, remove the hose from the top of the jar sealer, and then carefully remove the jar sealer attachment off of the jar. Place ring onto jar and tighten.
- If using just an oxygen absorber, place the lid on the jar and screw on the ring. Allow jar to sit undisturbed as oxygen absorber works. At some point, the lid of the jar should suck down and seal. You will know it is sealed when you press on the center of the lid and it does not flex. (If it flexes, it is not sealed.)
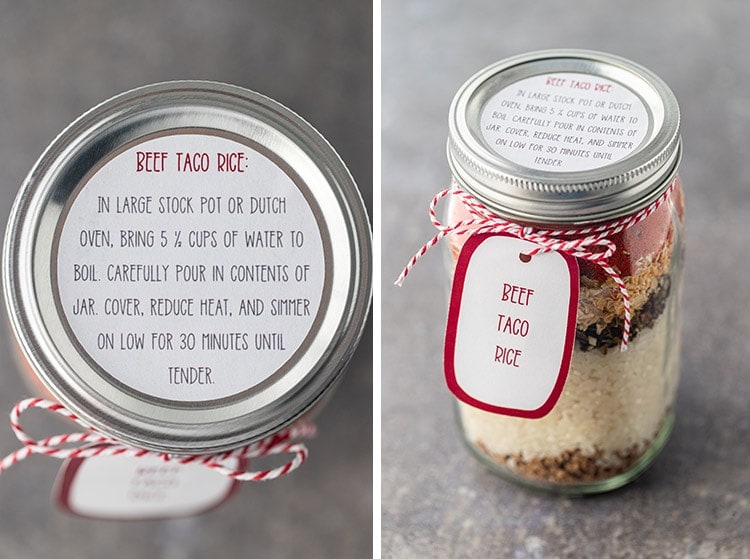
- Attach instruction label to top of jar, or write cooking instructions on lid with sharpie marker.
- Store jar in cool, dry place away from direct sun.
Labels and Tags
If you’d like to give this meal in a jar as a gift, be sure to grab the gift tag cut files from my friend Amy at The Happy Scraps – she did such an amazing job designing the labels and gift tags for this project!
Questions and Substitutions
How long are these Beef Taco Rice Meal in a Jar meals good for?
As long as they are stored properly and the seals stay holding, these jars are shelf-stable for up to 10 years! I’m hoping they won’t need to last that long because they’ll be irresistible and you’ll want to eat them long before that. But if not, and you do choose to leave them all lonely and unloved on the shelf, at least you know that they’ve got your back for several years.
Freeze-dried meat is so expensive, can I substitute something else?
Yes! Because it is real meat and due to the complicated nature of the freeze-drying process, freeze-dried meats are not cheap! If you are needing to stay on a budget for these, you can substitute a vegetarian meat substitute known as TVP, or “textured vegetable protein”. It is soy-based, and made to have a similar taste and texture to the “real” stuff. For this recipe, if you decide to use TVP, I recommend using Taco Flavored TVP for better flavor. I have made the recipe with TVP before, and it tastes just fine. Unfortunately, I can no longer tolerate soy in my diet (thanks to an allergy), so I have to stick with the real (aka “expensive”) stuff.
Update for 2020: As the pandemic has progressed, it has become increasing more difficult to find freeze-dried items, especially freeze-dried meats. And if you are lucky enough to find some, it is often marked up beyond belief. SO, for right now, I DO NOT RECOMMEND using freeze-dried beef in this recipe unless you can find it at a reasonable price and have the budget for it. A great alternative is to use the TVP option above OR make the meal as written, but leave out the ground beef all together. Then, purchase some canned shredded beef online or at a warehouse such as Costco (although I haven’t seen any at Costco for quite some time now)(, or even can your own, and store that or gift that together with the jarred meal. You can even make the meal without any meat and then add fresh browned ground beef when you make the meal. You could also easily swap out beef for chicken in this recipe, and use canned chicken from online, or from Sam’s Club or Costco, or even chicken you can yourself, to be stored together with the jarred meal and then added at the time of cooking.
How do I make the Beef Taco Rice Meal in a Jar to eat?
Stovetop Instructions: To make the meal, remove the ring and gently pry off the sealed lid. In large pot or dutch oven, bring 5 1/2 cups of water to boil. Carefully pour in contents of jar (minus oxygen packet if present). Cover, reduce heat, and simmer on low for 30 minutes until tender.
Instant Pot / Pressure Cooker Instructions: I have not attempted this meal in a pressure cooker – yet… Theoretically it is possible. I will do more testing and let you know what I find! But for right now, go with the stovetop instructions.
If you’re looking for other great meal in a jar recipes, be sure to check out these others from the blog:
- Taco Soup in a Jar
- Chicken Noodle Skillet Meal in a Jar
- Mac & Cheese Meal in a Jar
- Beef and Bean Stew in a Jar
- Creamy Chicken Veggie Casserole Meal in a Jar
- Bean & Rice Fajita Casserole in a Jar
- Potato Sausage Cheese Casserole in a Jar
Beef Taco Rice Meal in a Jar
EQUIPMENT
INGREDIENTS
- 1 cup freeze-dried ground beef*
- 1 1/2 cups white rice
- 1/2 cup dehydrated diced bell peppers
- 2 tablespoons dry minced onion
- 2 tablespoons taco seasoning
- 1 teaspoon dehydrated minced garlic
- 1/2 teaspoon smoked paprika
- 1/4 cup tomato powder
- 2 teaspoons beef bouillon powdered or granule
- 1 1/2 teaspoon salt
- 1 bay leaf
INSTRUCTIONS
- Put all ingredients into a quart-size wide-mouth mason jar in order listed above and shake to settle contents.
- To seal with a FoodSaver: Place new canning lid on top of jar. Using wide-mouth attachment for a FoodSaver, vacuum seal lid onto jar following instructions from your FoodSaver manual. (You can also insert an oxygen absorber before putting on lid if you'd like.) Remove attachment hose, then gently remove jar sealer attachment from off of jar.
- To seal using only an oxygen absorber: Place oxygen absorber on top of all ingredients. Place the lid on the jar and screw on the ring. Allow jar to sit undisturbed as oxygen absorber works. At some point, the lid of the jar should suck down and seal. You will know it is sealed when you press on the center of the lid and it does not flex. (If it flexes, it is not sealed.)
- Place ring on jar. Tighten by hand, but don't over tighten.
- Label and date. Store in cool, dry location.
To cook:
- Gently pry lid off of jar and discard. Remove oxygen packet (if used). On stovetop, in large pot or dutch oven, bring 5 1/2 cups of water to boil on stovetop. Carefully pour in contents of jar (minus oxygen packet if present). Cover, reduce heat, and simmer on low for 30 minutes until tender.
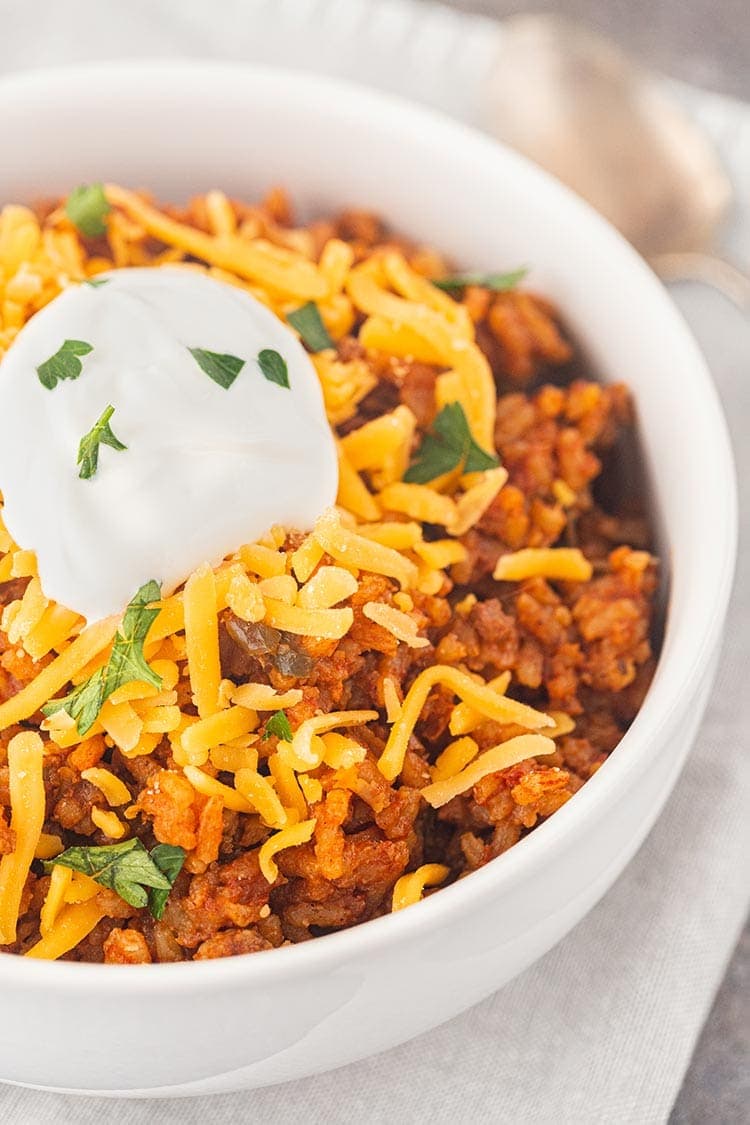
- Serve with cheese, sour cream or other favorite taco toppings. Also great used as a filling for burritos or enchiladas!

If I use an oxygen absorber how long will the meal last unopened in the mason jar?
As long as the jar stays sealed, and properly stored, it would be the same as using the vacuum sealer. For this particular meal, shelflife is 5-10 years.
Can you use dehydrated ground beef? It’s shelf life is 5-7 yes.
I think you could, although you’d need to adjust the water/liquid and the cook time. I’m not aware of any commercially available dehydrated ground beef, as the process can be very tricky and prone to spoiling so most manufacturers default to freeze-dried, so I haven’t ever tested the recipe with dehydrated. But theoretically it would work, with modifications.
Teresa, are you talking about your own dehydrated hamburger?
I dehydrated some my self and put in the refrigerator for a month and half. Made .u.uj.mum.m.mspaghetti and it was delicious and no one got sick. Yay