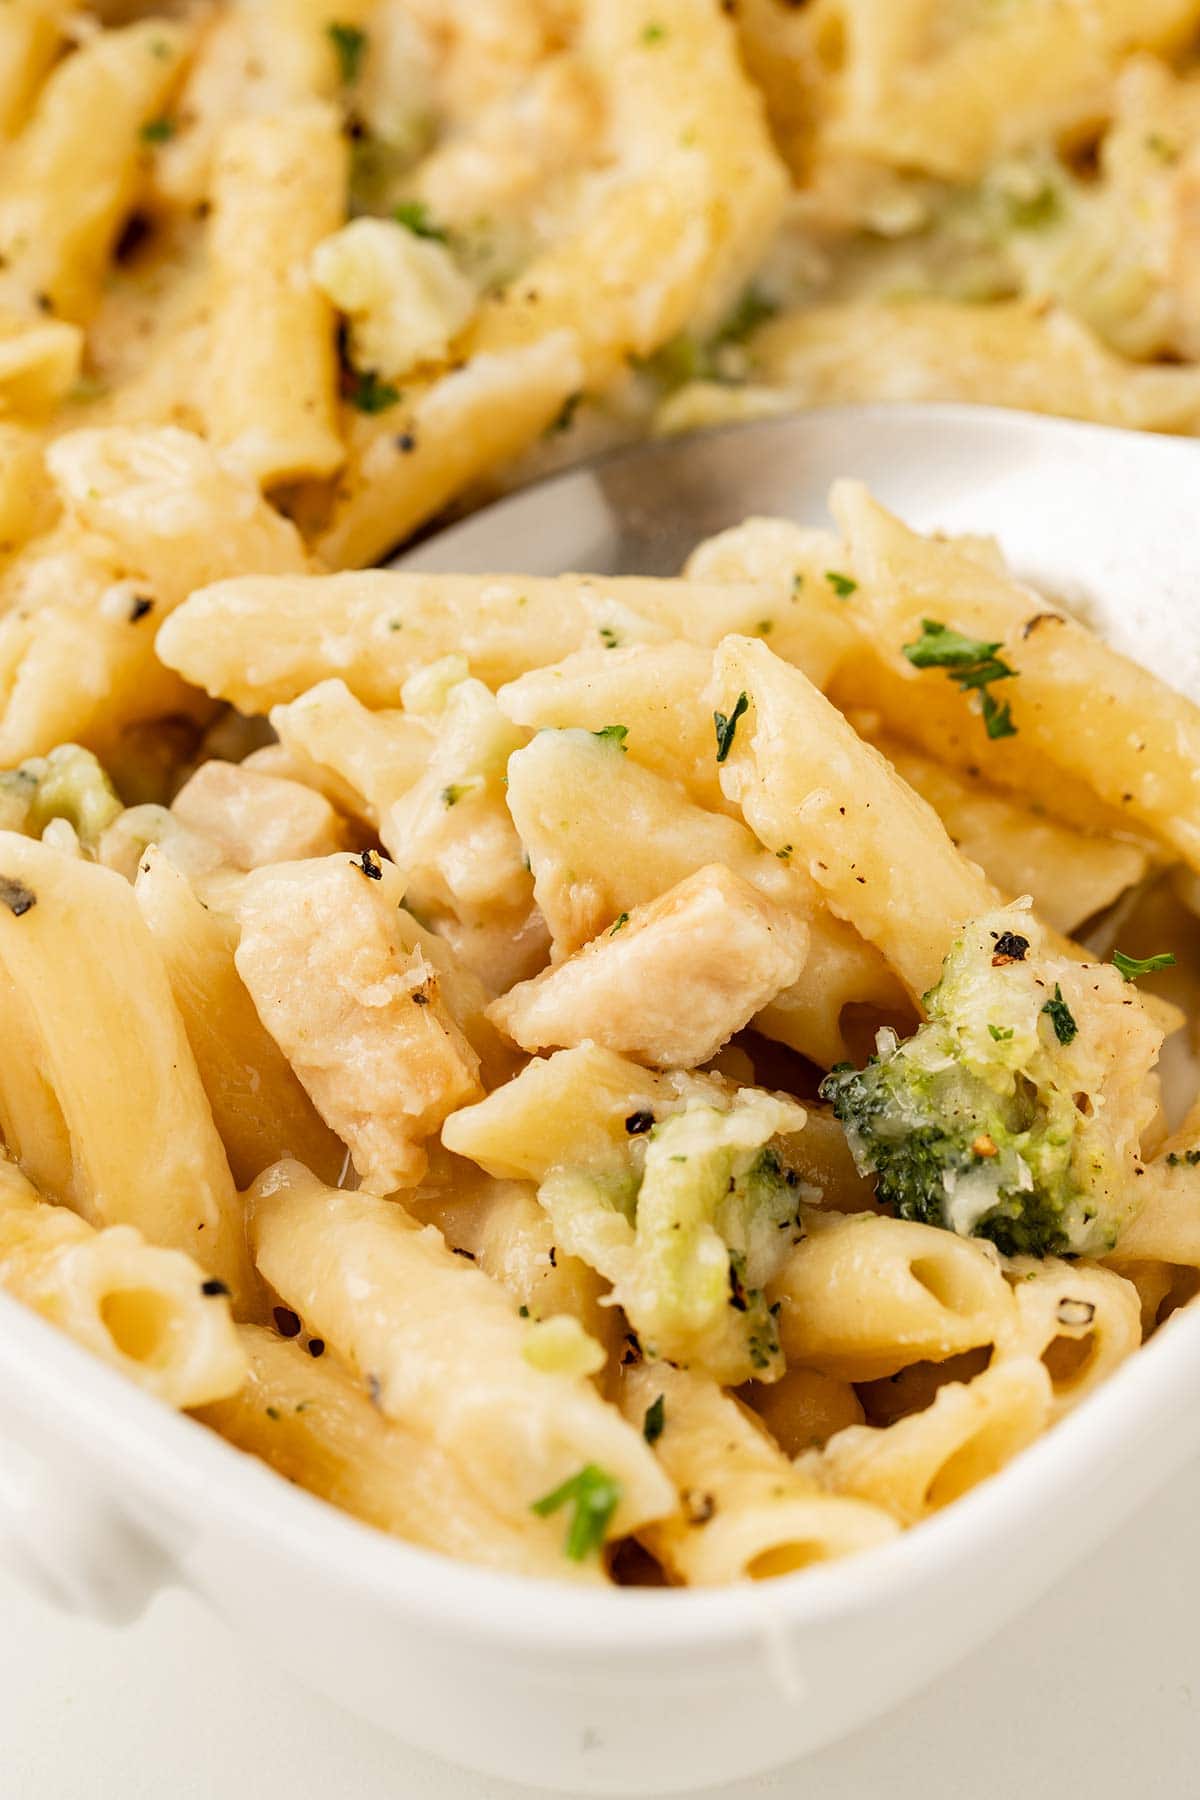
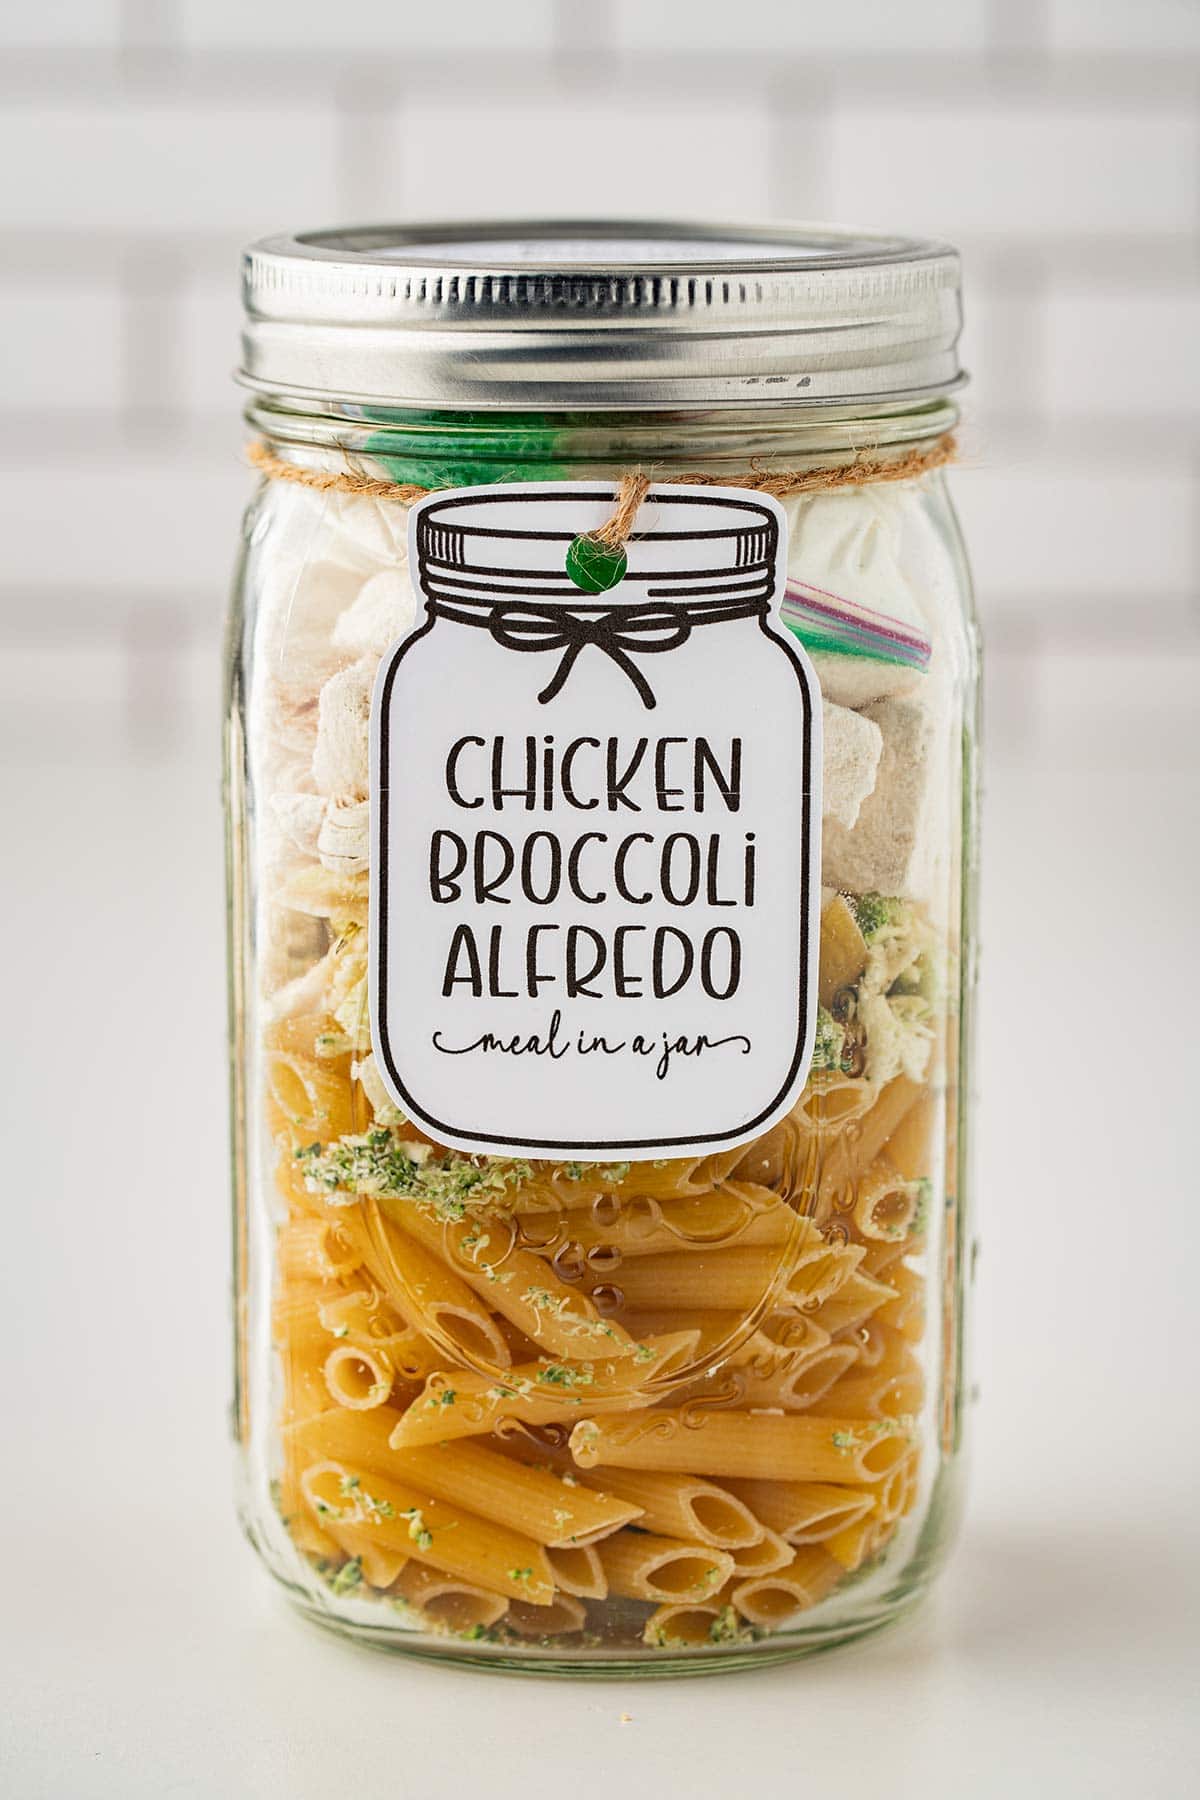
Quick & Easy Chicken Broccoli Alfredo Meal in a Jar
When it comes to meal in a jar recipes, this Chicken Broccoli Alfredo is about as quick and easy as it gets! Five ingredients, just minutes to prep – food storage never tasted so good!!
Chicken Broccoli Alfredo Meal in a Jar
If you are looking for great options to add some variety to your food storage or emergency preparedness meals, then this easy Chicken Broccoli Alfredo meal in a Jar is DEFINITELY for you!
OR if you want to have handy, fast, and convenient options on hand for easy weeknight meals.
These types of jar meals are a great option, albeit a little pricey for everyday use.
I developed this meal in a jar to be a complete meal that is quick and easy to put together.
I also wanted to avoid folks having to buy a bunch of different powdered ingredients. Especially if they are new to or just testing out meal in a jar recipes.
So this one uses only five ingredients.
You will be hard-pressed to tell that this chicken alfredo meal in a jar came from freeze-dried chicken and broccoli.
Which is really the end goal of all of this, right?
To make food storage or long-term shelf-stable meals that taste as much like the “fresh” versions as possible!
And that the whole family will eat.
What Are Meals in a Jar?
These “meal in a jar” recipes are meals designed to use dehydrated and/or freeze-dried ingredients and which can be sealed and kept for long0term storage.
Often used for food storage or emergency preparedness, these jar meals are also handy to use for camping or hiking.
Or to pull out when you need to get a quick meal on the table but are running short on time.
They are designed to be a complete meal, like a “convenience” meal you can get at the store, but you can make these yourself.
Which meals you control the ingredients.
And thus avoid many of the unsavory additives and preservatives of other options you find at the store.
The end goal of these meals in a jar is to provide convenience and long-term shelf-stable food options that taste great!
Equipment You’ll Need for Making Meals in a Jar
For most of the meal in a jar recipes I develop, you will find that my instructions are to vacuum seal them in quart-size mason jars.
But there are a few other options as well which I will explain.
Sealing in Mason Jars
Here are the basic things you will need:
- Quart-size mason jars: I prefer wide-mouth jars as it is easier to get ingredients into and out of them. But if all you have is narrow-mouth, that’s okay too.
- Vacuum sealer with accessory hose: I have a Foodsaver brand, but any reliable vacuum sealer will work, as long as it has an accessory hose option.
- NEW, unused jar lid: You’ll need the type to fit the jars you will be using (either wide-mouth or narrow-mouth). Lids that have been used previously tend to not seal well or lose their seals quickly, which leads to you losing your meal, so always start with a NEW lid.
- Jar ring: These can be new or used. Unlike in canning, you will keep the rings ON the jars, to help keep the lid sealed down. So rings do not need to be new. Just know that it will need to stay on the jar and thus will not be usable for other canning purposes.
- Jar sealer attachment: This is an attachment that goes over your jar to enable the vacuum sealer to pull air out and suck the lid down to create the seal. Be sure to get the size that fits your type of jars.
- Oxygen absorber(s): These are OPTIONAL. They can be helpful to maintain the vacuum in the jar. If you are wanting to store the meals in a jar for more than a few months, I recommend including oxygen absorbers as extra insurance.
- Small snack- or sandwich-sized plastic baggie: Again, this one is OPTIONAL but recommended. This does not need to be the zipper kind. It is just to keep the powdered ingredients separated.
Sealing in Mylar Bags
Alternatively, if you’d prefer to not use glass jars, you can also make these meals in mylar bags and seal them.
But you’ll need to order bags and buy a bag sealer, which can get pricey.
If you have your own freeze-drier (lucky you!!!), you likely already have these or will want them, so this isn’t necessarily an extra expense.
But if you don’t have a freeze drier, this may not be a cost-effective option at first.
Sealing in FoodSaver or Vacuum-Sealer Bags
These are a good option if you’d like to make these meals for taking camping or hiking, as glass jars won’t work well for transport and safety reasons.
However, please note that these types of bags can be finicky to keep sealed, and may shorten the shelf-life of your meals.
Not that they aren’t good bags, but the seals on these bags can weaken easily.
Or hard ingredients can poke tiny holes in the bags and then they lose their vacuum over time.
And the #1 enemy to shelf-life with these meals is MOISTURE present in the air.
But if you are only looking to store the meals for a few weeks or months, then these are an option.
Just be sure you check on these frequently to make sure the bags have stayed vacuum sealed.
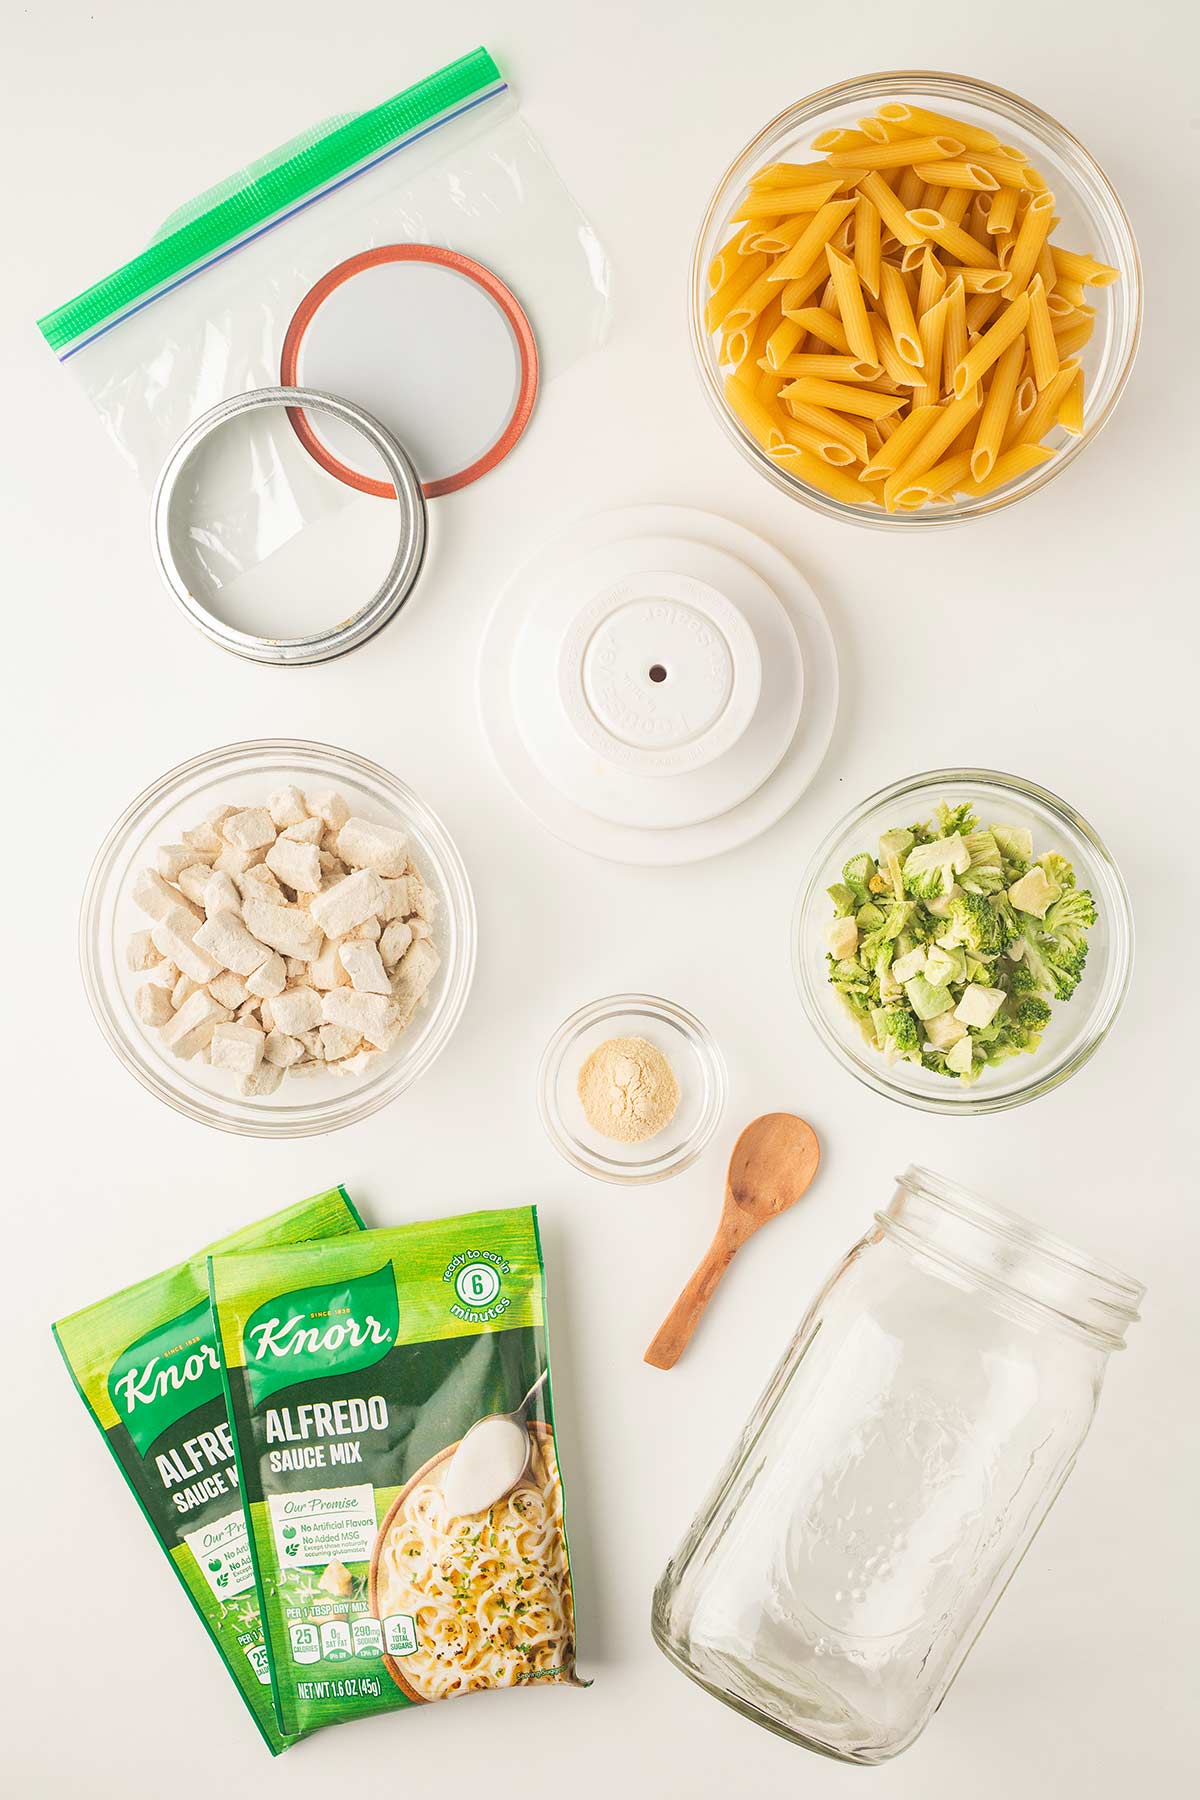
Ingredients for Making Chicken Broccoli Alfredo Meal in a Jar
You will need a few ingredients from your local grocery store or pantry, and then a few you’ll possibly need to get online.
I wanted this new recipe to be accessible for anyone looking to get started making meals in jar.
Therefore, I opted to go with a commercially-prepared alfredo sauce mix, rather than trying to come up with a homemade alfredo sauce mix.
Which I want to do eventually.
But for this chicken alfredo meal in a jar, I wanted to go easy for beginners.
From Your Local Grocery Store
From your local grocery store, you will need:
- penne pasta: any brand will work. You can also substitute other pasta here, too, if you prefer (macaroni or bowtie both work well, as does rigatoni).
- garlic powder
- Knorr alfredo sauce mix: If you can find this at your local grocery store, it will be cheaper to buy it there. I DO recommend being brand-specific on this one.
This recipe was developed and tested using some specific brands of ingredients, which I will link to. Sometimes the brand matters, and sometimes it does not. I do recommend using the same brand products if possible where specified, as other brands could cause mixed results when baking your meal. The alfredo sauce mix is one such case.
From An Online Retailer
Specialty ingredients which you may need to purchase online (if you don’t live near a food storage store or grocery store that carries food storage items) include:
- Freeze-dried chicken: This recipe was developed and tested using the Mountain House brand. They were the cheapest at the time as well. But any brand should work here. I also like the NutriStore brand. You can go grilled or diced.
- Freeze-dried broccoli florets: I used the Augason Farms brand here, but any brand will work. Just make sure you get freeze-dried and NOT dehydrated. That’s important.
- Knorr alfredo sauce mix: If you can’t find these in your local store, get them online. The link is for a 3-pack, but if you’ll be making multiple of this meal in a jar, you can get a larger 24-pack.
Okay, now on to the main event…
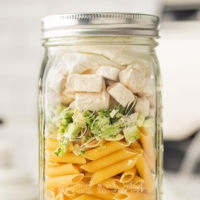
How to Make Your Chicken Broccoli Alfredo Meal in a Jar
Start by washing and thoroughly drying your mason jar.
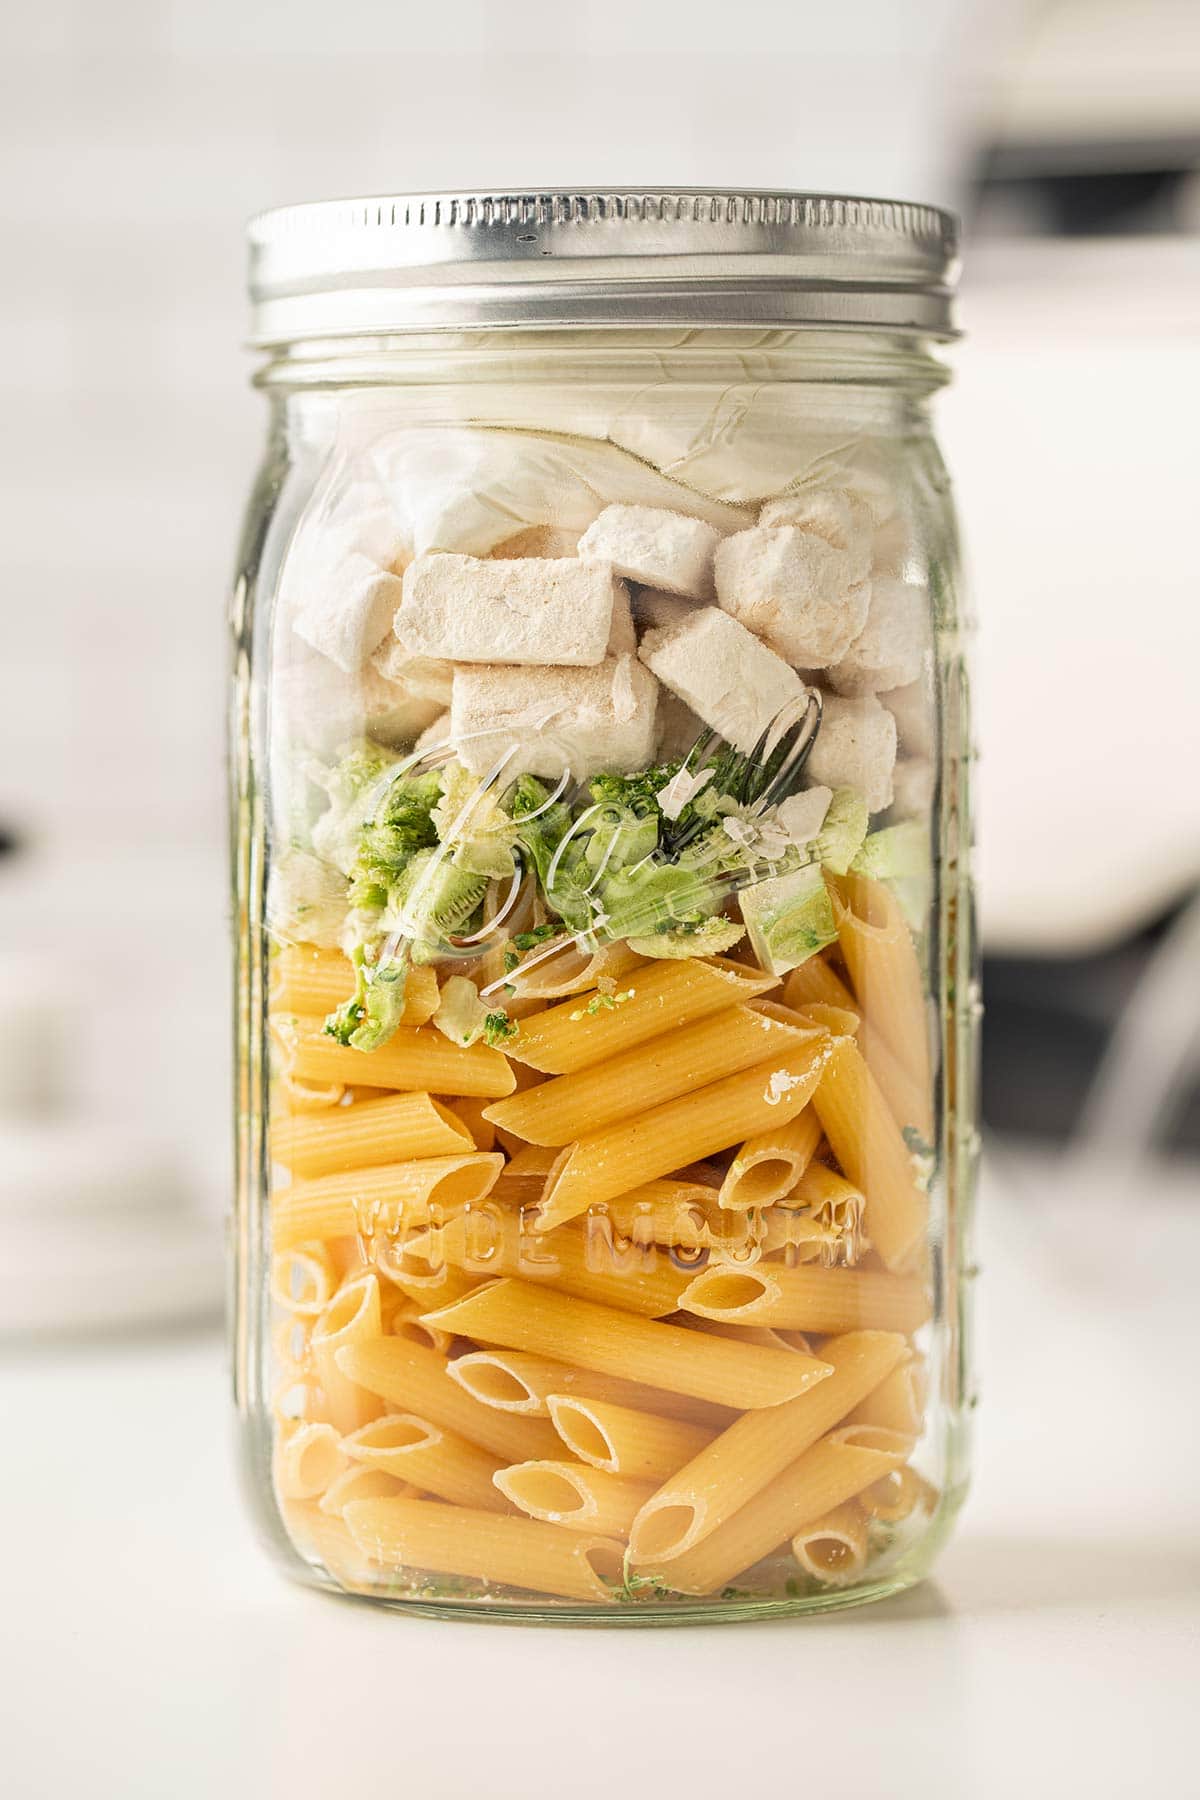
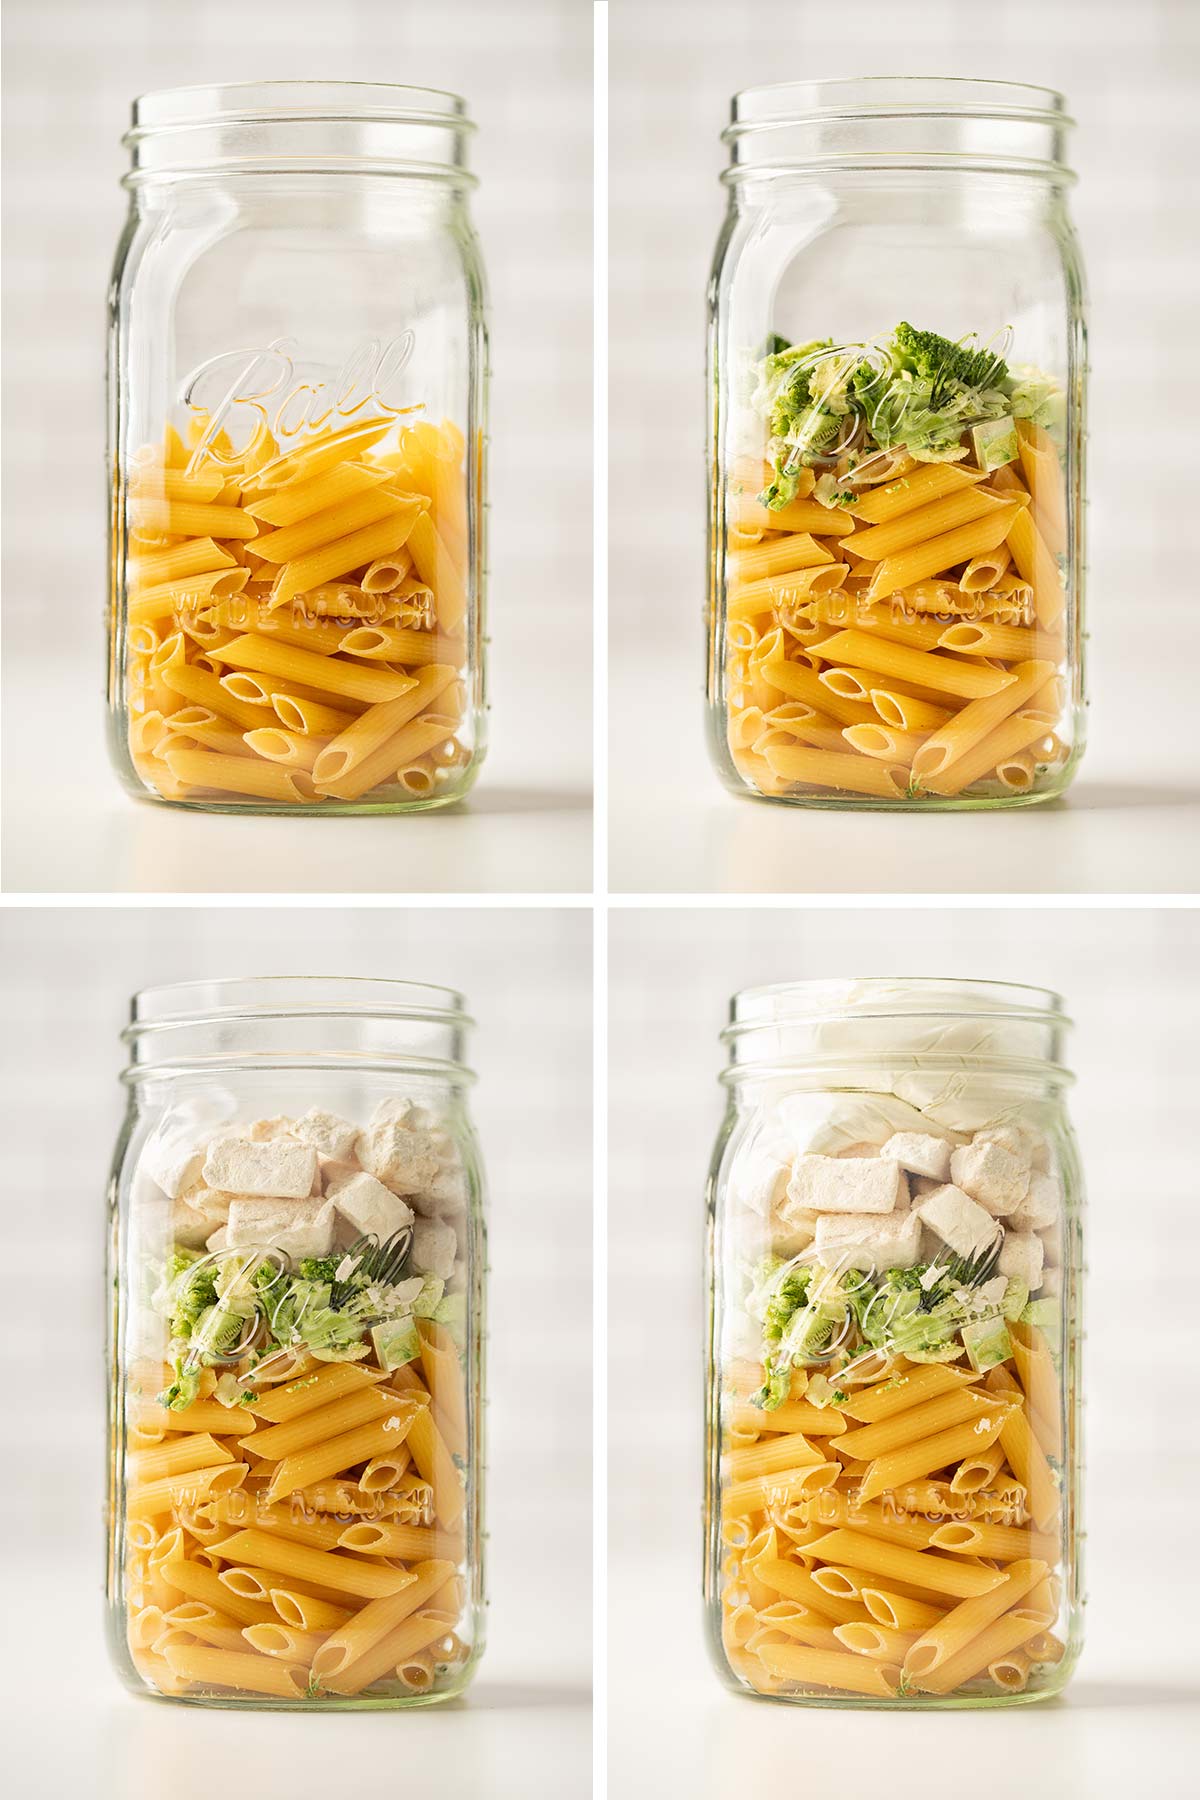
Using a canning or other large funnel (if you have one), first add your dried penne pasta to the jar.
Next, add your freeze-dried broccoli.
Then, the freeze-dried chicken.
For the sauce mix, you have two options:
- Place the contents of the two sauce mix packets and your garlic powder in a plastic baggie, and then place the plastic baggie in the jar. This will make for a tight fit, but it will work if you’re careful. OR…
- Place the powdered contents (the sauce mix and garlic powder) directly on top of the other ingredients and tap the jar gently to get them to settle down in between the other ingredients.
If you’re using an oxygen absorber, place it on top of all other ingredients.
Once you have all the ingredients in the jar, carefully wipe the rim of the jar to remove any dust or food particles, and place a new lid on the jar.
If you used a plastic baggie for the powdered ingredients, make sure that none if it is sticking up over the jar rim or sitting between the lid and rim.
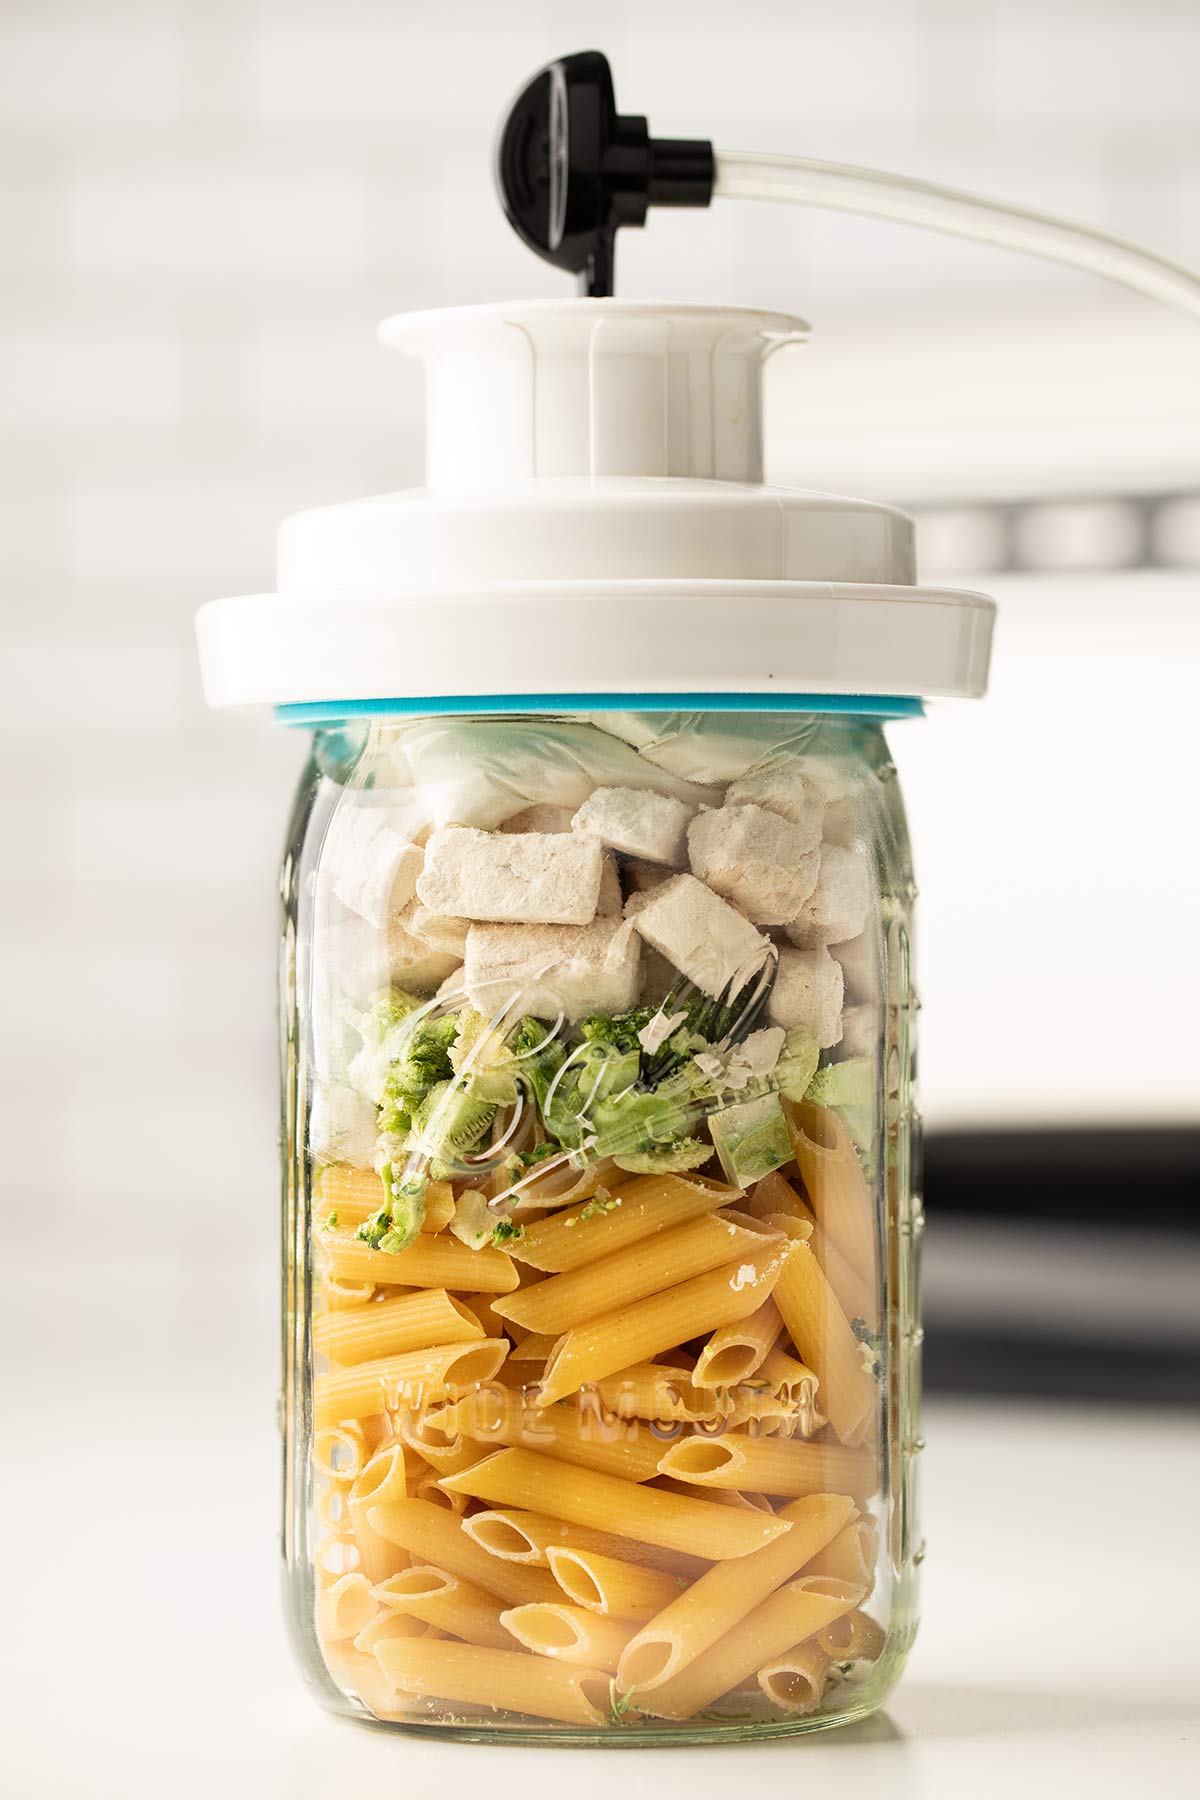
Place the jar sealer attachment over the top of your prepared jar, making sure it is seated properly and down all the way.
Attach the accessory hose from your vacuum sealer to the jar attachment, and start your vacuum sealer.
(Refer to your brand or model’s instruction model for details.)
Once completed, remove the jar sealer attachment (you will generally need to remove the accessory hose first to break the vacuum).
Check to verify that the lid has sealed properly. Make sure the little “bubble” in the center of your lid has sunk down flat, and use your finger to gently try to lift up the side of the lid – it shouldn’t budge.
Place the ring on your jar and tighten down to help keep the lid in place.
Storing Your Meal in a Jar
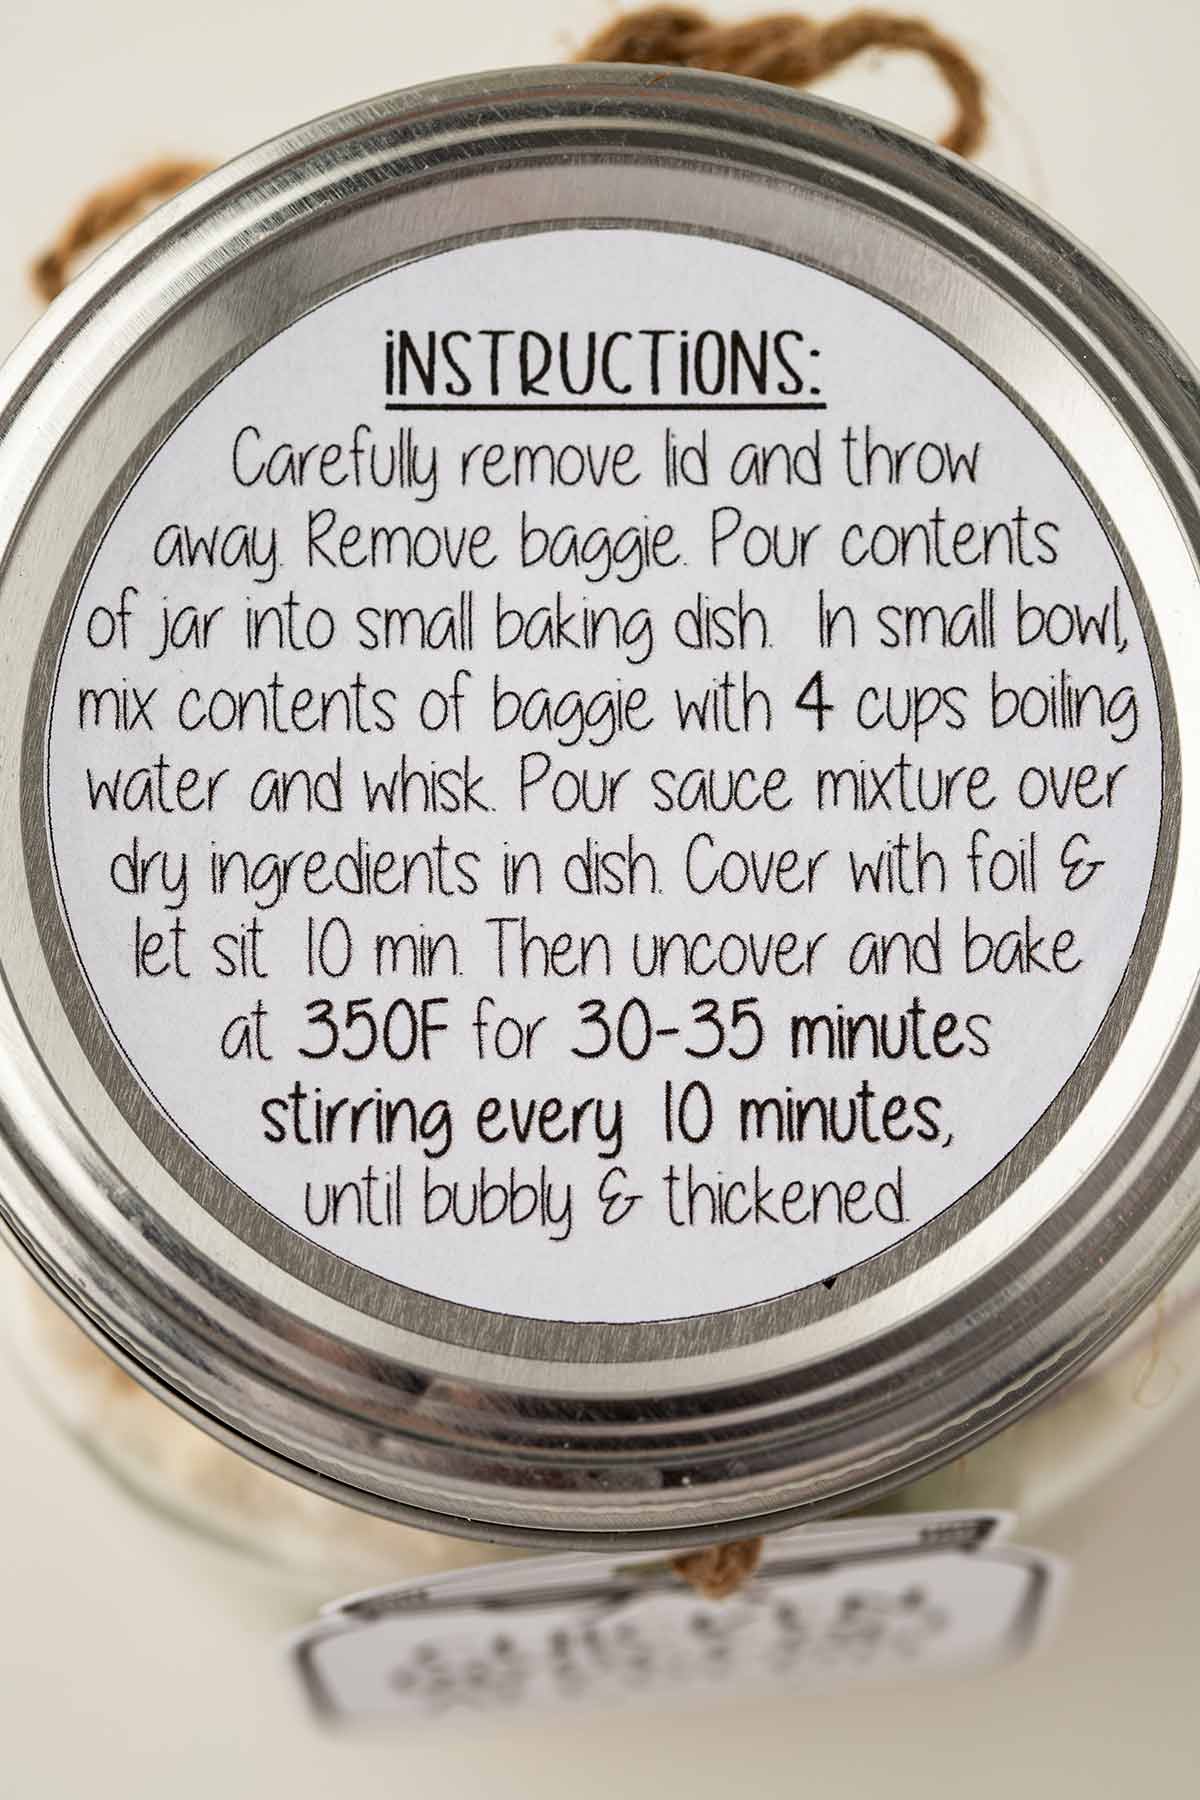
Be sure to label your jar with the contents, date when made, and baking instructions.
I have created labels with the baking instructions that you can print on label or sticker paper and affix to the jar lid. (Get the label file HERE.)
If you’re using mylar or vacuum-sealer bags, you can just write the name and date and instructions on the bag using a Sharpie marker. No need to get fancy. 😉
For best results, store your meal in a cool, dry location away from direct sunlight.
Shelf Life
The shelf life of your Chicken Broccoli Alfredo Meal in a Jar will vary a bit, depending on storage conditions and the medium you used for storage.
For this meal, in a glass jar, shelf life should be easily 5-10 years, and potentially up to 25 years.
Be sure to check on your meal in a jar periodically to make sure the seal remains intact.
If you find that the vacuum seal has been broken, immediately DISCARD all contents of the meal.
Freeze-dried ingredients, especially meats, will begin to rehydrate the moment they are exposed to moisture in the air, and can grow bacteria quickly, so this is not something you want to take chances on. If the contents of your jar or bag are no longer under vacuum seal, play it safe and discard immediately!
To Make the Chicken Broccoli Alfredo
Start by bringing 4 cups of water to a boil in a medium saucepan over medium-high heat.
To make your Chicken Broccoli Alfredo meal:
- Carefully remove jar lid and oxygen absorber (if used) and discard.
- If you used a baggie for your powdered ingredients:
- Pour contents of baggie into a medium-sized bowl. Add 4 cups boiling water and whish until smooth.
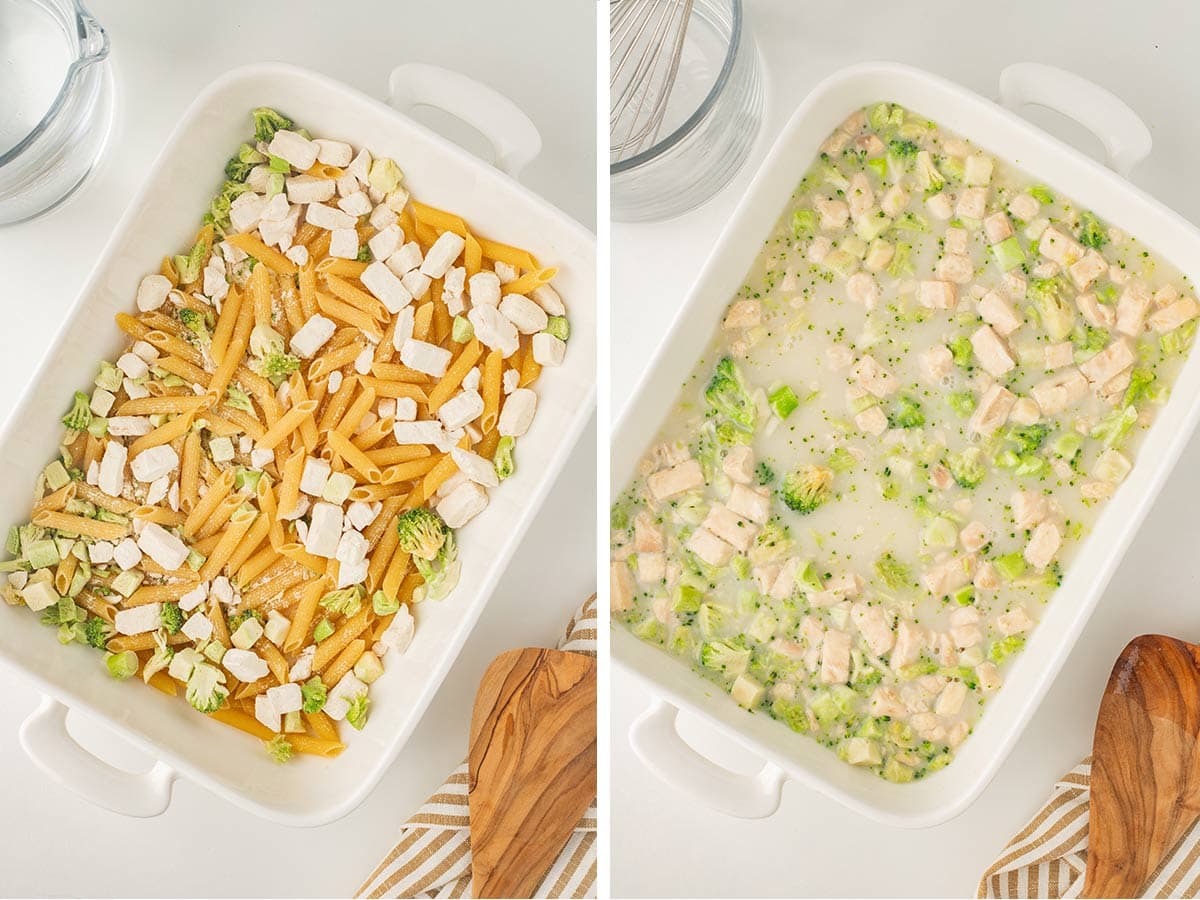
- Pour remaining contents of jar into a medium-sized baking dish (an 8×8 dish or slightly larger works well).
- Pour sauce mixture over ingredients in dish and stir, ensuring that all ingredients are wet.
- If you did NOT use a baggie:
- Pour contents of jar into a medium-sized baking dish (8×8 or slightly larger).
- Pour in 4 cups of boiling water. Carefully whisk or stir, making sure any clumps of powder have dissolved and ensuring that all ingredients are wet.
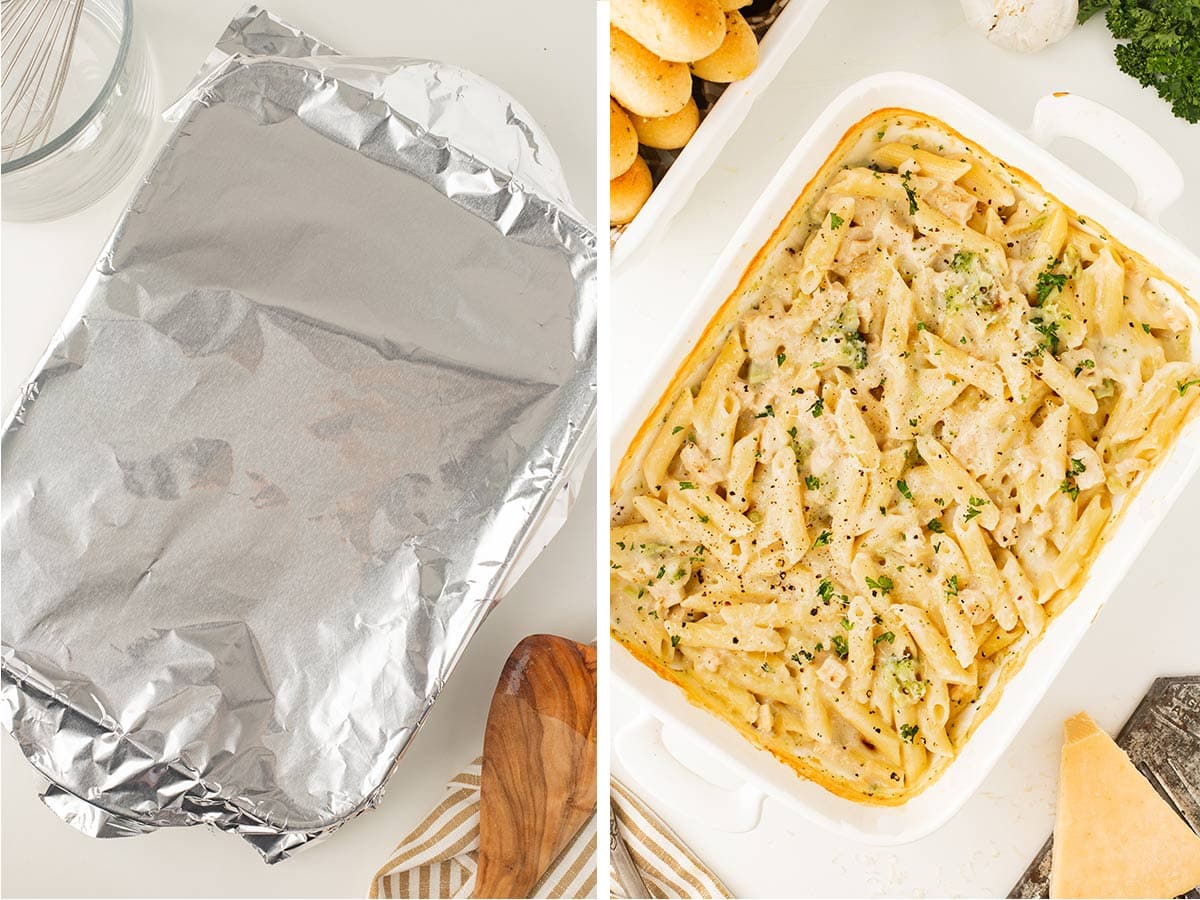
- Cover dish with aluminum foil and allow to sit for 10 minutes.
- Remove foil and bake at 350 degrees Fahrenheit for 30-35 minutes, being sure to STIR EVERY 10 MINUTES to avoid ingredients burning or scorching.
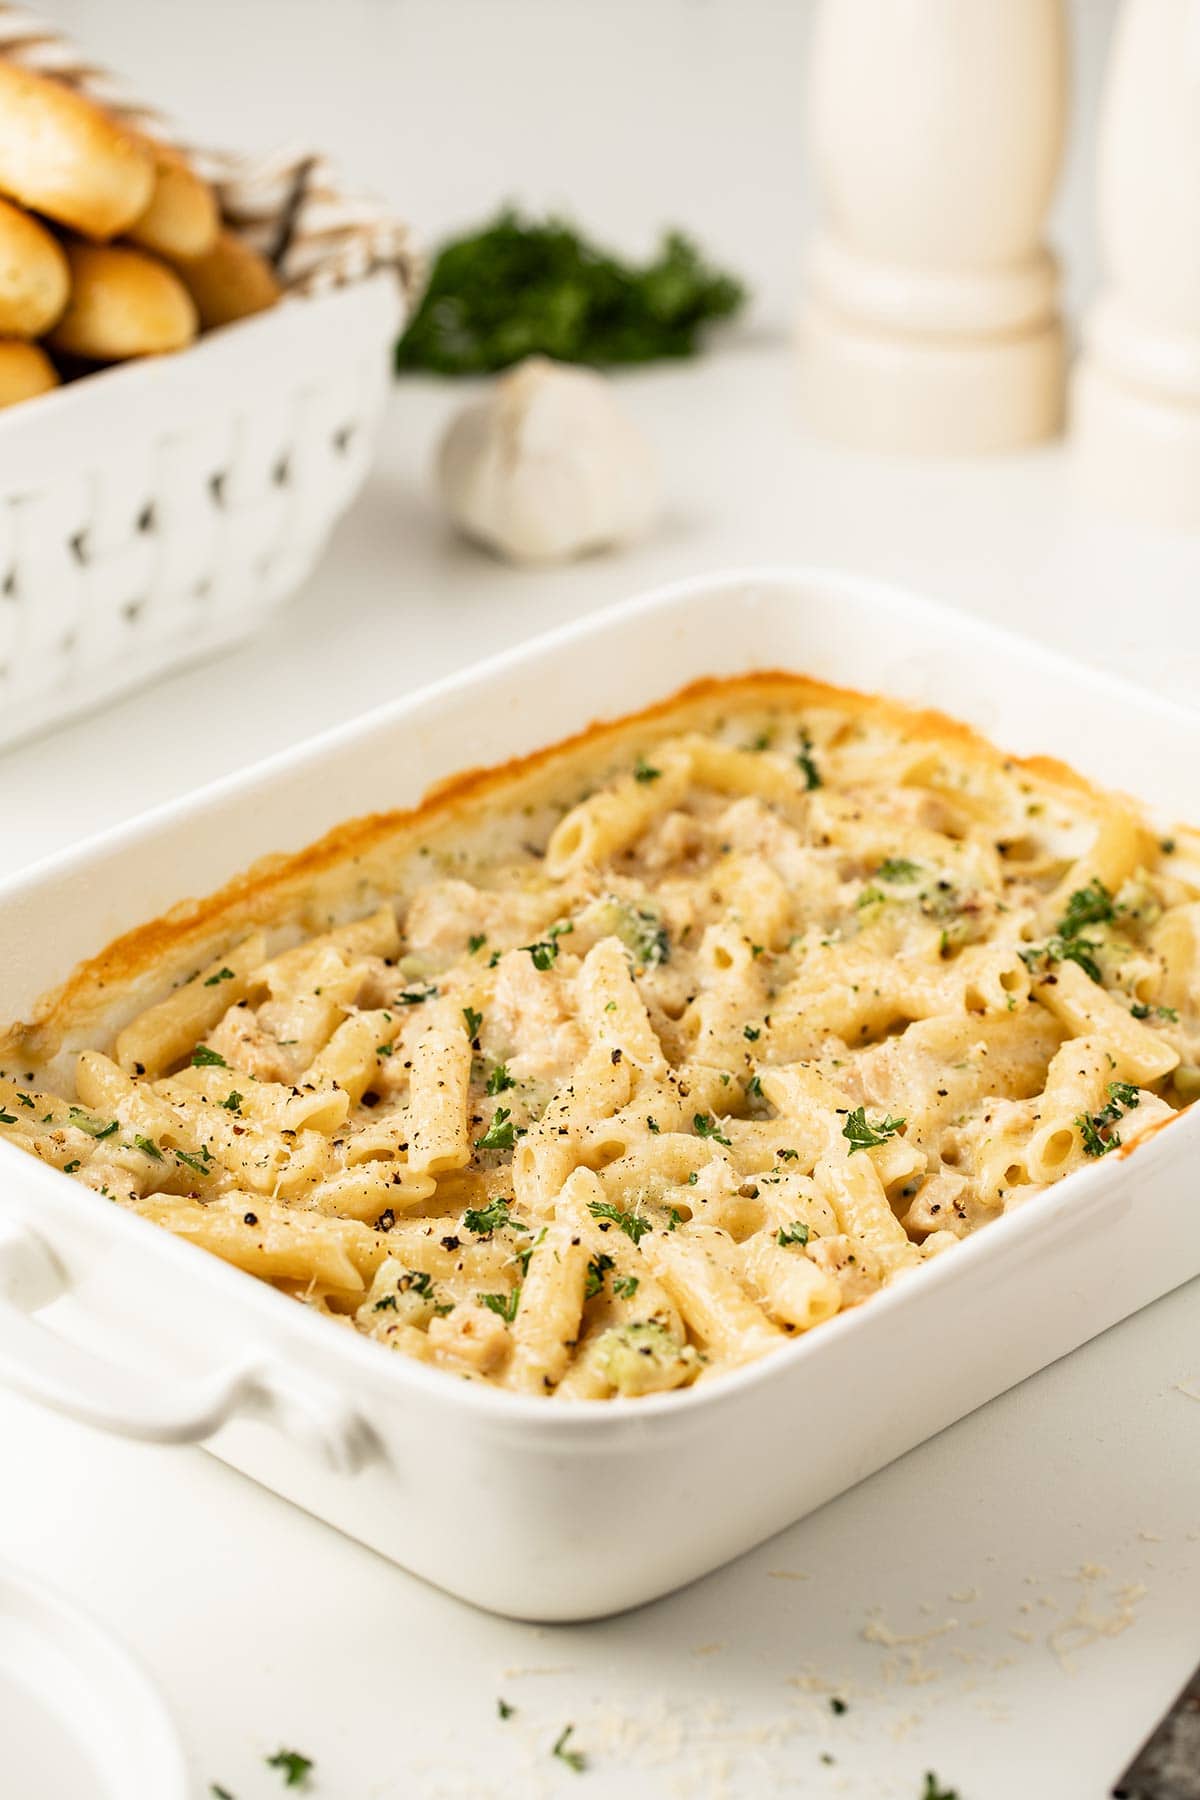
- Remove from oven and serve.
If you’d like to dress it up a bit, garnish with some freshly grated Parmesan cheese, black pepper, and chopped fresh parsley to add extra color.
You could also mix in some bacon bits too if you want to take things up a notch further. 😉
Storing & Reheating Leftovers
Once you’ve baked the meal, you can store any leftovers in an airtight container in the refrigerator for a few days.
You can reheat on the stovetop or microwave. For best results, add a bit of milk or heavy cream to prevent the sauce from drying out too much.
One great thing about this meal is that the creamy alfredo sauce is NOT prone to breaking or splitting when being reheated, unlike traditional alfredo sauce or alfredo pasta bakes.
So that’s a definite bonus point for the meal in a jar version here!
Giving as a Gift
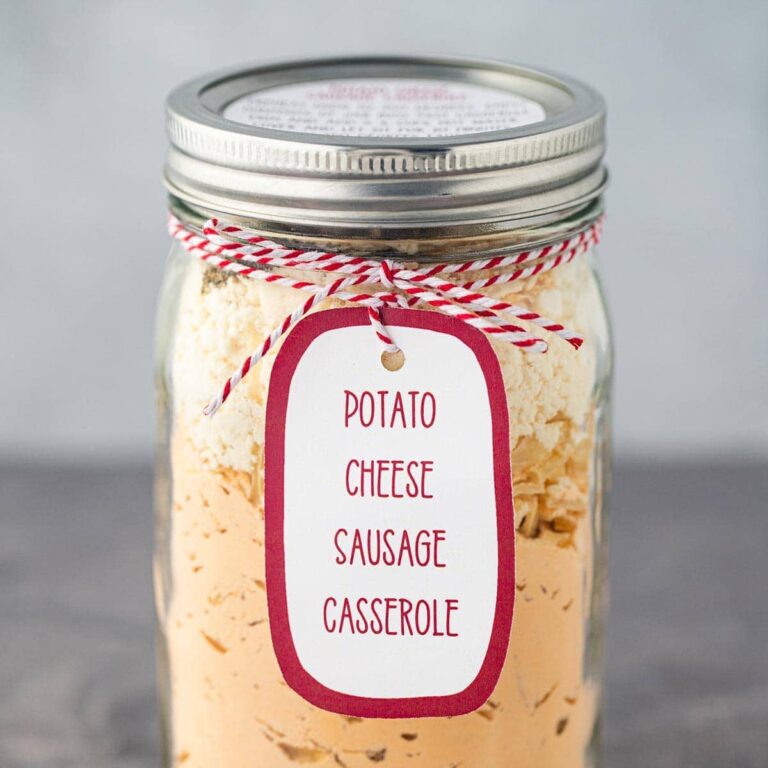
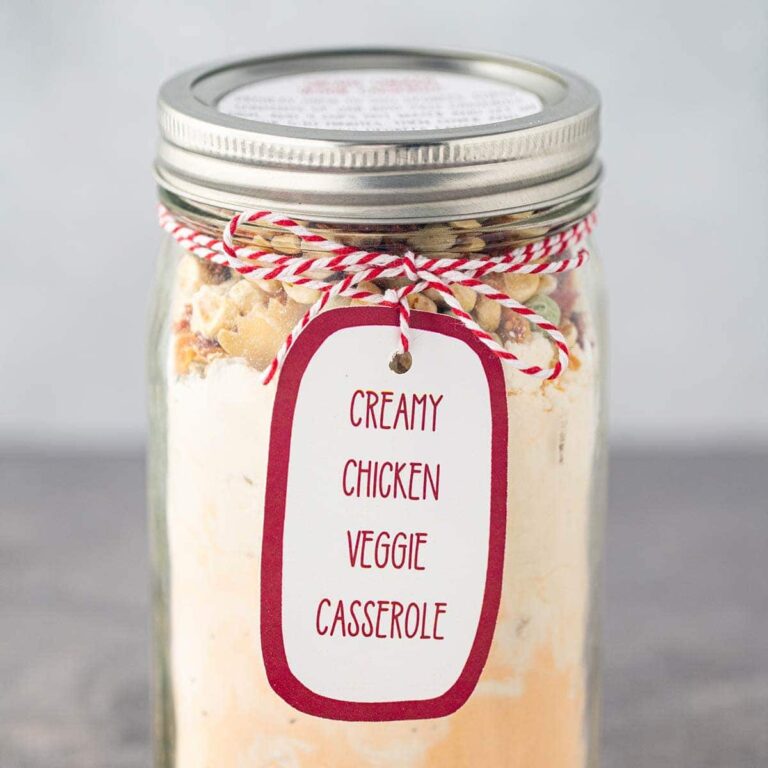
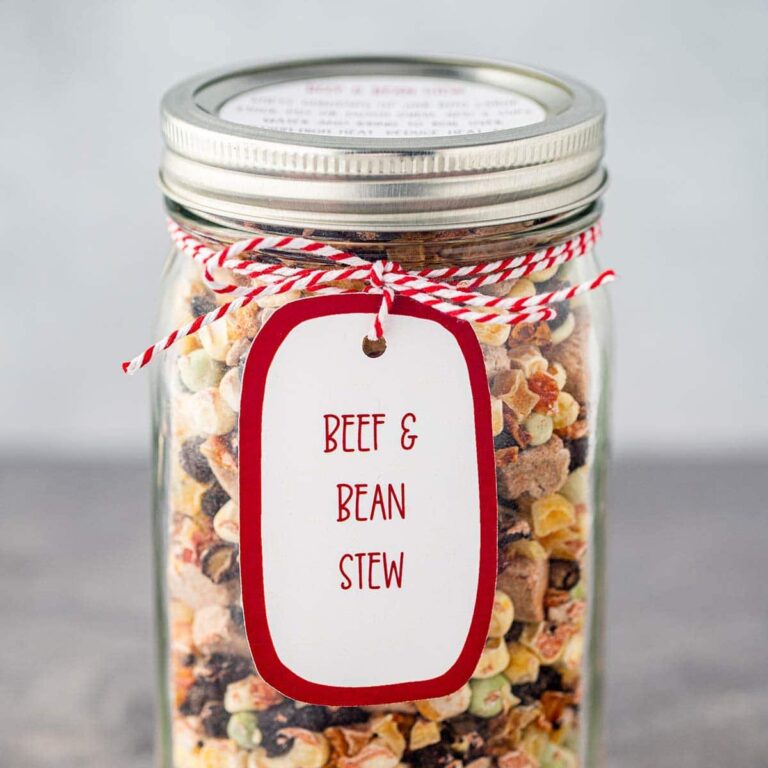
Because these meals in a jar are such a handy and convenient option for busy weeknights or dinner emergencies, they are great to give as gifts!
If you’d like to give this meal in a jar as a gift, I have created a PDF file with gift tags you can print out on cardstock and then attach to the jar with a nice ribbon or twine.
Or feel free to create your own.
Be sure to include the instructions (or I’ve made a PDF with instruction labels you can print out on sticker or shipping label paper) on your jar as well.
Hopefully I have created a great recipe for even the most picky eaters at your dinner table.
If you’d like more easy recipes for meals in a jar, be sure to check out the following:
Or if you’re looking for something you can make for dinner tonight while you wait for your freeze-dried ingredients to arrive, check out my:
- Chicken Alfredo Bake and pair it with
- Make-Ahead Freezer Garlic Bread and a simple green salad for a super easy meal!
Chicken Broccoli Alfredo Meal in a Jar
EQUIPMENT
- 1 Quart-size Wide-mouth Mason Jar
- 1 New Wide-Mouth Lid & Ring
- 1 Snack- or Sandwich-sized plastic baggie
INGREDIENTS
- 2 cups dry penne pasta
- 1/2 cup freeze-dried broccoli florets & stems
- 3/4 cup freeze-dried chicken chunks
- 2 packets Knorr alfredo sauce mix
- 1/2 teaspoon garlic powder
INSTRUCTIONS
To Make the Meal in a Jar:
- Wash and thoroughly dry a quart-size wide-mouth mason jar.
- Place items for meal into mason jar in the following order: dry pasta, broccoli, chicken.
- Pour contents of alfredo sauce mix packets and the garlic powder into a small snack- or sandwich-sized plastic baggie.
- Place baggie on top of ingredients in the jar.
- Lay oxygen absorber on top of ingredients (if using).
- Wipe off rim of mason jar to allow for a good vacuum seal with the lid.
- Place new canning lid on top of jar. Using wide-mouth jar sealer attachment, vacuum seal the lid onto your jar following the instructions for your vacuum sealer model.
- Once seal is done, remove jar sealer attachment and place ring on jar. Tighten by hand, but do not over tighten.
- Label and date. Be sure to include baking instructions.
- Store in a cool, dry location away from direct sunlight.
To Cook:
- Remove lid and oxygen absorber and discard.
- Pour contents of baggie into medium bowl. Add 4 cups of boiling water and whisk gently to combine.
- Pour remaining contents of jar into a medium baking dish (8×8 or slightly larger works well).
- Pour sauce mixture over contents and stir to wet all ingredients.
- Cover dish with aluminum foil and allow to sit for 10 minutes.
- Remove foil and bake at 350 degrees Fahrenheit for 30-35 minutes, being sure to stir every 10 minutes to avoid burning or scorching.
- Once sauce has thickened and pasta can cooked through, remove from oven and serve. Garnish with fresh Parmesan cheese, black pepper, and fresh parsley if desired.