Easy Make-Ahead Freezer Garlic Bread
Discover the ultimate time-saving hack for garlic bread lovers! This make-ahead freezer garlic bread is a game-changer. Say goodbye to last-minute preparations and hello to convenience and deliciousness.
Are you a garlic lover who craves the deliciousness of homemade garlic bread but doesn’t always have the time to make it from scratch? This easy make-ahead freezer garlic bread recipe will not only satisfy your garlic cravings, but also save you precious time in the kitchen.
By preparing this make-ahead garlic bread in advance and storing it in the freezer, you can always have a delectable side dish ready to accompany your favorite meals.
It’s like having a secret stash of garlic bread goodness at your fingertips!
Simple Ingredients for Freezer Garlic Bread Perfection
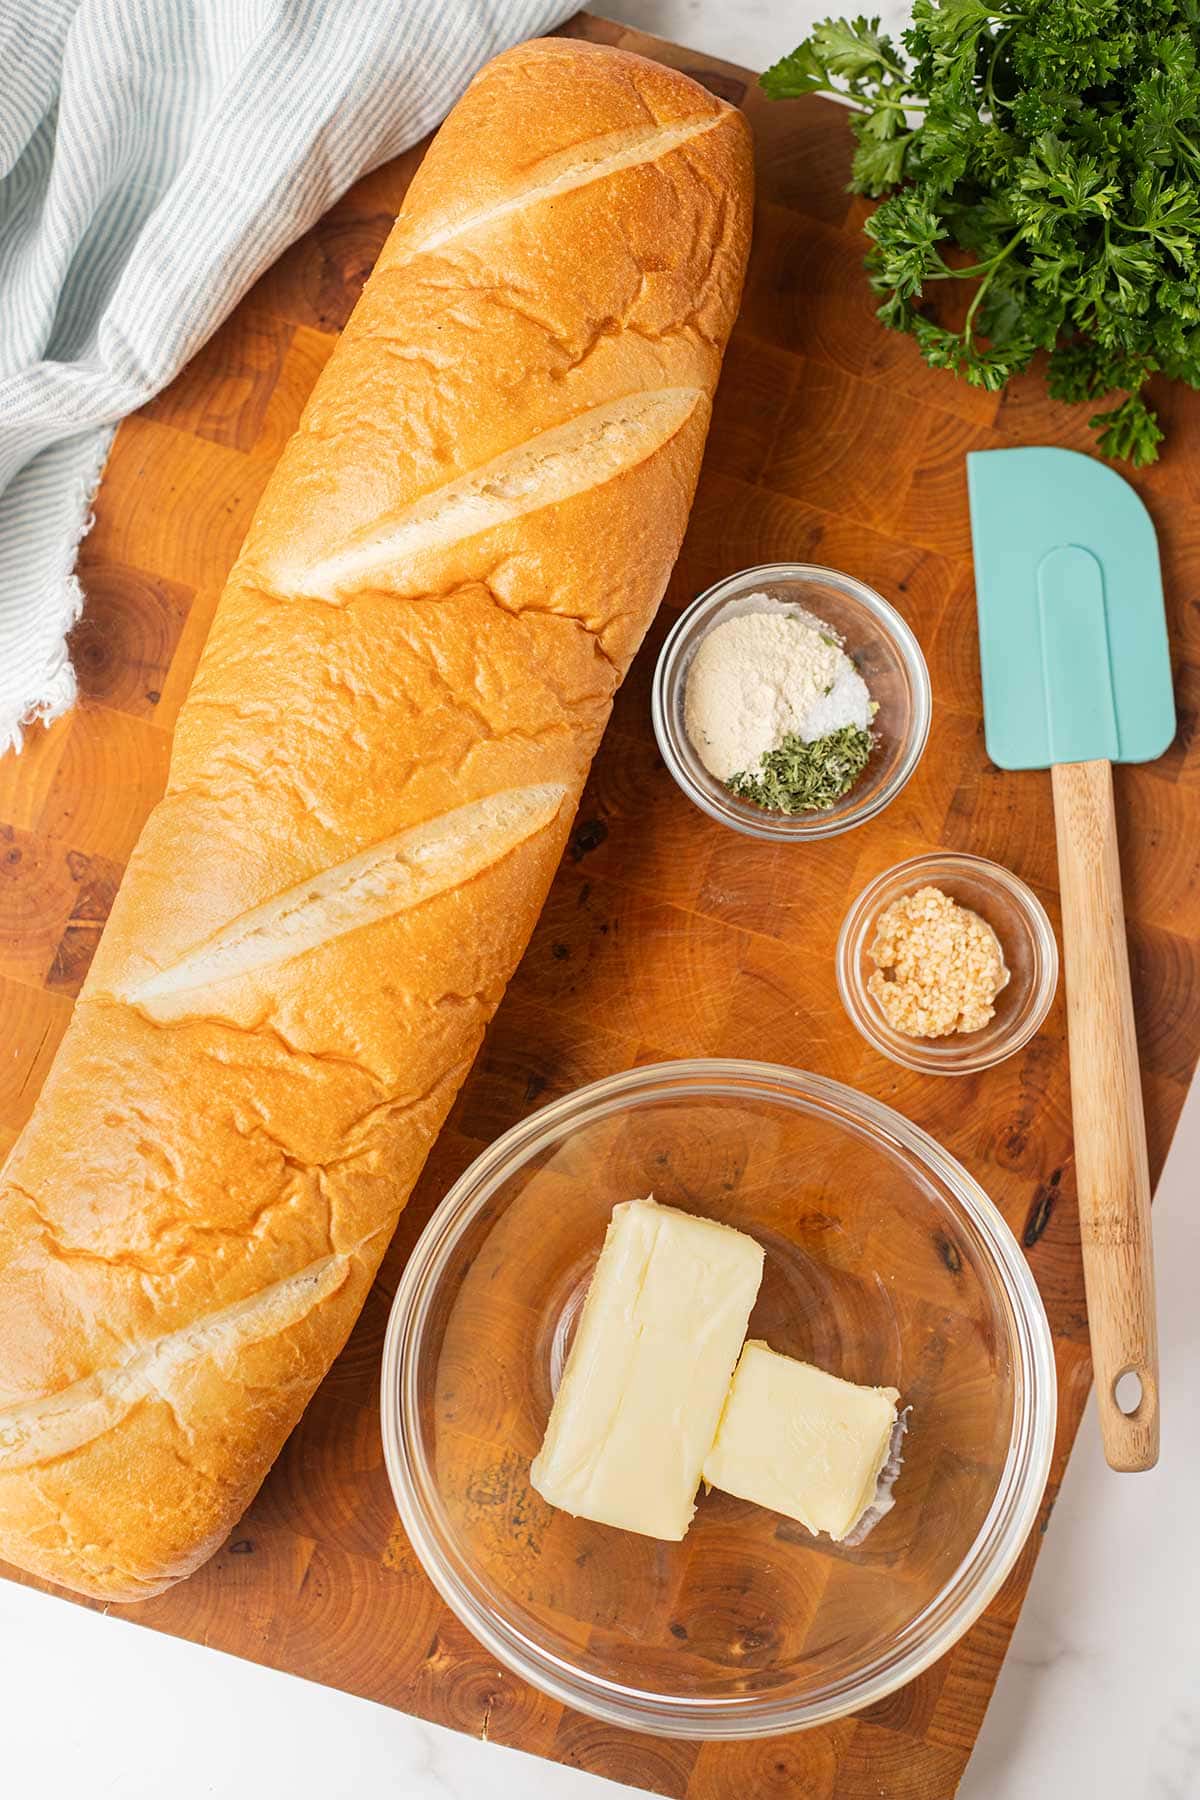
This easy homemade garlic bead recipe is incredibly straightforward, requiring just a few simple ingredients.
Here’s what you’ll need:
- A loaf of your favorite bread (it could be a crusty baguette, a loaf of French bread, or even a whole wheat option).
- Garlic (plain or roasted – I use the store-bought pre-minced kind for saving time)
- Butter (real butter, not margarine – salted or unsalted is fine, depending on your preferences)
- Garlic powder
- Parsley (I use dried for ease, but you can use fresh parsley if you’d like, just double the amount)
From Plain Bread to Make-Ahead Garlic Heaven
Now that you have your ingredients ready, it’s time to assemble the garlic bread masterpiece!
For garlic bread perfection:
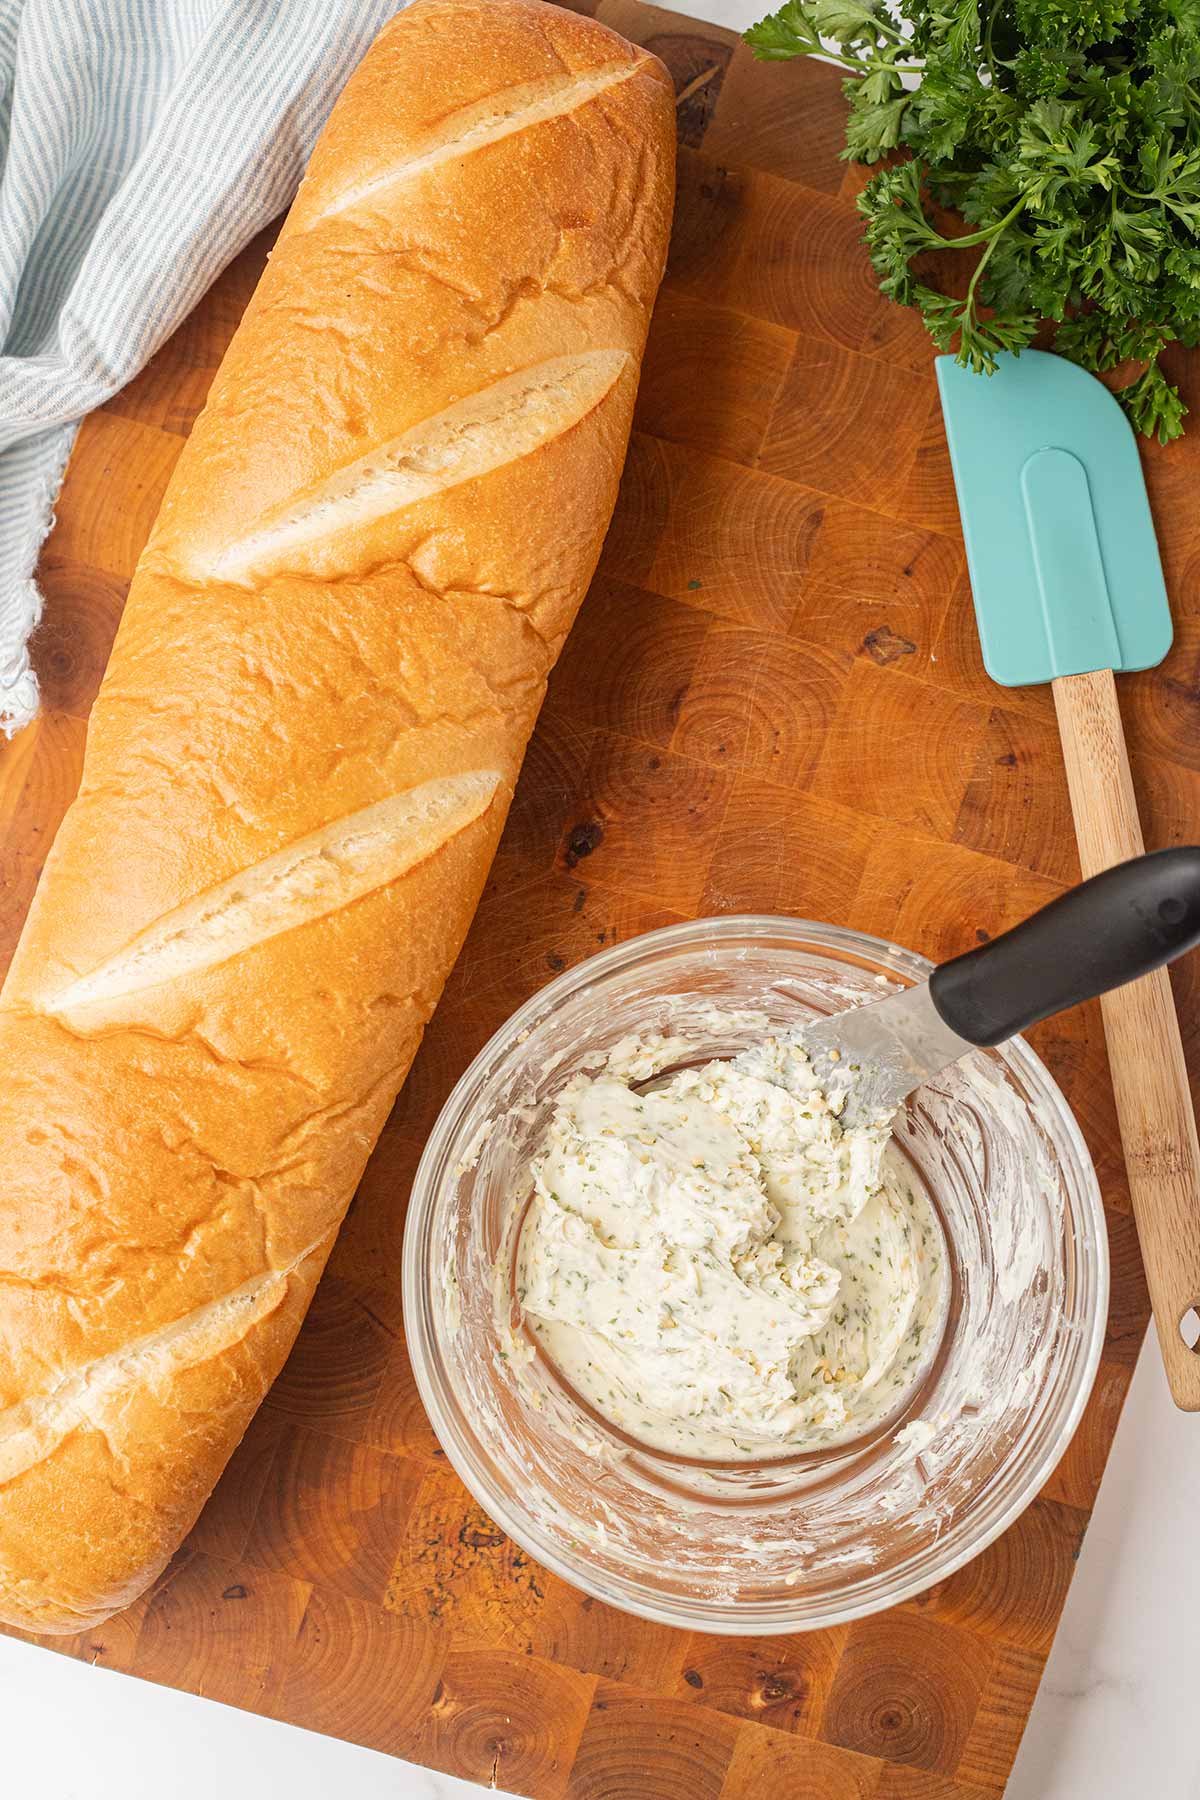
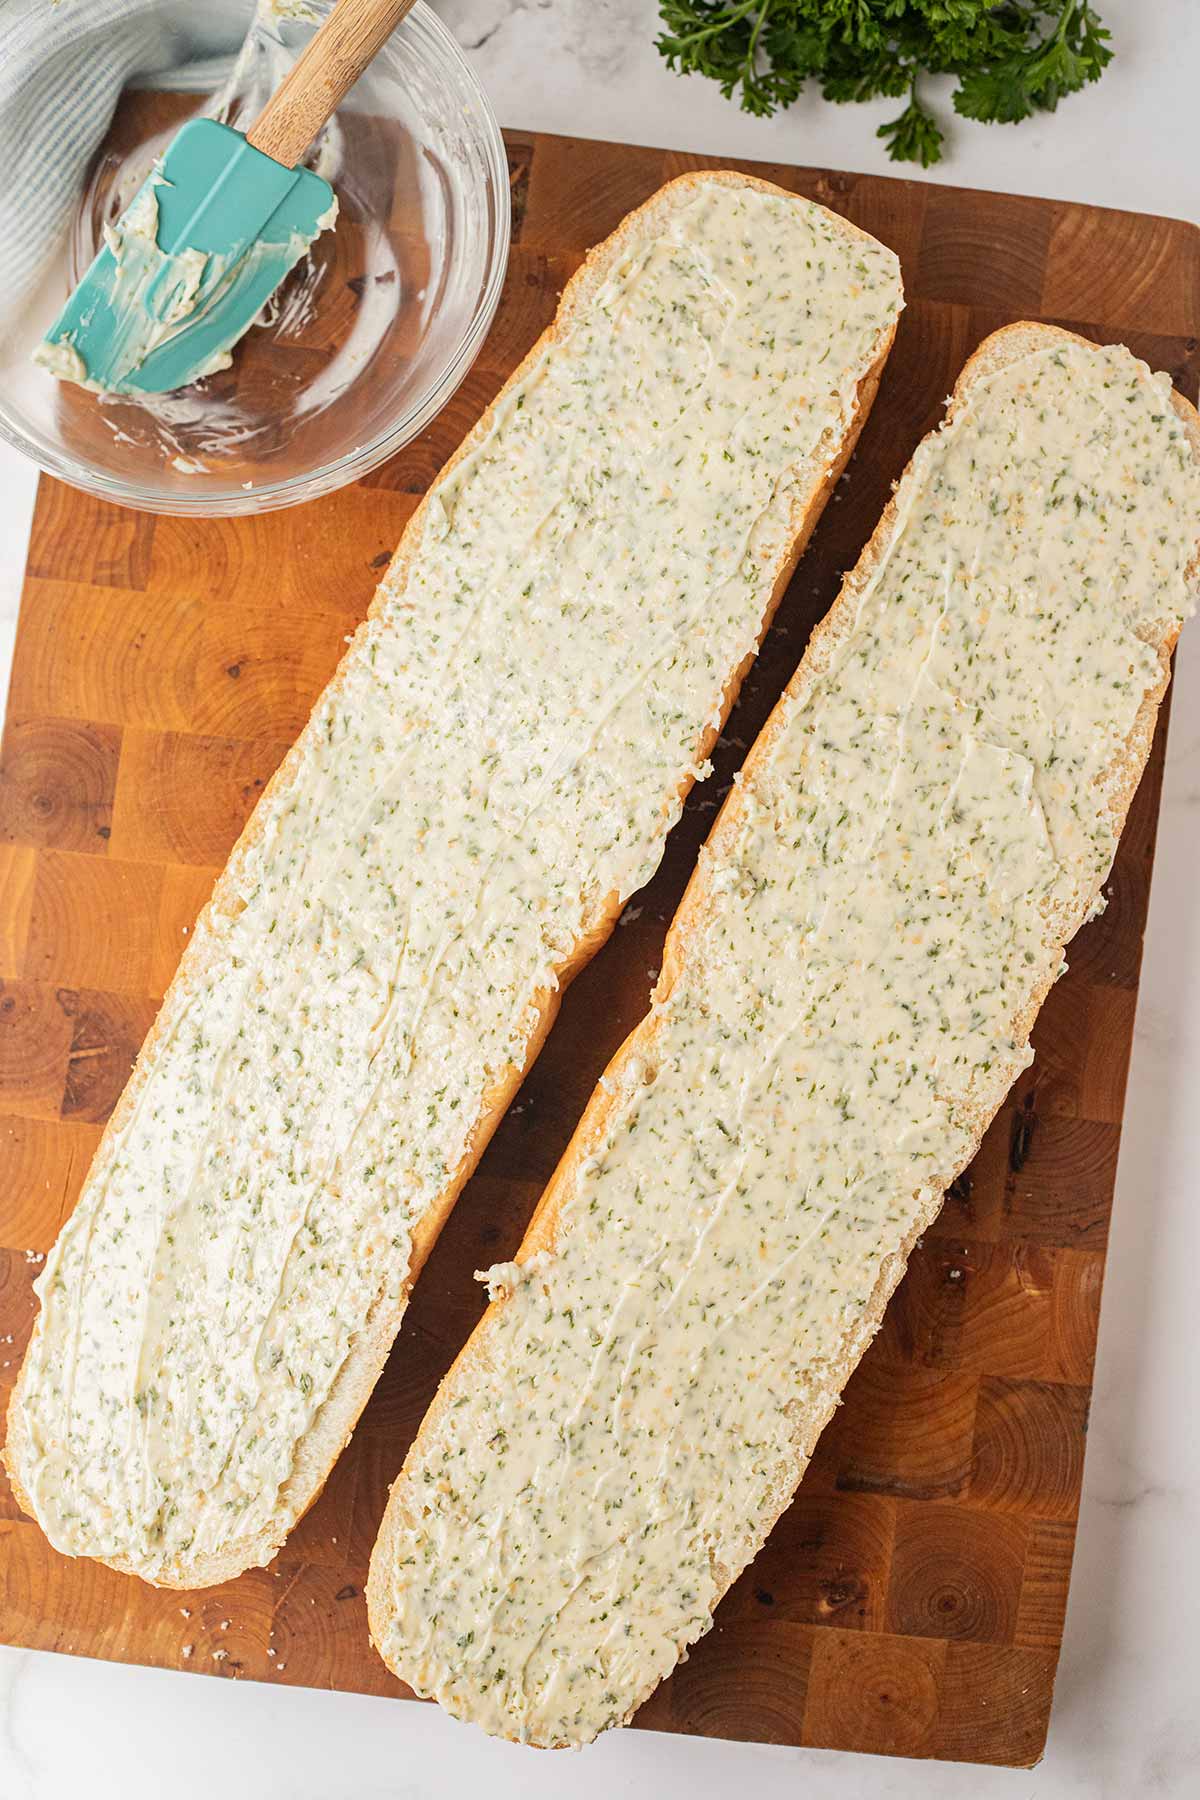
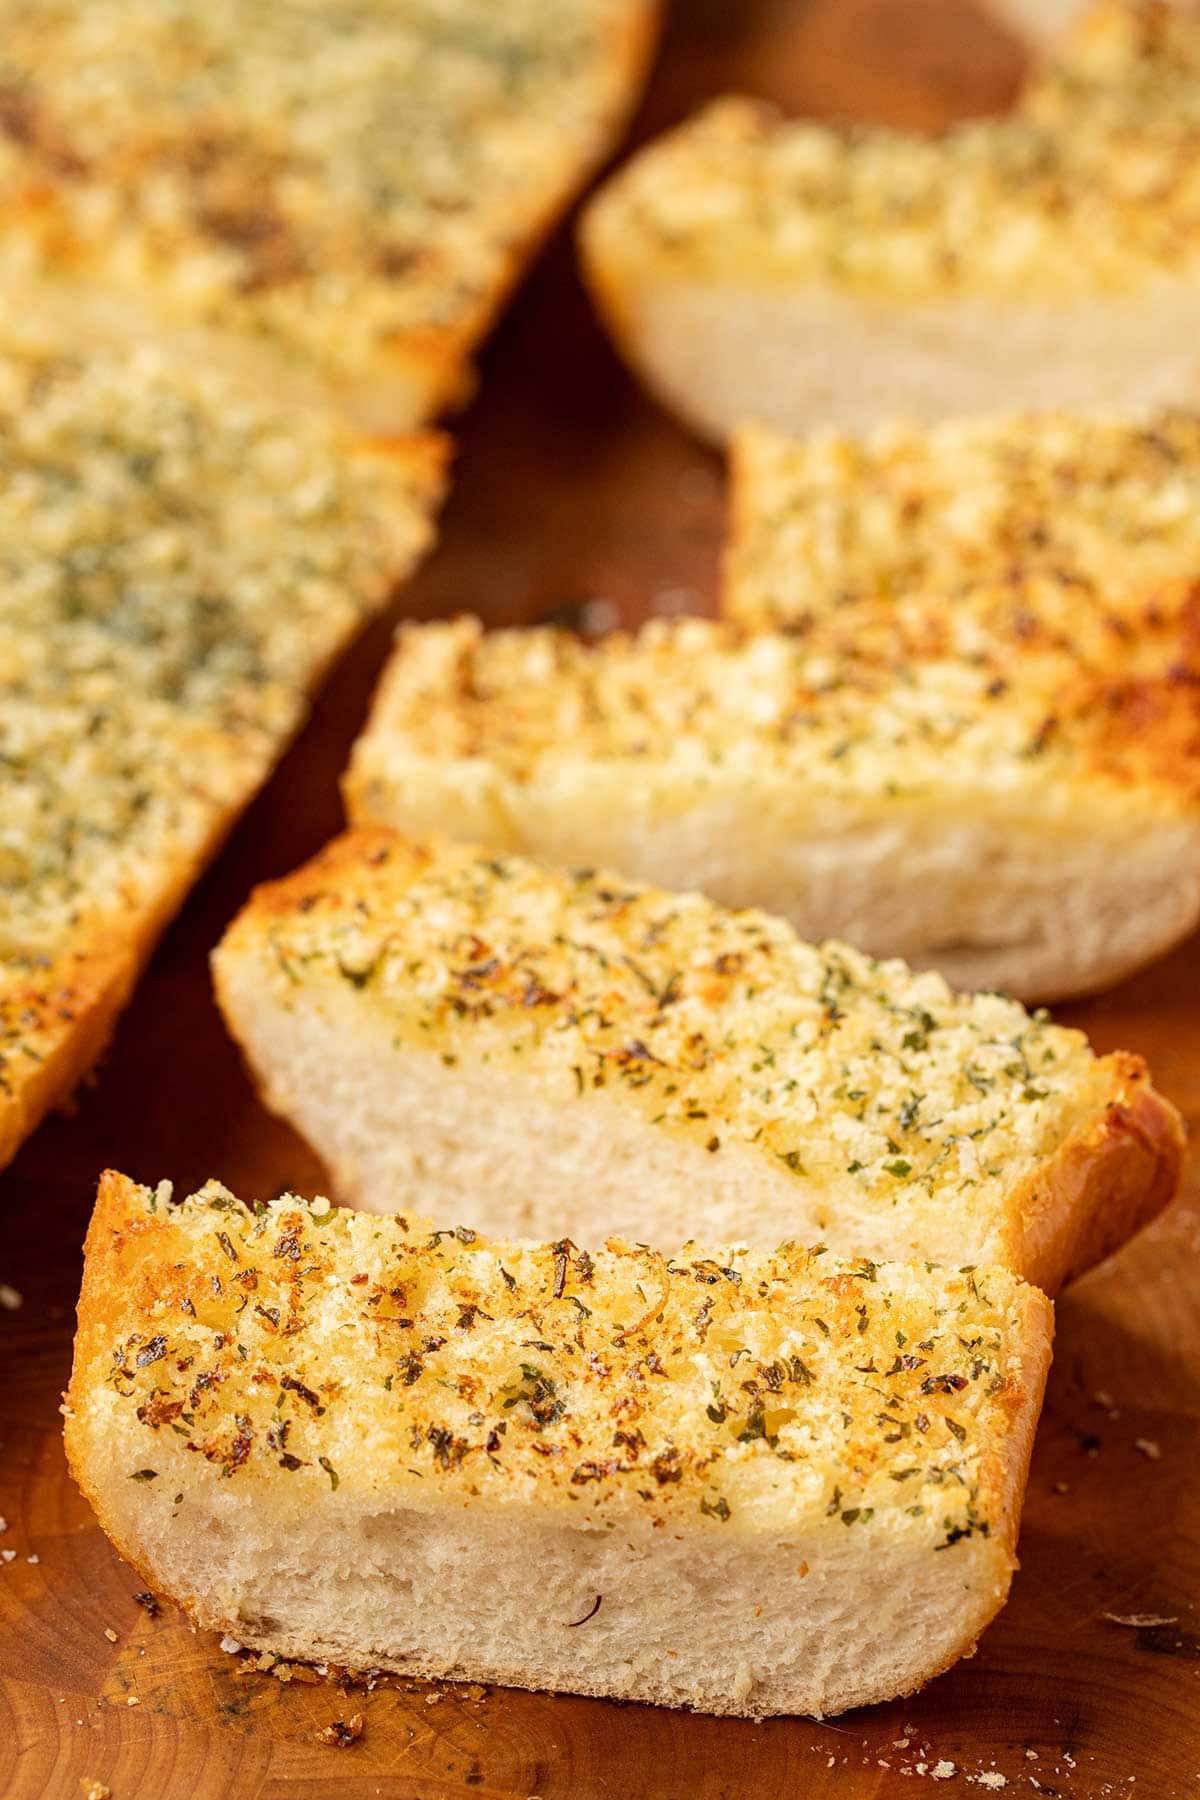
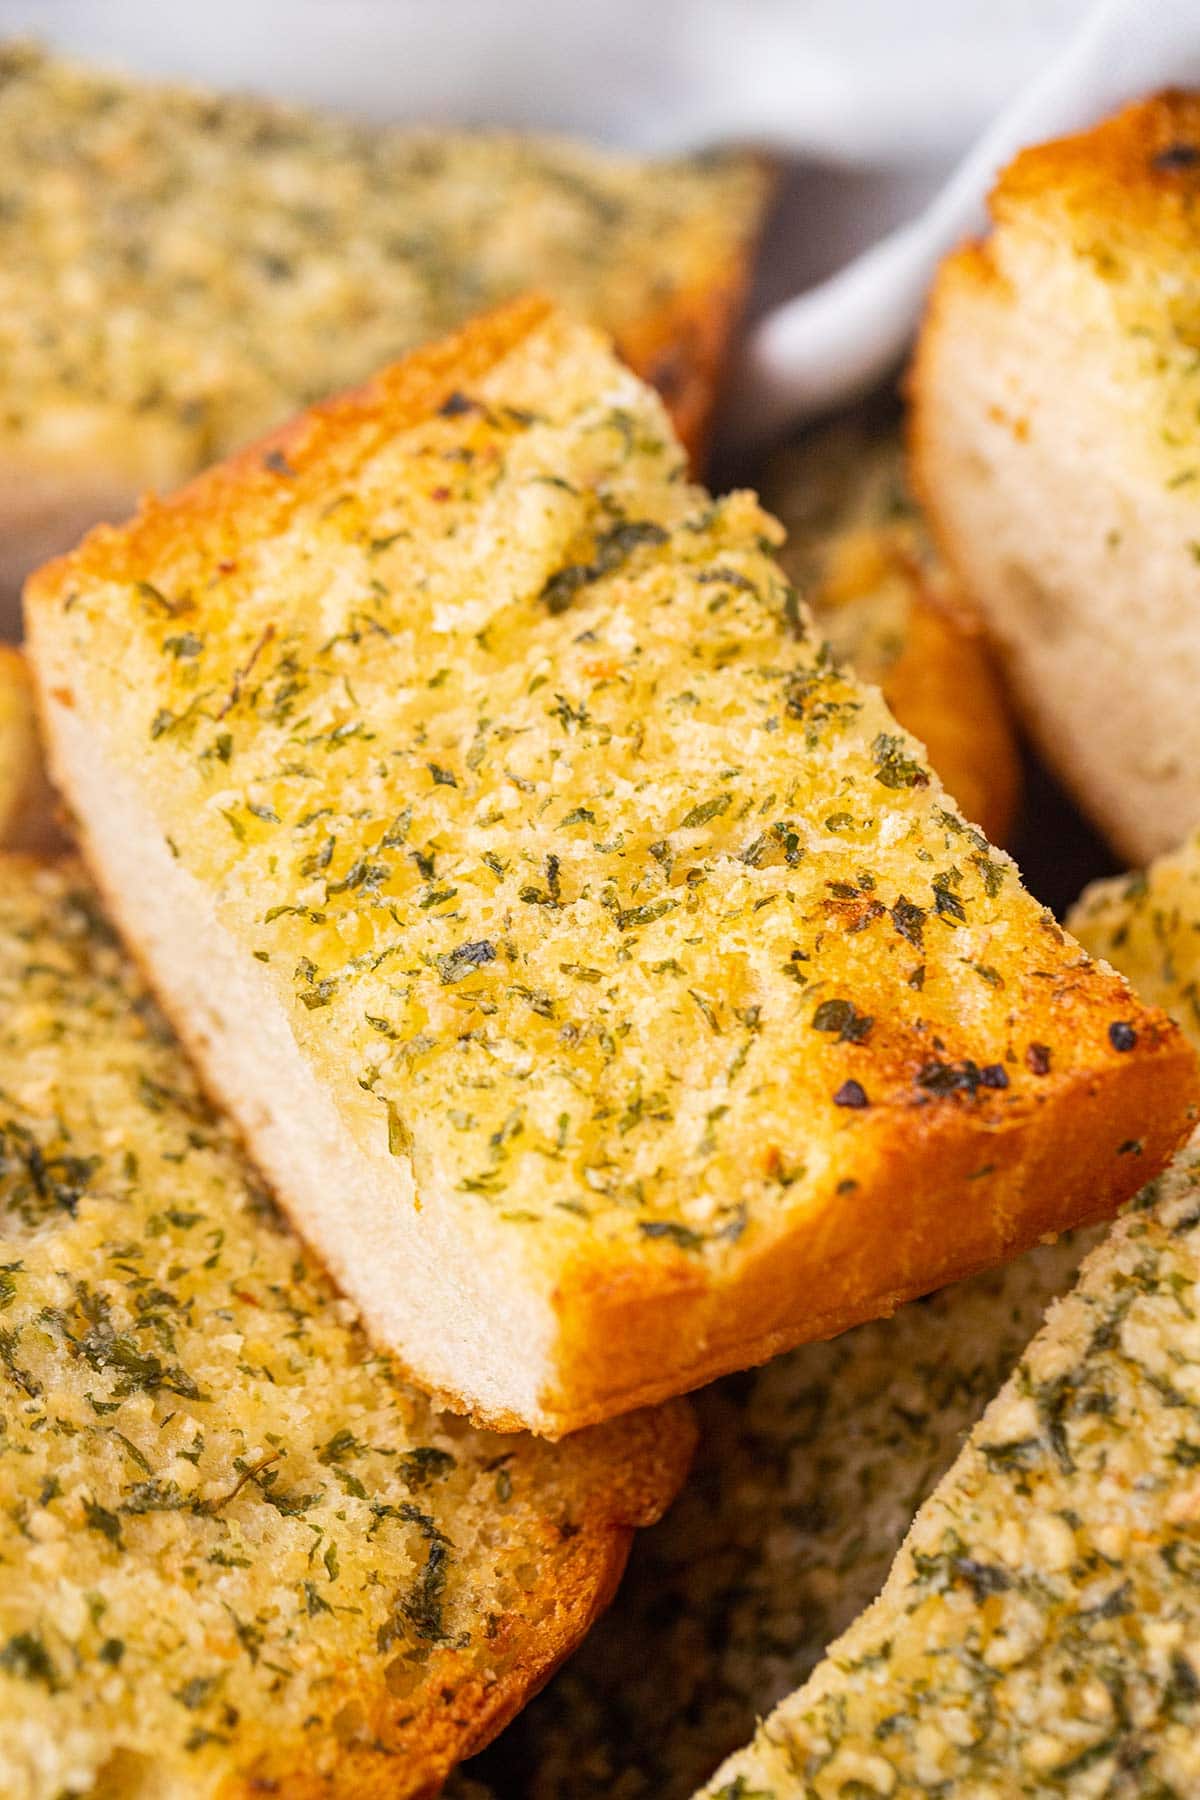
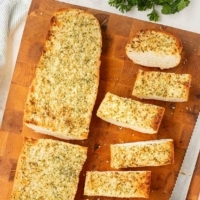
- Slice your bread horizontally and lay each half cut side up.
- In a small bowl, mix together the butter, minced garlic, garlic powder, and parsley to make a buttery spread.
- Spread the butter mixture evenly onto both halves of the loaf of bread, ensuring that a thick layer of garlic spread reaches the edges.
- Don’t skimp on the garlic! Trust me, it’s worth it.
Freezing for Future Garlic Bread Cravings
One of the greatest advantages of this make-ahead freezer garlic bread is its ability to be frozen for future cravings.
Once you’ve spread all that garlicky goodness onto the bread, you’ll want to make sure that you freezer it properly in order to ensure it stays fresh.

To do so:
- Put the two halves of the loaf back together. You can choose to leave the loaf whole or to cut it in half vertically.
- Wrap the loaf in a layer of plastic wrap and then a layer of aluminum foil.
- Alternatively, if you opted to cut the loaf in half, wrap each half individually in plastic wrap OR aluminum foil, and then store them in a gallon-sized freezer bag.
- Label the loaf or bag with the date and any reheating notes for easy retrieval and baking.
You really do need at least two layers here to help protect your make-ahead garlic bread from freezer burn. Don’t skip this part. There’s not much worse than dashed hopes of warm garlic bread with dinner because you pull it out and find that it has dried out from freezer burn or is now irreparably tainted with musty “freezer smell”.

From Freezer to Oven
When the time comes to enjoy your frozen garlic bread, you have a couple options: baking directly from frozen, or thawing it first.
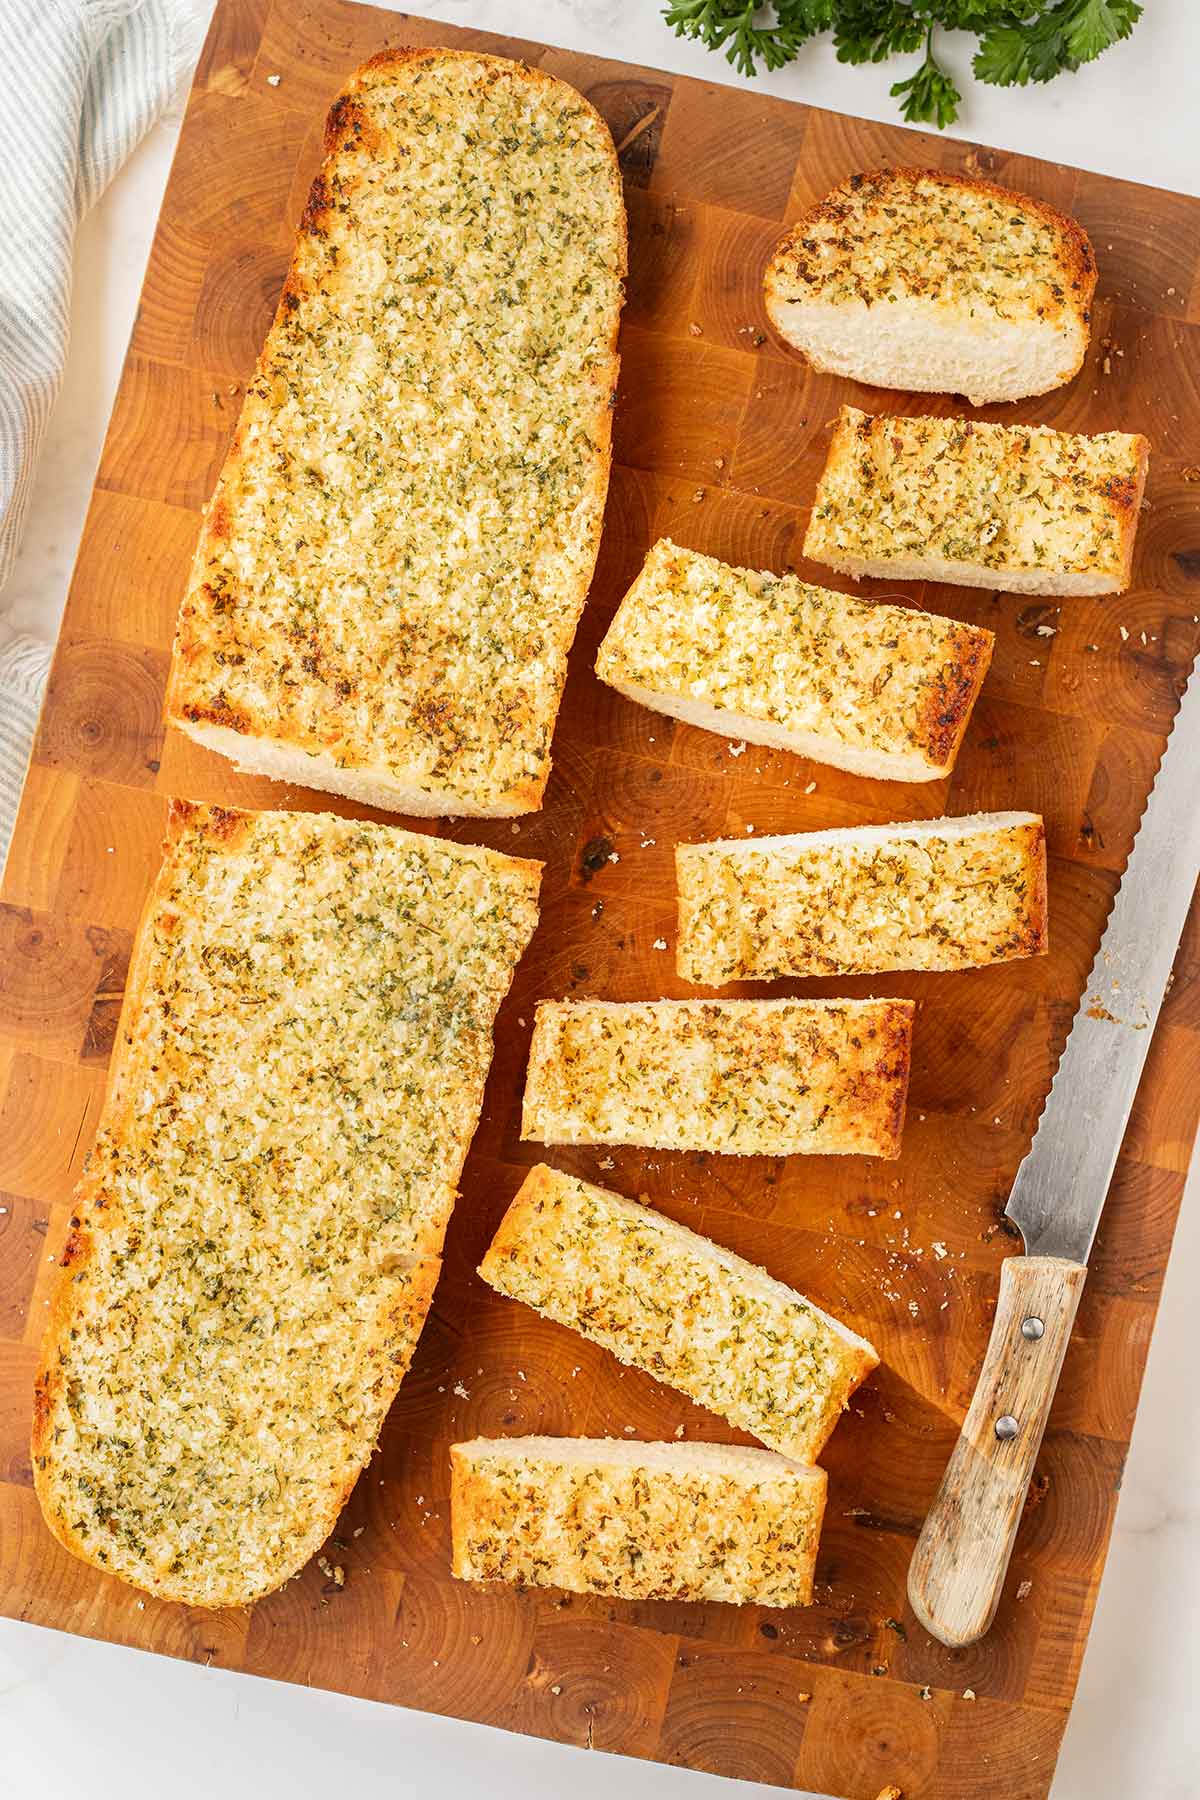
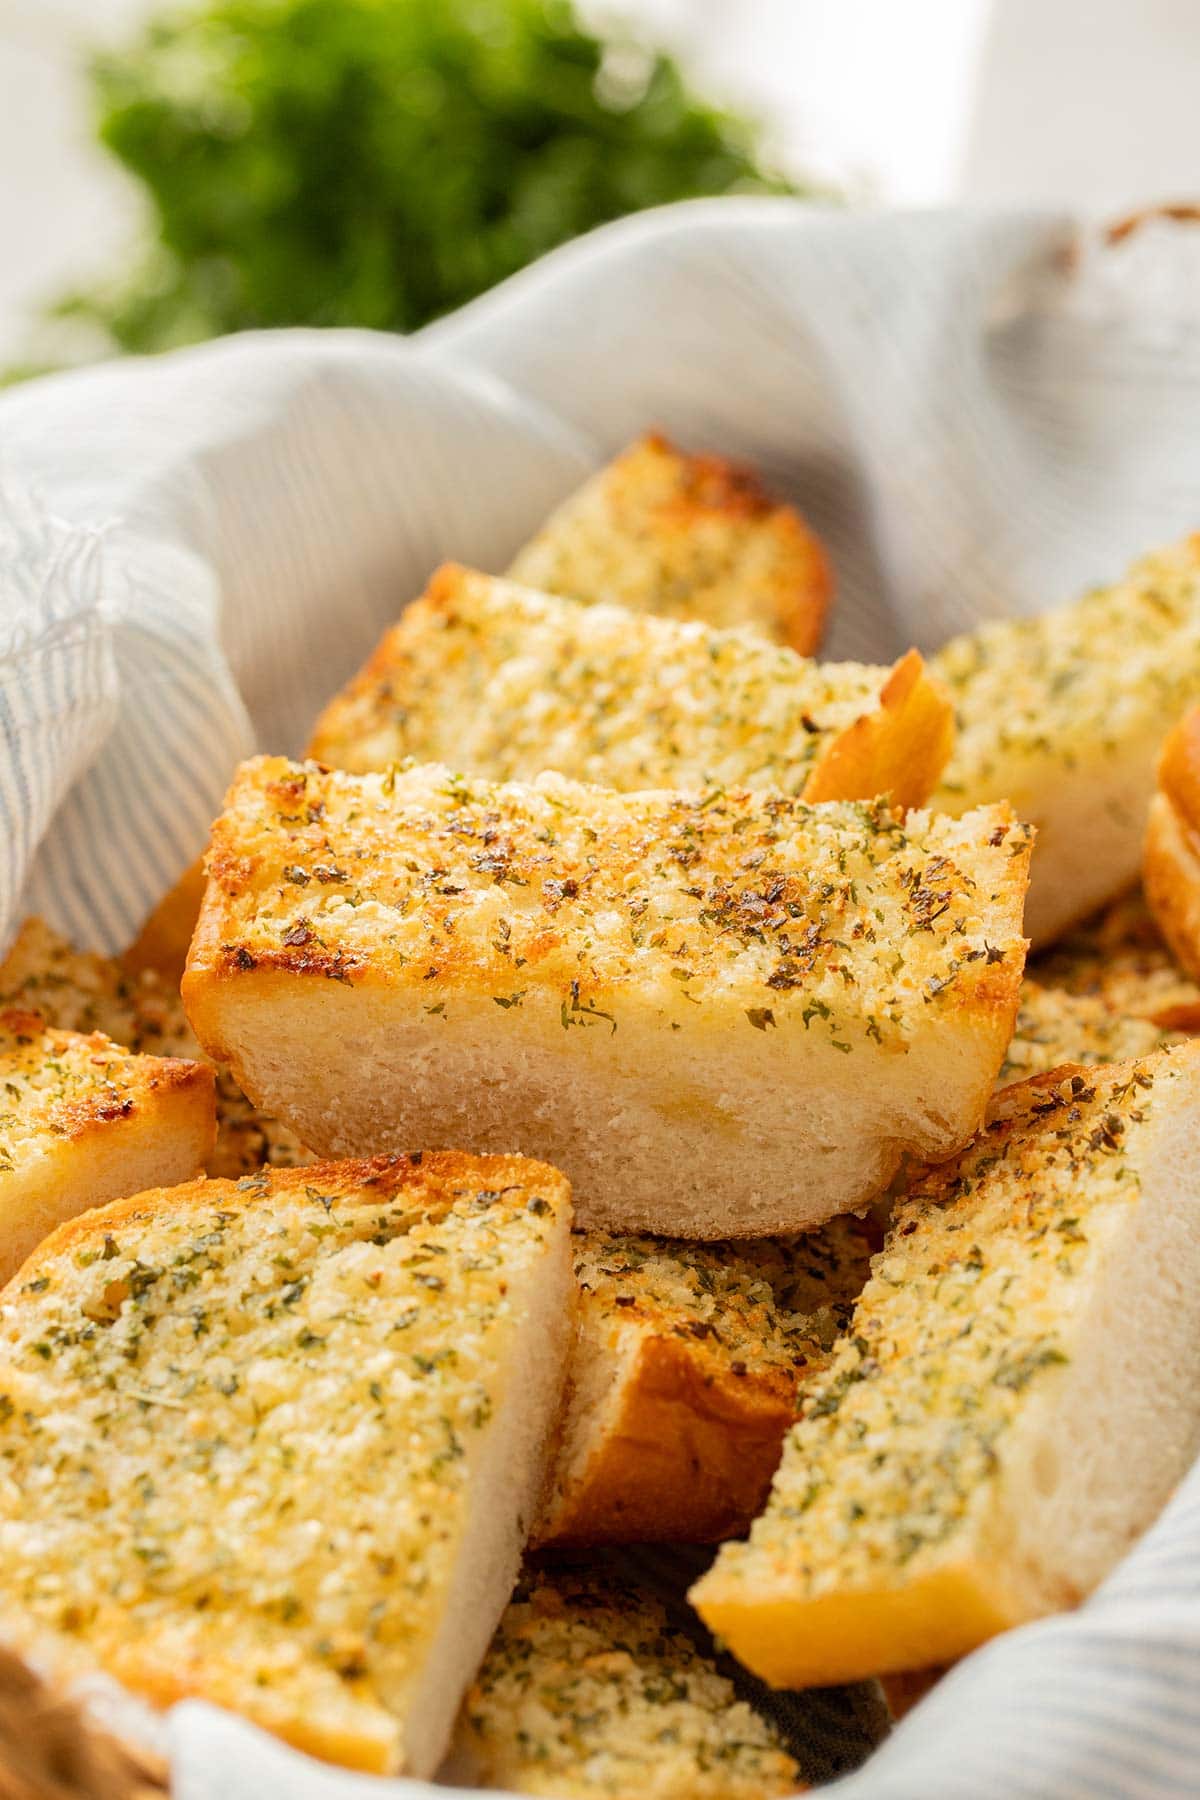
To bake from frozen: Remove any plastic wrap, wrap the loaf in aluminum foil (if not already done) and place it on a baking sheet or cookie sheet. Bake at 375 degrees Fahrenheit for 10-15 minutes. Then, unwrap the loaf, separate the halves and place them butter side up, and bake for an additional 6-8 minutes.
If you like a softer garlic bread, then you’re now good to go!
For a more toasted garlic bread with crispy edges, after baking change your oven to broil and broil for 2-3 minutes until the halves are golden brown on top and toasty crisp!
To bake from thawed: Remove the garlic bread from the freezer a few hours before (or the night before) you plan to bake it. Thaw it in the refrigerator overnight. Remove any wrapping, separate the halves butter-side up, and bake for 6-8 minutes. Proceed with broiling if desired.
Tips and Tricks for Perfect Freezer Garlic Bread
- Experiment with different types of bread to find your favorite. Italian bread tends to have a chewier texture, while French bread results in a lighter and crispier bite.
- Again, don’t skimp on the garlic! Adjust the amount of garlic to suit your taste buds.
- Sprinkle Italian seasoning or your favorite combination of herbs on top of the butter mixture before freezing, for an extra burst of flavor.
Serving Suggestions
This easy garlic bread recipe is a versatile companion to many dishes!
It really likes to hang out with pasta sauce and sometimes it just really wants to hang at the pub with a good beef stew.
Here are a few combinations for you to try:
- Pair it with pasta dishes for carb nirvana! I highly recommend this Chicken Alfredo Bake (and use the extra garlic). The buttery, garlicky goodness perfectly complements the flavors of the creamy alfredo sauce!
- Enjoy it with a warm bowl of tomato soup for ultimate comfort, or make up some Hearty Meatball Soup in your Instant Pot as your star’s sidekick for the evening.
- Use it as a base for bruschetta, or even as a tasty addition to a sandwich.
- Transform any leftovers into delicious croutons or breadcrumbs for added crunch in your favorite recipes. Try them on this easy Parmesan Chicken Casserole or as part of the topping for this make-ahead Bruschetta Chicken!
Next Level Garlic Bread
While I already personally think that this easy garlic bread recipes makes for some of the best frozen garlic bread out there (way better than store-bought garlic bread in most cases), I’m willing to concede that there are lots of options for kicking this up a notch.
So if you want to take your make-ahead freezer garlic bread to the next level, here are some variations to try:
- Cheesy garlic bread – Sprinkle shredded mozzarella cheese, mild or sharp cheddar, or a blend of your favorite cheeses over the garlic spread before freezing. This will crate a delicious cheesy crust when baked.
- Herbs and spices – Experiment with different combinations to give your garlic bread a unique twist. You can add oregano, basil, thyme, or even red pepper flakes to the garlic butter mixture before spreading it onto the bread.
- Parmesan crust – For a crispy and flavorful crust, consider adding a layer of Parmesan cheese on top of the garlic spread. This will create a golden, cheesy coating when baked.
- Roasted garlic – Instead of using raw garlic or garlic cloves, you can roast them before mixing them with the butter. Roaster garlic has a milder and sweeter flavor, which can add depth to your garlic bread creation.
- Sun-dried tomatoes – For a burst of tangy flavor, mix chopped sun-dried tomatoes with the garlic butter spread for a hint of tangy sweetness.
- Pesto – If you’re a fan of pesto, consider spreading a thin layer of pesto sauce on the bread before adding the garlic butter. This will infuse the bread with the vibrant flavors of basil, pine nuts, and Parmesan.
- Bacon – For a savory twist, you can sprinkle crumbled, cooked bacon on top of the garlic spread to add a smoky and salty flavor to your creation. And really, isn’t just about everything better with bacon…?
These variations can all be customized to suit your personal preferences, so feel free to experiment and create your own unique masterpiece!
Parting Garlic Bread Wisdom…
By making your own garlic bread, you can take control of the flavors, convenience, and endless possibilities that this buttery carbohydrate delight has to offer.
So gather your ingredients, assemble with love, and get ready to savor every garlicky bite.
Your taste buds will thank you!
And if you make this, and find that this is indeed the very best garlic bread recipe, be sure to let me know in the comments or tag me on social media!
FAQs for Make-Ahead Freezer Garlic Bread
Yes, you can use just about any type, including whole baguettes, Italian loaves, whole wheat bread, homemade bread, or even leftover sandwich bread. They are all fabulous as garlic bread!
Yes, you certainly can! Use thick slices (1-inch slices of bread) for a more Texas toast garlic bread. Butter each slice individually, and freeze them separately or as a whole loaf. You may need to adjust the cook time for frozen slices of garlic bread.
To prevent freezer burn, it’s important to wrap your bread tightly in aluminum foil or plastic wrap. Also provide a second layer of protection with either freezer bags or another airtight storage container. This will help maintain the freshness and quality of your garlic bread.
This make-ahead garlic bread can typically be stored for 3 months or longer. However, it’s best to use within 4-6 weeks for optimal taste and texture.
Yes, you can! Following the baking directions provided above (and on the recipe card).
It depends on your personal taste preferences. Both options work great for this garlic bread recipe, so choose whichever one appeals to you the most.
Make-Ahead Freezer Garlic Bread
INGREDIENTS
- 1 loaf French bread or other favorite type of bread
- 3/4 cup butter softened
- 1 tablespoon dried parsley
- 2 teaspoons minced garlic
- 1 teaspoon garlic powder
- 1/2 teaspoon salt
INSTRUCTIONS
To Prepare:
- Cut bread in half horizontally.
- In small bowl, mix butter, parsley, garlic, garlic powder and salt together until well combined.
- Spread butter mixture evenly over both halves of the bread.
To Freeze:
- Place loaf halves back together with butter sides facing.
- Wrap loaf in plastic wrap, then in a layer of aluminum foil.
- Alternatively, cut loaf loaf in half vertically, and wrap each half in a layer of plastic wrap OR aluminum foil, and then place in a gallon-sized zip-top freezer bag or airtight freezer container.
- Label your loaf or bag with the contents and date and include baking instructions. Then place in freezer to freeze.
To Bake From Frozen:
- Remove from freezer and remove any plastic wrap. Wrap loaf in a aluminum foil.
- Place on baking sheet and Bake at 375 degrees Fahrenheit for 10-15 minutes.
- Unwrap bread, set halves butter side up, and return to oven for 6-8 more minutes.
- Optional: After baking time is up, change oven setting to broil, and broil the garlic bread loaves for 2-3 minutes, watching carefully to prevent burning.
To Bake From Thawed:
- Remove from freezer a few hours before (or the night before) needed. Place in refrigerator to thaw.
- Once thawed, remove any wrapping.
- Separate loaf halves and place them butter-side up on a baking sheet.
- Bake at 375 degrees Fahrenheit for 6-8 minutes.
- Optional: After baking time is up, change oven setting to broil, and broil the garlic bread loaves for 2-3 minutes, watching carefully to prevent burning.