Homemade Ham & Cheese Hot Pockets (Freezer-Friendly!)
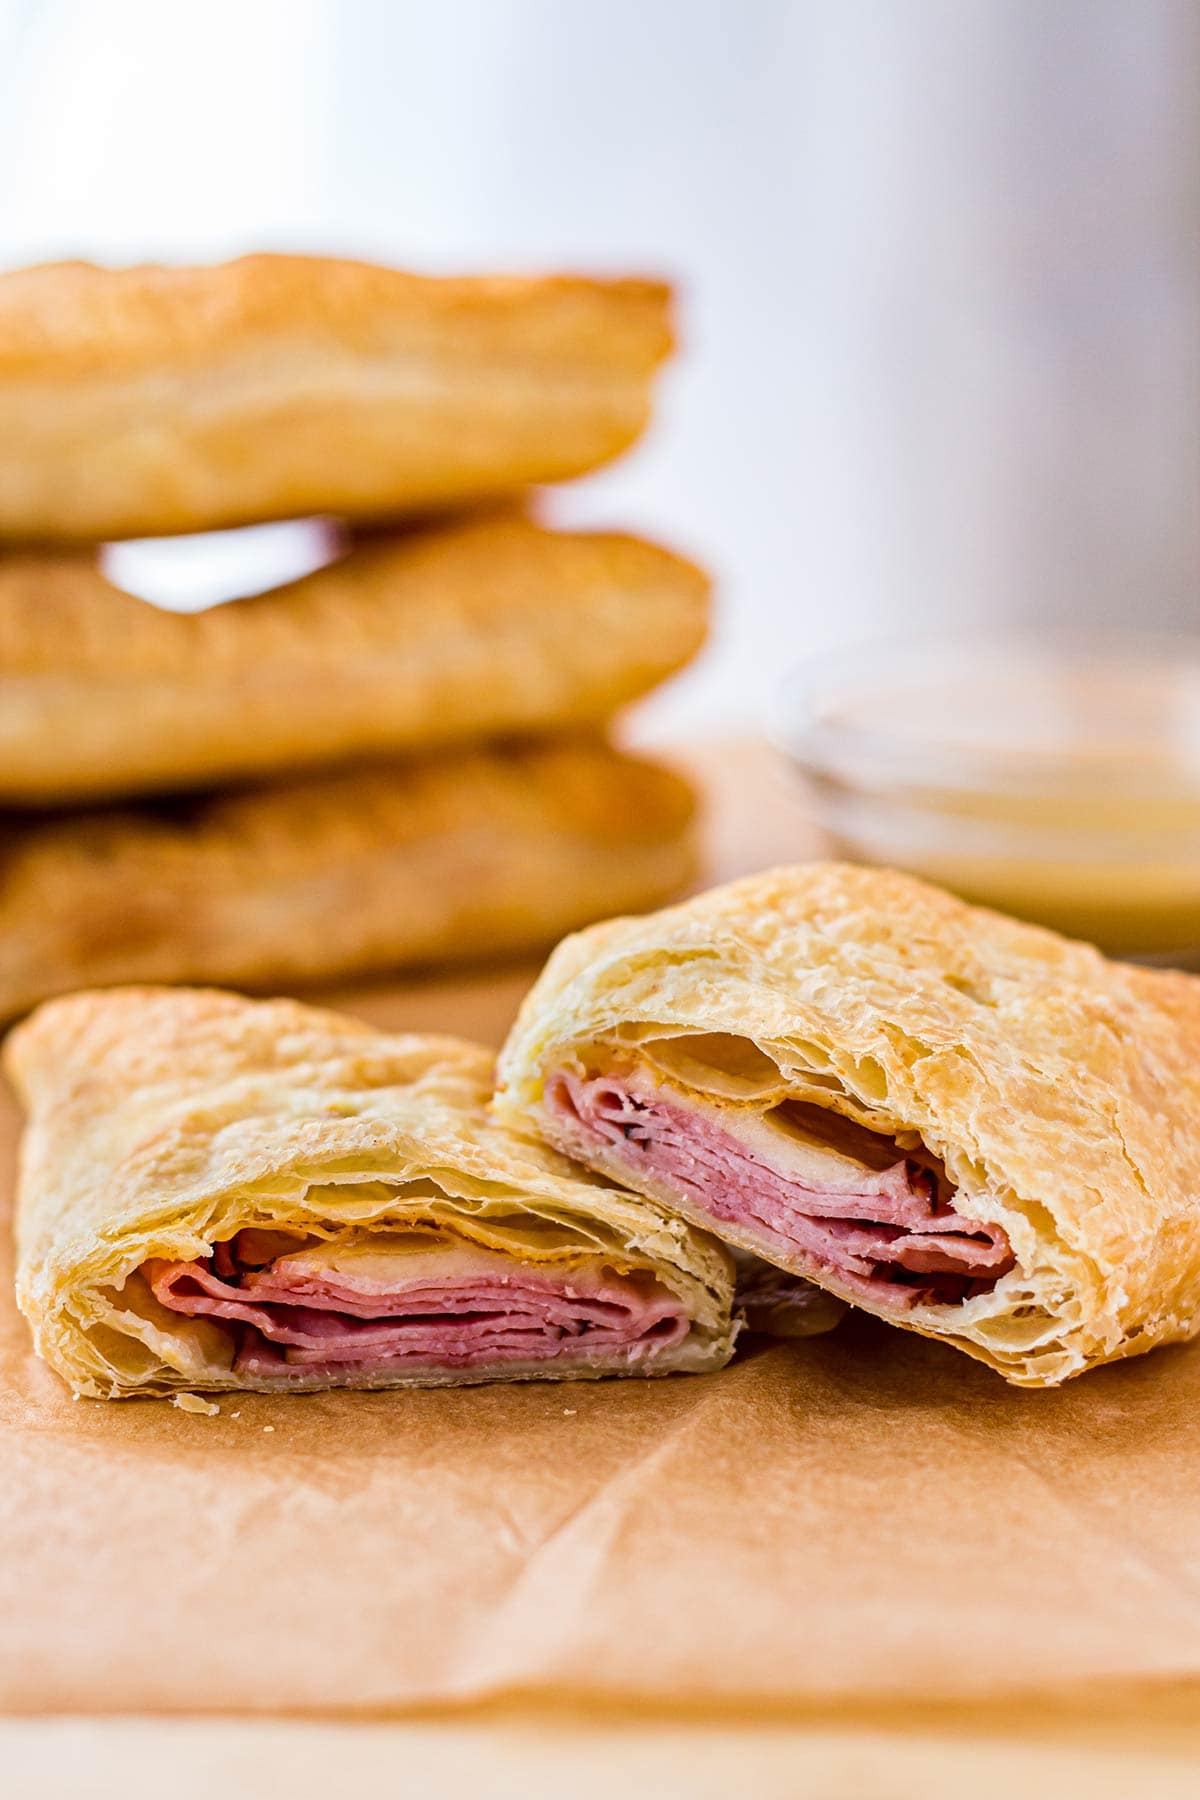
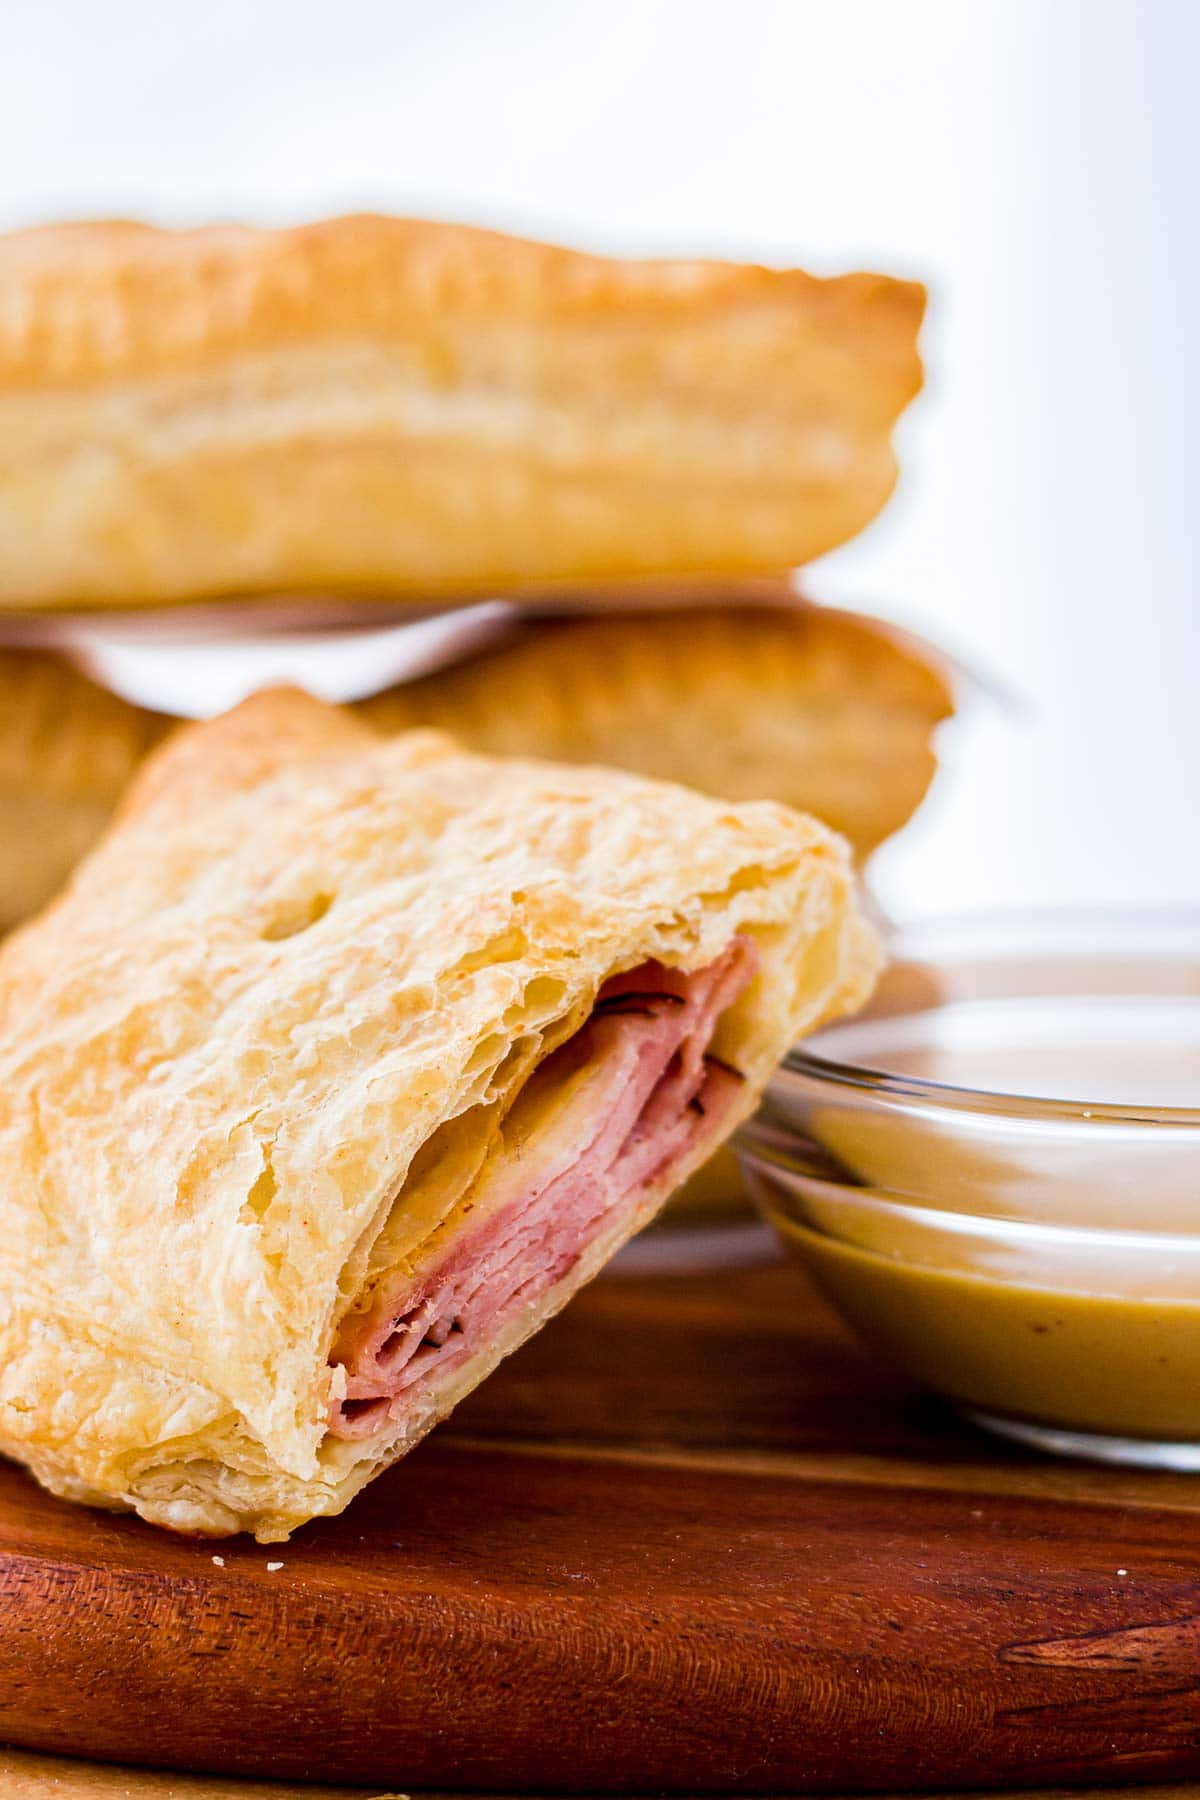
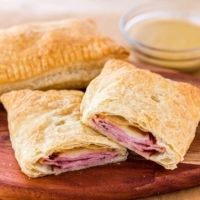
Make your own homemade freezer-friendly Ham & Swiss Hot Pockets at home for cheap!!! They are perfect to keep in the freezer for easy dinners, school lunches or after-school snacks! They take only minutes to make and taste delicious!
Healthy Homemade Ham & Cheese Hot Pockets
I’m afraid I can’t lay any claim to fame for these homemade ham & cheese hot pockets…
I’m not even sure I can say that I’ve ever eaten the “original” commercial item that these little hot pockets are based on, so I am entirely unable to tell you whether these taste anything like their store-bought relatives or not.
What I CAN tell you is that these are a slightly modified version of a delightful recipe I found on Dessert Now Dinner Later for Ham and Cheese Pockets.
And after a very insightful article from Cook’s Illustrated regarding refreezing puff pastry dough, and a couple of test runs in my freezer, I am happy to report that these homemade ham and cheese puff pastry pockets work wonderfully as a freezer meal!!
There really isn’t even much of a “recipe” per se.
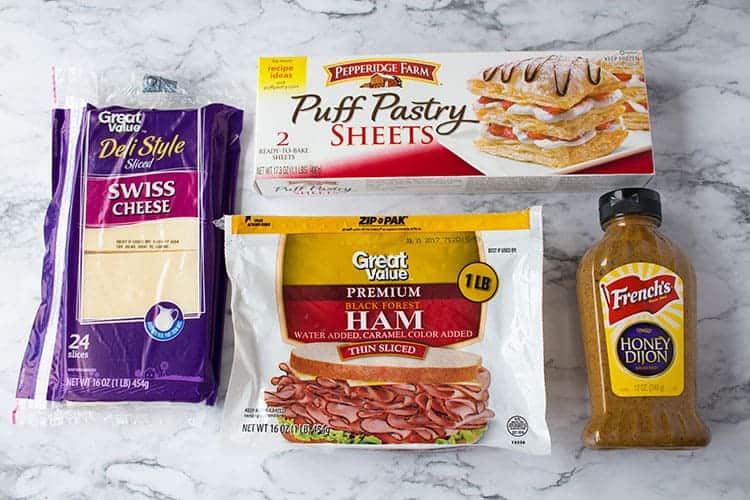
Ingredients For Hot Pockets
To make your own homemade puff pastry version of Ham & Cheese Hot Pockets, you’ll want some puff pastry, sliced cheese, thin-sliced deli meat and mustard (I happen to like honey dijon for this).
You’ll also need 1 egg for an egg wash.
You can use any kind of cheese you like. In the photos I have used Swiss, but these are fabulous with cheddar as well.
How to Make Your Puff Pastry Hot Pockets
To start, you’ll need to thaw your puff pastry per the box instructions. Then open each sheet, being careful not to crack the seams, and cut it into four squares.
Prepare an egg wash by cracking one egg into a small bowl, and mixing it with 1 tablespoon of water, then set your egg wash aside. We’ll get back to it in just a moment.
For the next step, I recommend using a pastry mat or silicone baking mat, as it avoids having to put excess flour on your pastry, but if you don’t have a mat, just flour your work surface.
You’ll want to work one sandwich at a time.

Take one square of the puff pastry and roll it out to about an 8×8 inch square.
(Note: If you’re working with a silicone mat, do NOT cut your pastry on the mat. Cut your pastry on your work surface and then transfer to the mat. No knives should ever come near your mat. Ever. Never.)

On one side of the square, lay 3-4 pieces of deli meat, folding to fit and leaving about a half-inch at the edge of the pastry. Fold one slice of cheese in half and tear apart, and then lay both pieces on top of the ham. Spread about 2 teaspoons of mustard on top of the cheese.
Take a pastry brush, or you can even use a folded paper towel held between tongs or your fingers, dip it in the egg wash, and lightly brush the exposed edges of the puff pastry on the side with your meat and cheese.
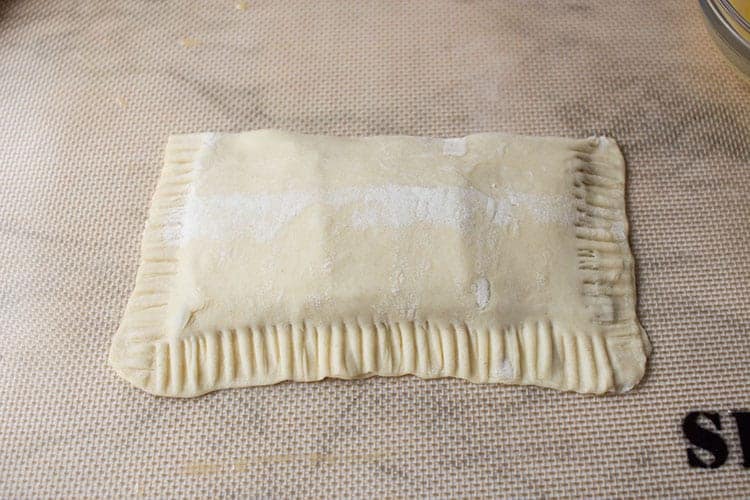
Gently fold over the other half of the pastry, and press the edges down to seal. I like to go back and crimp the edges with the tines of a fork to help seal it good and tight.
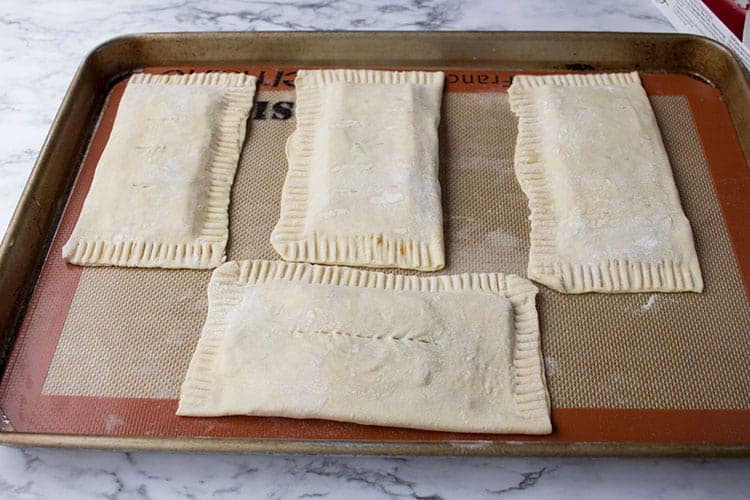
Cut a slit or two (or poke a few small holes with a fork) into the top of the pocket, and carefully set aside. Ideally, have a baking sheet with another silicone mat (or parchment or wax paper) out and ready , and when you complete each pocket, transfer it to the waiting baking sheet.
Then repeat the steps with the remaining pastry squares until you have all eight pockets completed.
Freezing & Storing
Once you have all of your pockets made, place your baking sheet with the pockets on it DIRECTLY into the freezer, and leave it for at least four hours or so.
It may take a bit longer, depending on your freezer, but let your pockets freeze fully through.
If you try to put your pockets into bags and containers first before freezing, they tend to stick together and then make a mess when you try to thaw them out.
So best to flash freeze your pockets first.
Then, once solid, you can pull the tray out and move the pockets to a gallon-size freezer bag.
I like to put squares of wax or parchment paper between the pockets to help prevent them from sticking.
Stick those lovelies back into the freezer, until you need them. Or until they call your name and you can no longer ignore them. Whichever comes first.

Baking Your Hot Pockets
You can bake the pockets from frozen – just pull out however many you want or need, place them (again) on a baking sheet lined with a silicone mat or parchment paper, and bake at 400 degrees Fahrenheit for 20-25 minutes.
I believe these will also do well cooked in an air fryer. I really need to pull mine out and try it!
We like to serve them warm with some extra mustard for dipping!
If you like these Haw & Cheese pockets, be sure to also check out my recipe for Freezer-Friendly Puff Pastry Pizza Pockets as well!
Ham & Cheese Puff Pastry Pockets
INGREDIENTS
- 1 box puff pastry 2 sheets
- 9-14 oz thin-sliced ham
- 8 slices Swiss cheese
- 1/2 cup honey dijon mustard
- 1 egg for egg wash
INSTRUCTIONS
- Thaw puff pastry according to package directions.
- Gently unfold pastry sheets and cut each into 4, for a total of 8 pieces.
- Working one at a time, using a silicone mat or floured work surface, roll one piece of pastry into a slightly larger square, about 8x8.
- Lay 3-4 slices of ham on one side of square, being careful to leave about half and inch of pastry on each edge uncovered.
- Fold a slice of cheese in half, then tear. Lay both halves of the cheese on top of the ham.
- Spread 2 teaspoons mustard over cheese slices.
- Using a pastry brush or folded paper towel, carefully brush exposed edges of the pastry (the side with the meat and cheese) with egg wash.
- Gently fold the other half of the pastry over the meat and cheese, and press edges down to seal. Crimp with a fork if desired.
- Cut a slit or poke holes with a fork in the top of the pocket. Lay aside.
- Repeat with remaining pastry squares.
- Lay pockets on a baking sheet lined with parchment or wax paper (or silicone mat) and place sheet directly into freezer. Allow pockets to freeze until solid.
- Once pockets are solid, remove from freezer, place in between layers of wax or parchment paper, and place into gallon-size freezer bag. Label and return to freezer.
To bake:
- Preheat oven to 400 degrees Fahrenheit.
- Remove frozen pocket(s) from freezer. Place on baking sheet lined with parchment paper or silicone mat.
- Bake from frozen, at 400 degrees Fahrenheit for 20-25 minutes, until pastry is fully puffed and golden brown.


Could I add some cooked egg to make it more of a breakfast sandwich?
Absolutely!! And that’s a fabulous idea!! 🙂
My puff pastry comes in 1 large sheet. What are the dimensions of these please?
Mine comes in one big sheet too, so I just cut each sheet into 6 pieces. They end up being about 3×5 or 4×6 inches maybe…?