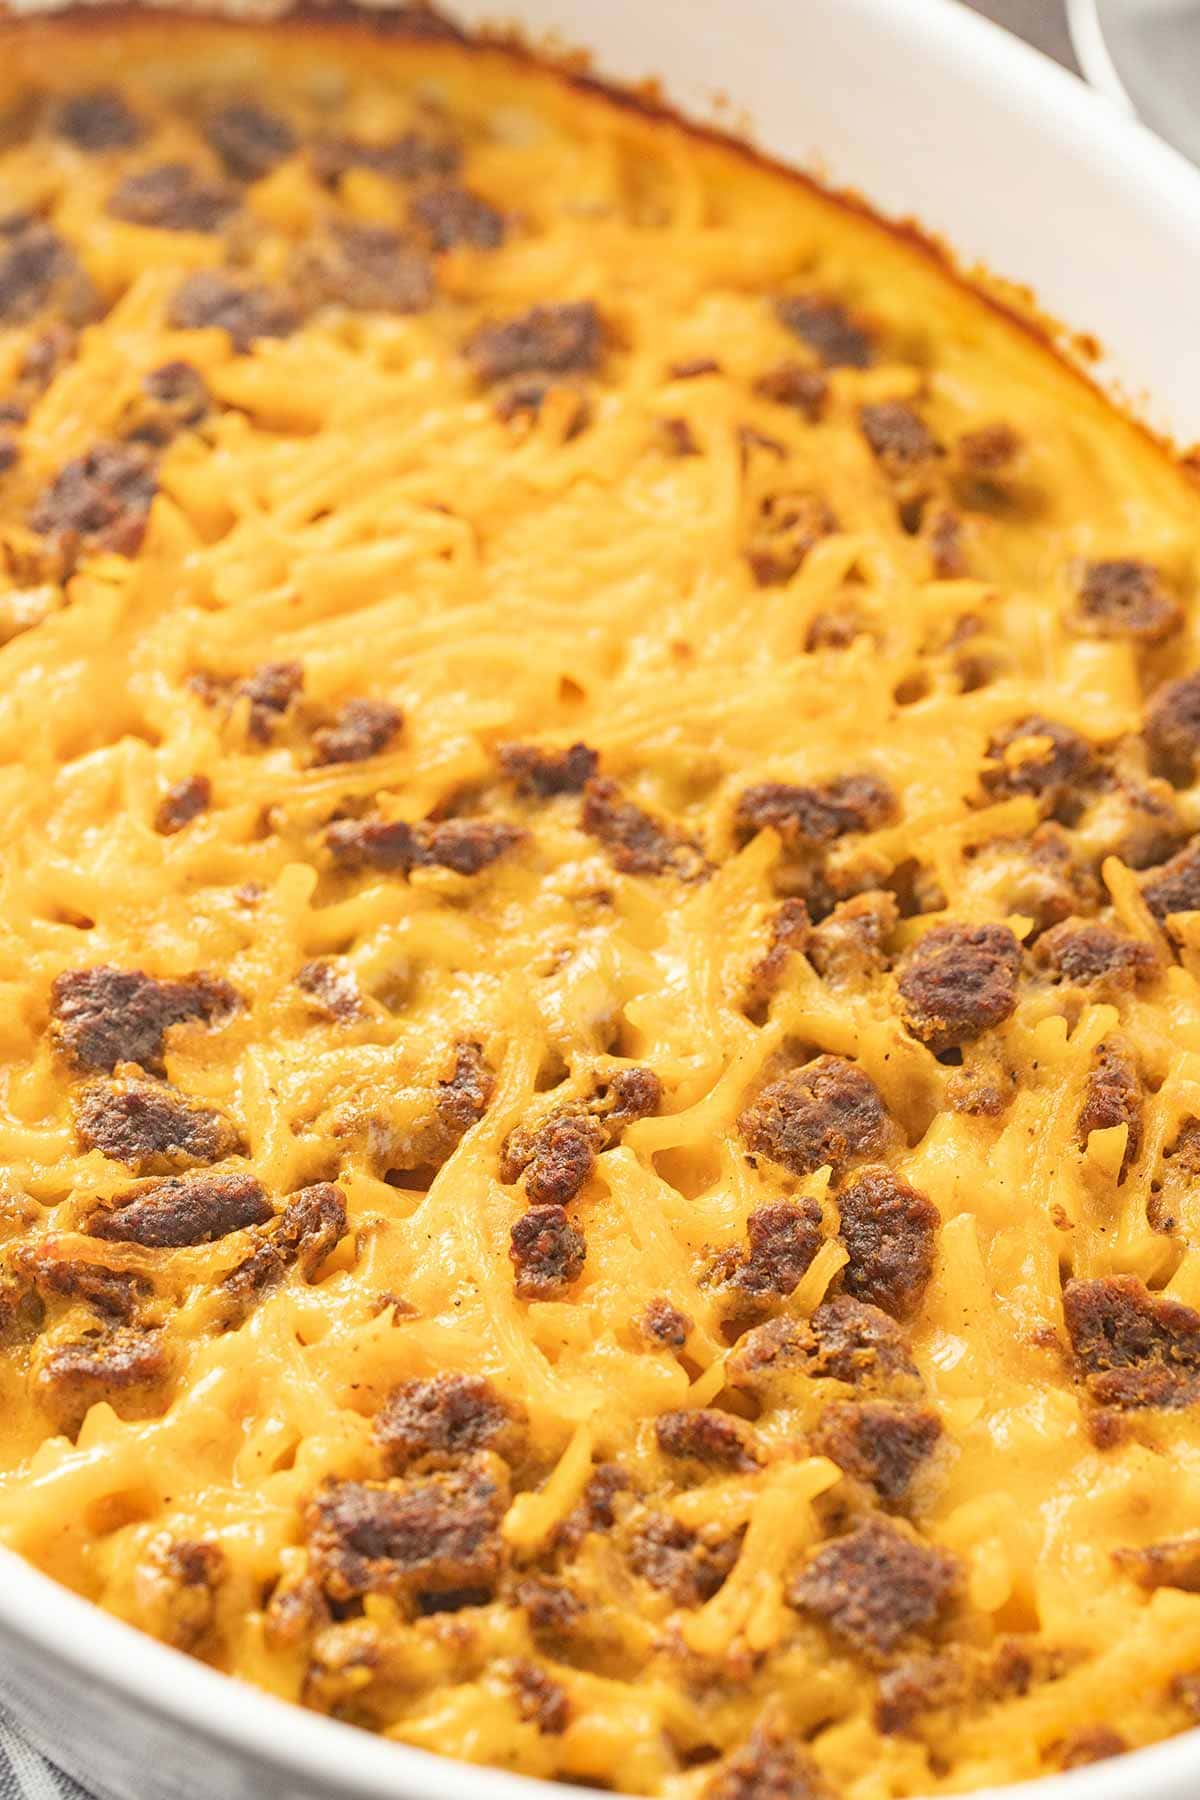
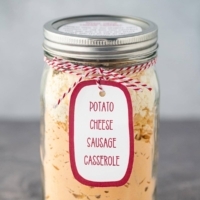
Potato Cheese Sausage Casserole Meal in a Jar
This meal in a jar recipe is a great option for breakfast or dinner! What’s not to love about sausage and cheesy hash brown potatoes?!
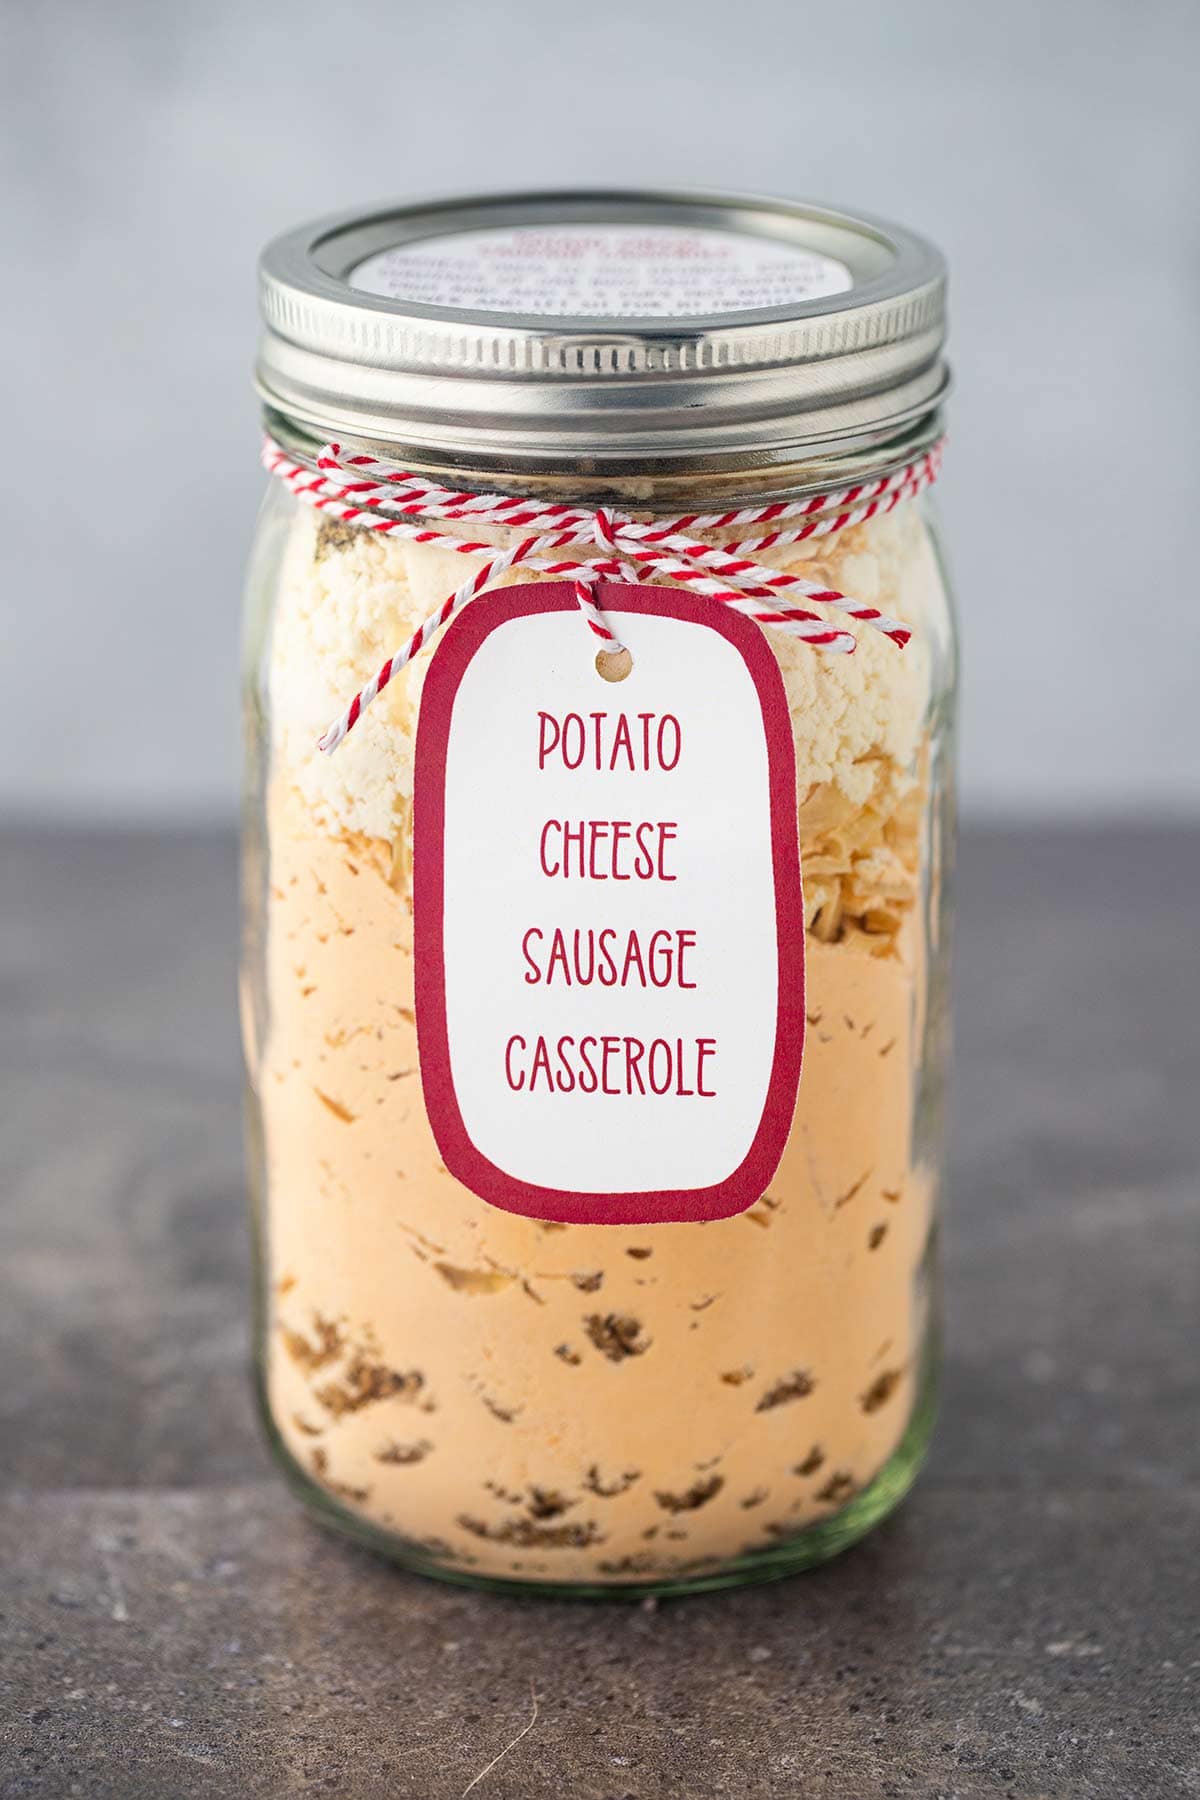
While you might be tempted to reserve this Potato Cheese Sausage Casserole for breakfast, I’m here to tell you that it makes a great meal in a jar option for ANY time of the day!
We’ve eaten this one for dinner more than we have for breakfast, and my kids seem to be pretty okay with that. At least they haven’t voiced any complaints out loud so far…
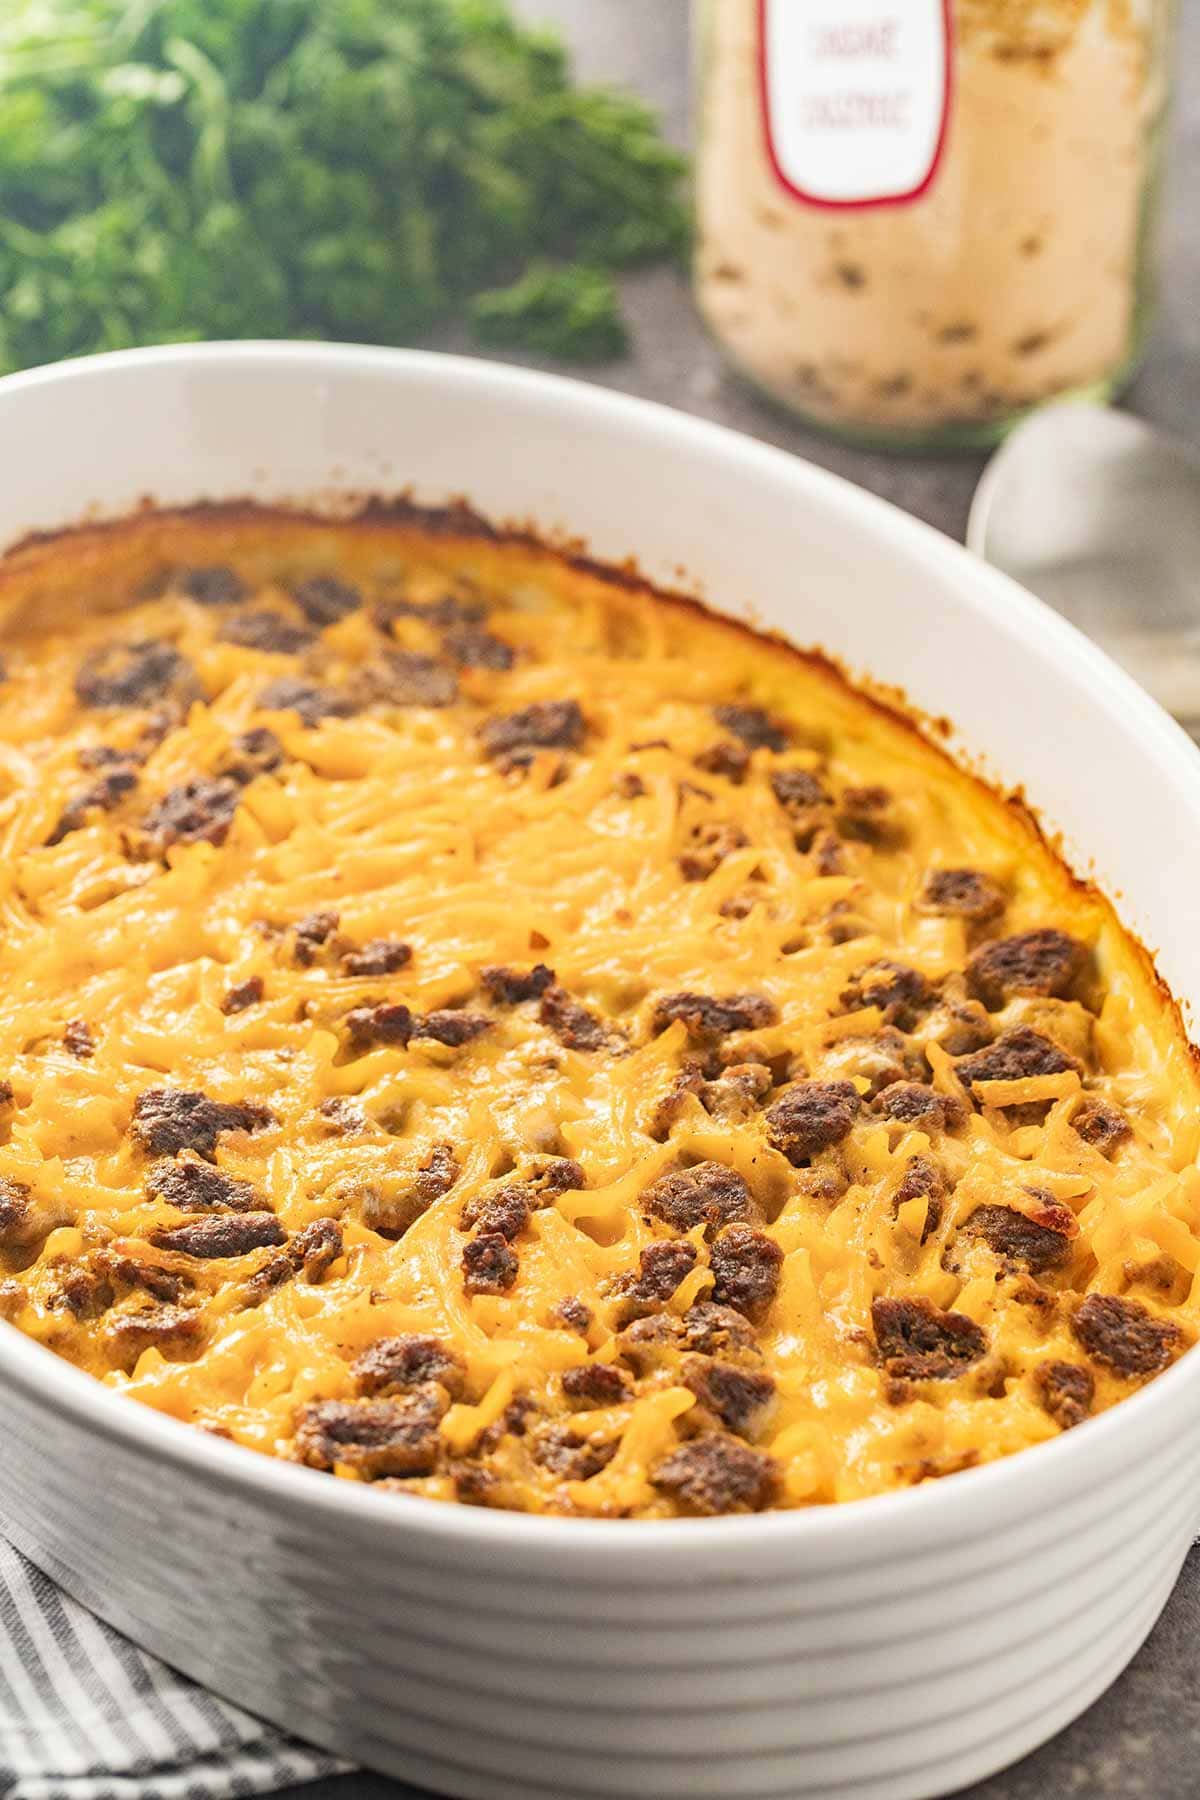
This casserole is a bit of a “food storage” take on the classic Mountain Man breakfast – sausage, hashbrowns, eggs and cheese all baked together in awesome yumminess!
The best part is you don’t have to put it together the night before, nor do you have to worry about spending time getting it all ready in the morning. Just open the jar, add water, stir, and bake!
These meals in a jar are not hard to make, but you will need a few specialized tools or ingredients. You will need some way to get excess air out of your jar (for long-term storage), and you’ll need a meat option that is shelf-stable, along with some powdered versions of the dairy components. I recommend making multiple meals in a jar together so that you can save on ingredients, as many of these items can only be bought in larger amounts. This way you can get one can of an ingredient and use it to make multiple meals so there is no extra waste.
Items You Will Need:
- Wide-mouth quart mason (canning) jars, with new lids, and rings
- Foodsaver vacuum sealer with hose and wide-mouth jar sealer attachment, AND/OR 100cc oxygen absorbers (one per jar)
- Instruction labels or Sharpie marker to write instructions on lid
- (optional) Printable gift tags for Cricut machine
- Ingredients
- Freeze-dried sausage crumbles or sausage-flavored TVP
- Dehydrated hash brown potatoes (The brand DOES matter here! See note below.)
- Cheese powder
- Sour cream powder
- Dry minced onion (you can usually find small jars of this in most grocery stores, or larger jars at bulk food club stores like Sam’s Club or Costco)
- Bay leaf
- Salt and pepper
Special Ingredient Note:
While most of the time I will tell you that brand (and in this case it isn’t brand as much as it is “type”) doesn’t really matter, this is one instance where it DOES matter. A lot. Because the products are slightly different.
I recommend that you use any brand of the dehydrated hashbrowns that come in cartons – either the little cartons or a big single one. Idaho Spud is available at big box stores for quite decent price, or you can purchase a case online.
This particular version of dried hash browns cook better and faster than the others I tried, so for ease of use, I recommend going with this kind.
If you already have the Augason Farms brand of dehydrated potato shreds that come in the #10 cans, you can absolutely use them, but you will need to change the recipe and cook time slightly. I will include a note for this in the recipe card.
(And you’ll need to use the different instruction label, too.)
How to Make the Meal in a Jar
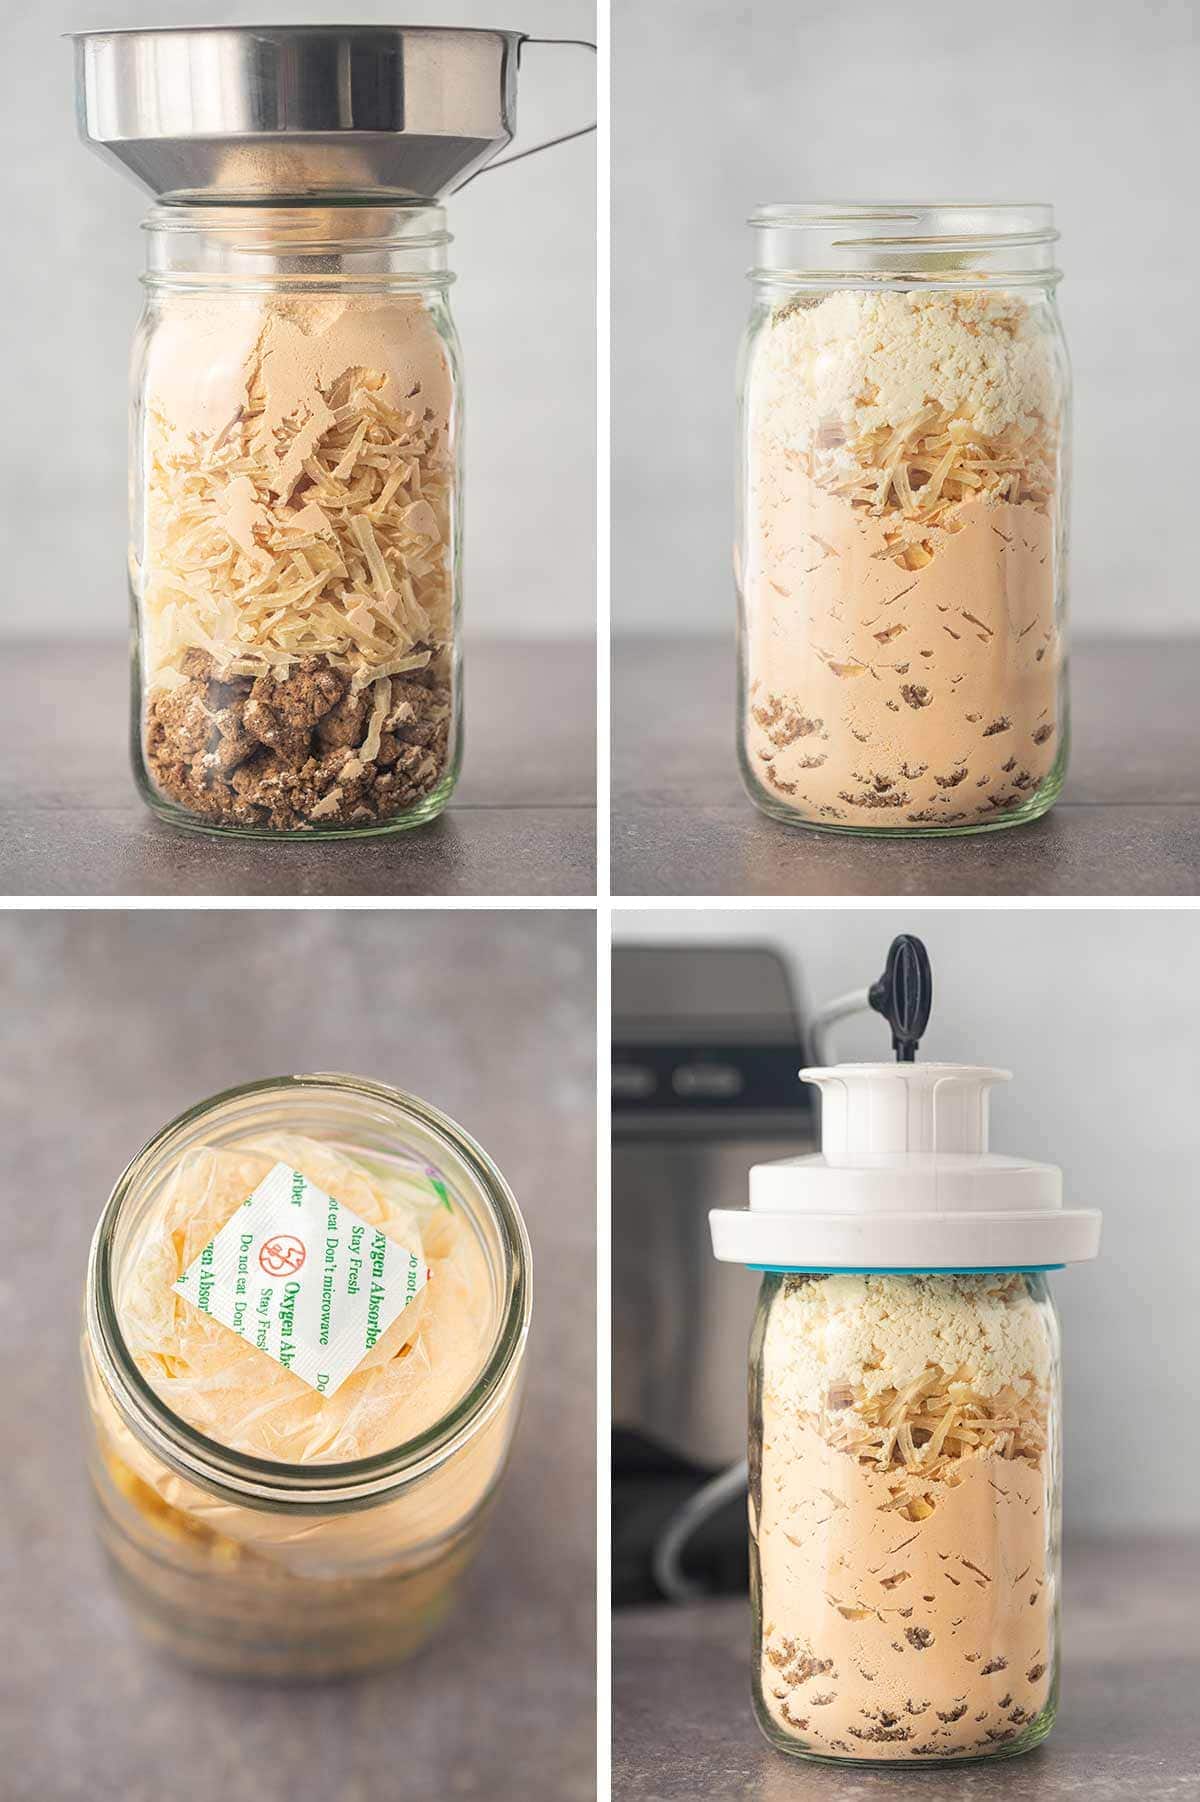
- Layer each ingredient, one at a time, into a clean wide-mouth quart mason jar in the order listed in the recipe.
- When adding the powdered ingredients, you will need to shake gently to settle contents to make room for everything. The powdered ingredients should settle to the bottom around the meat and between the hash browns.
- If not using a Foodsaver to vacuum seal the jar, place one 100cc oxygen absorber on top of the dry ingredients just before sealing the jar. (You can use an oxygen absorber in addition to vacuum sealing the jar as well.)
- Wipe off the rim of jar to make sure it is clean. Then place a new lid on the jar.
- To seal:
- If using a FoodSaver to vacuum seal the jar, carefully place the wide-mouth jar attachment over the top of the jar and lid, attach it to the FoodSaver, and vacuum seal following your model’s instructions (for most newer models you’ll use the Marinate or Accessory option). Once done, remove the hose from the top of the jar sealer, and then carefully remove the jar sealer attachment off of the jar. Place ring onto jar and tighten.
- If using just an oxygen absorber, place the lid on the jar and screw on the ring. Allow jar to sit undisturbed as oxygen absorber works. At some point, the lid of the jar should suck down and seal. You will know it is sealed when you press on the center of the lid and it does not flex. (If it flexes, it is not sealed.)
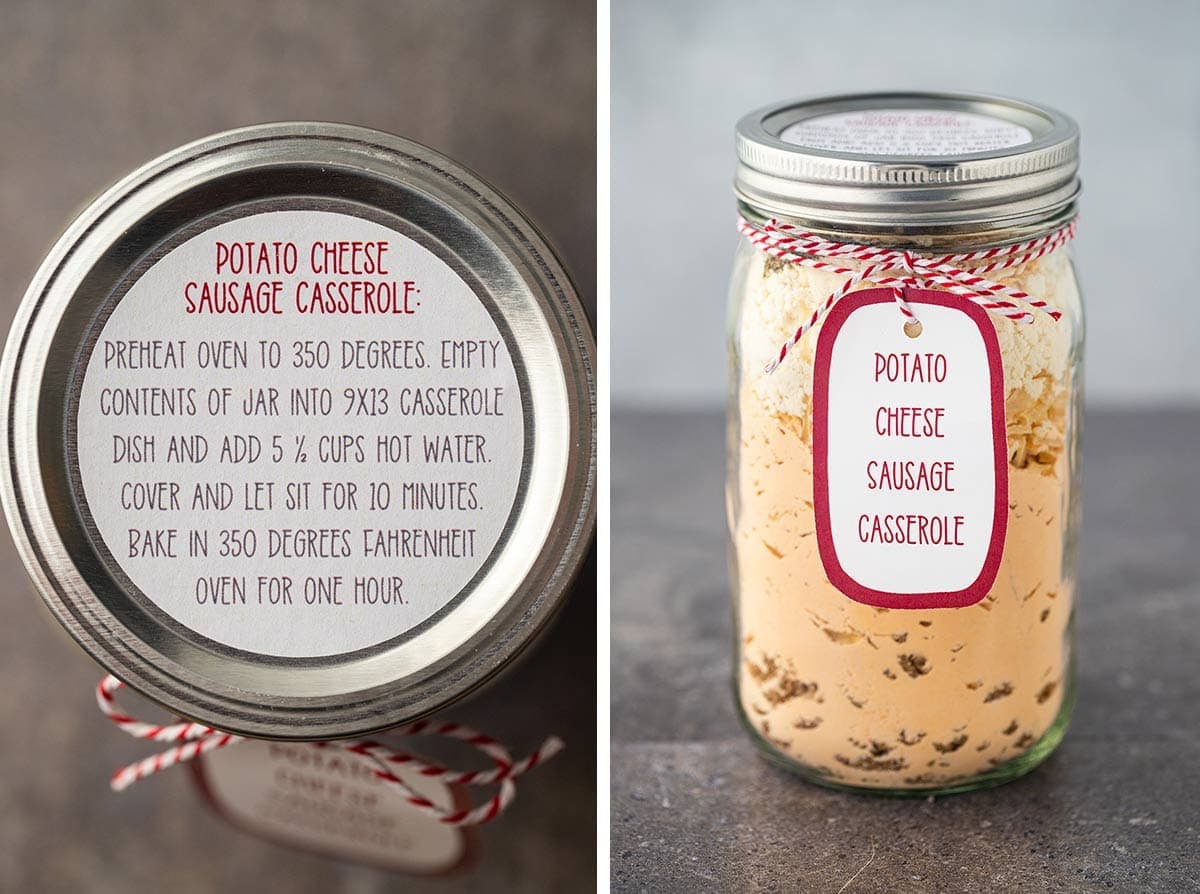
- Attach instruction label to top of jar, or write cooking instructions on lid with sharpie marker.
- Store jar in cool, dry place away from direct sun.
A Note on Storing or Gifting the Meals in a Jar
You’ll need to store the jar(s) where it will not be jostled as this can inadvertently pop the seal. And you should check on the seal periodically to make sure that it is holding. Most of the time this has not been a problem for me, but occasionally I find one that loses the seal over time. Using an oxygen absorber in combination with the vacuum sealing with the FoodSaver will help keep that seal extra tight.
Be especially vigilant in periodically checking the jars that contain freeze-dried meats, as they will tend to soak up moisture from in the air if that seal pops.
There’s no need to get fancy with these if they are going into your food storage, but you should make sure to label them, and it helps to write the cooking instructions on the lid as well.
If you would like to gussy these up a bit to give as gifts (they are fabulous options to give to neighbors because who doesn’t love an easy meal??), my friend Amy at The Happy Scraps has designed printable label stickers that you can use, and she also has gift tags available that you can cut with a Cricut machine!
Questions and Substitutions
How long are these meals in a jar good for?
As long as they are stored properly and the seals stay holding, these jars are shelf-stable for up to 10 years! Shelf life for the meal is calculated using the shelf life of whichever ingredient in the meal has the shortest shelf life on its own. In this case, that is the freeze-dried sausage and the powdered dairy products, which all have a typical shelf life of about 10 years. Again, that is under the assumption that the jar stays tightly sealed. Once the seal is broken (if you got to make the meal and then change your mind), you should refrigerate the jar (due to the freeze-dried meats). Aim to use it within 24 hours if not refrigerated, or within a week if you are able to refrigerate.
Freeze-dried meat is so expensive, can I substitute something else?
Absolutely! Freeze-dried meat can be very expensive, even when you can find it on sale. Luckily sausage is generally one of the cheaper options among freeze-dried meats. But if cost is a factor, you can choose to substitute a vegetarian option called TVP or “textured vegetable protein”. It is soy-based, and made to resemble the taste, if not always the texture, of meats. I have used NutriStore’s freeze-dried sausage crumbles in several meals in a jar and we have really like the product. Mother Earth makes some sausage-flavored TVP available from Amazon (at the time of posting, the Amazon entry is showing the wrong front picture – it says Taco TVP – but the text listing says this is for Sausage TVP), or if you can’t find that, you can substitute with beef TVP. You could also substitute with imitation bacon bits (just make sure they are shelf-stable) for a slightly different, but still yummy, option!
How do I make the Potato Cheese Sausage Casserole to eat?
Stove Top Instruction: To make the meal, remove the ring and gently pry off the sealed lid. Remove oxygen packet (if used) and discard. Preheat oven to 375 degrees Fahrenheit. Empty contents of jar into large casserole dish. Add 5 cups of boiling water. Cover and let sit for 10 minutes. Bake, uncovered, for 35 minutes (stir every 10-15 minutes) until bubbly. Remove from oven and serve.
And if you’re looking for other great meal in a jar recipes, be sure to check out these others from the blog:
- Taco Soup in a Jar
- Beef Taco Rice Meal in a Jar
- Mac & Cheese Meal in a Jar
- Bean & Rice Fajita Casserole Meal in a Jar
- Beef & Bean Stew in a Jar
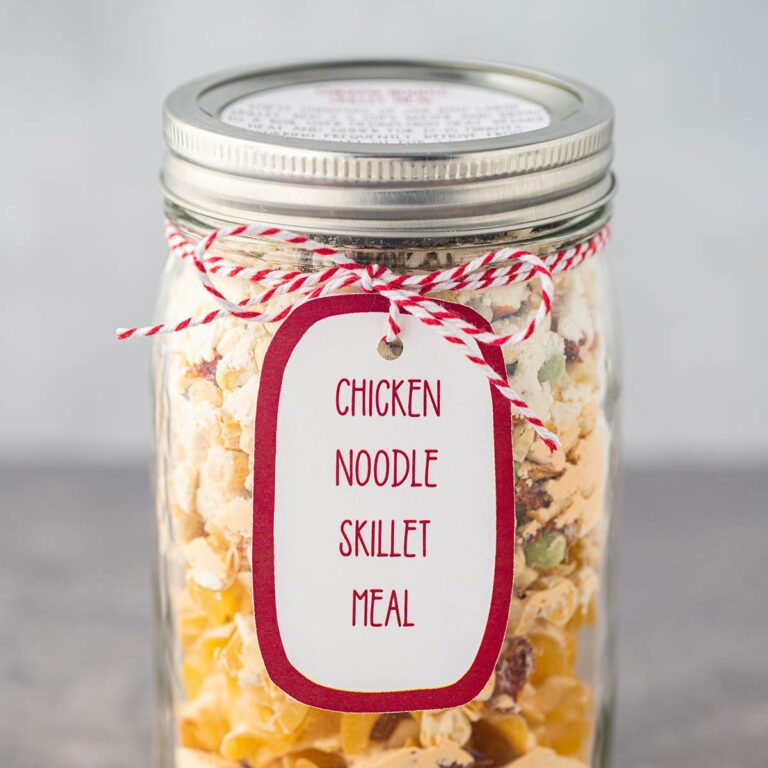
- Chicken Noodle Skillet Meal in a Jar
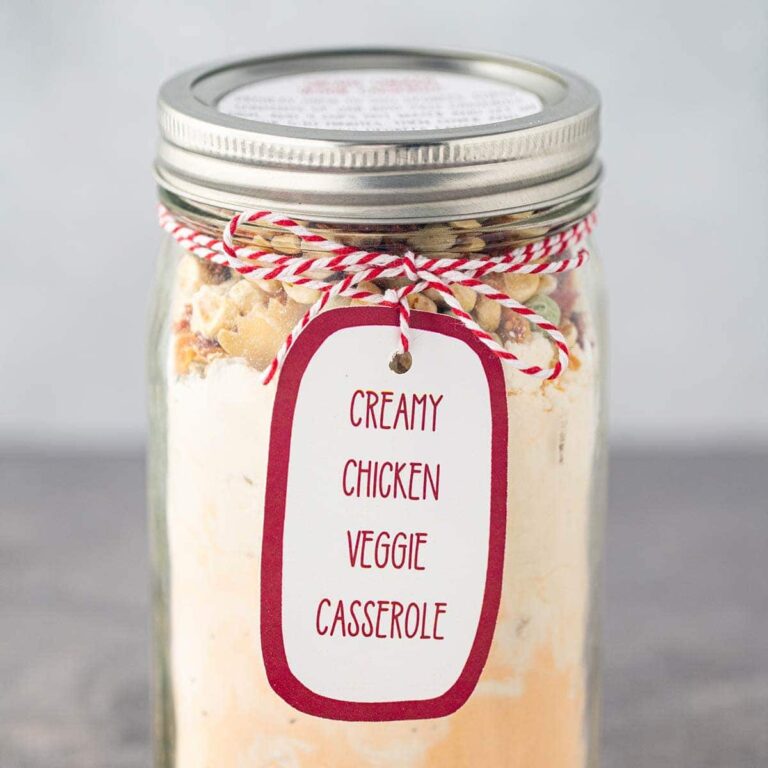
- Creamy Chicken Veggie Casserole Meal in a Jar
Potato Cheese Sausage Casserole Meal in a Jar
EQUIPMENT
INGREDIENTS
- 1 cup freeze-dried sausage crumbles or sausage TVP
- 2 cups dehydrated hash brown potatoes
- 1/2 cup cheese powder
- 1/3 cup sour cream powder
- 1 tablespoon dry minced onion
- 1 teaspoon salt
- 1/2 teaspoon black pepper
- 1 bay leaf
INSTRUCTIONS
- Place all ingredients in order in a wide-mouth quart-size mason jar and shake contents gently to settle.
- Place new canning lid on top of jar. Using wide-mouth attachment for a FoodSaver, vacuum seal lid onto jar following instructions from your FoodSaver manual. (You can also insert an oxygen absorber before putting on lid if you’d like.)
- Remove vacuum attachment and put ring on. Tighten by hand, but don’t over tighten.
- Label and date. Store in cool, dry location.
To cook:
- Preheat oven to 375 degrees Fahrenheit. Empty contents of jar (minus oxygen packet if present) into large casserole dish. Add 5 cups of boiling water. Cover and let sit for 10 minutes. Bake, uncovered, for 35 minutes (being sure to stir every 10-13 minutes) until bubbly. Remove from oven and serve.


I love these jar recipes and thanks so much for doing these Candi. As another person commented, I too had a casserole of soup for this dish so will decrease the water from 5 cups down to maybe 3 or 4 next time. The flavour was great though. Thanks.
Good to know! Can you send me an email or message me on social with the ingredient brands you used? I’ll run some additional batches to see what happens.
i also ended up with a soupy casserole. i did notice the recipe i printed said cook 20-25 min but the label on the jar lid further up the page said cook for 1 hr. i’m confused.
I’m going to run some test batches on this one since several people have reported the same issue. One of the cook times is obviously wrong. My notes say 20-25 minutes but I could have messed something up somewhere (obviously I must have). Stay tuned!