How To Roast Broccoli (The Easy Way)
Knowing how to roast broccoli can take this little unassuming vegetable from “meh” to “WOW!” with very little effort- if you know the secrets!
Hi Ms. L! I thought maybe we could start out with a very simple side dish recipe and a tutorial on how to roast broccoli.
I’m not a huge fan of broccoli myself, in fact, I hated it as a kid. I think that’s pretty common with most kids!
As an adult, I tolerate it in its raw form. Still not a huge fan, but I’ll eat it without much complaint. It’s not what I run to the fridge to pull out as a snack though.
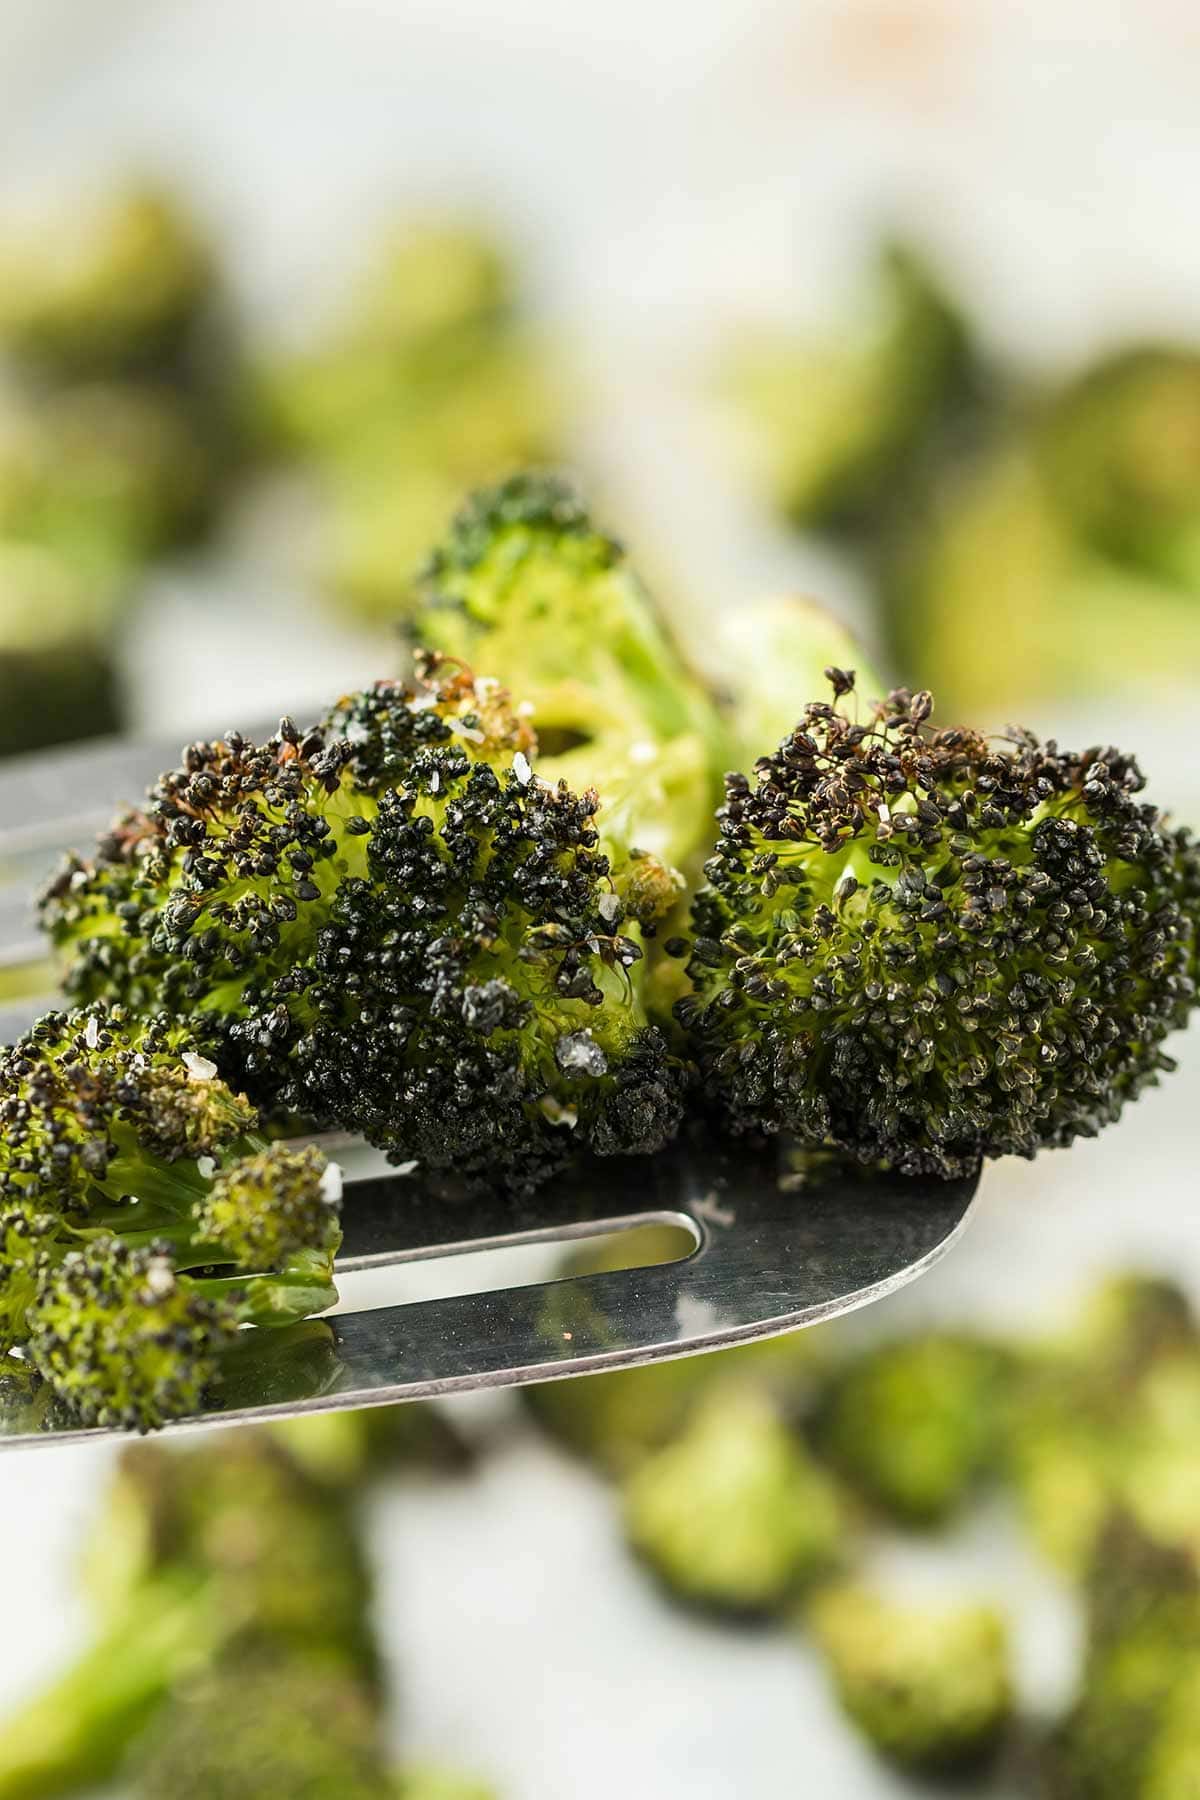
But give me that same broccoli roasted, with some crispy edges, a little bit of oil and some salt and pepper, and I will eat it with pleasure!
Knowing how to roast broccoli can be a powerful tool in your dinner-planning arsenal – it can take broccoli from “meh” to “WOW!” with very little effort or expertise!
Why roast broccoli?
You see, when you roast broccoli in the oven, you change the chemical nature of the beast. It has some compounds that can taste rather bitter when broccoli is in its raw form, and those change to a less bitter form when cooked. And some people can be extra sensitive to that bitter taste – they just don’t like raw broccoli, and it really is a biological thing!
Another advantage? The dry heat of roasting brings out the natural sugars of the food and caramelizes and intensifies them. THAT right there is the beauty and magic of roasted broccoli!
The greatest part is that it is SUPER easy to do!
A Few Notes on Ingredients
Broccoli
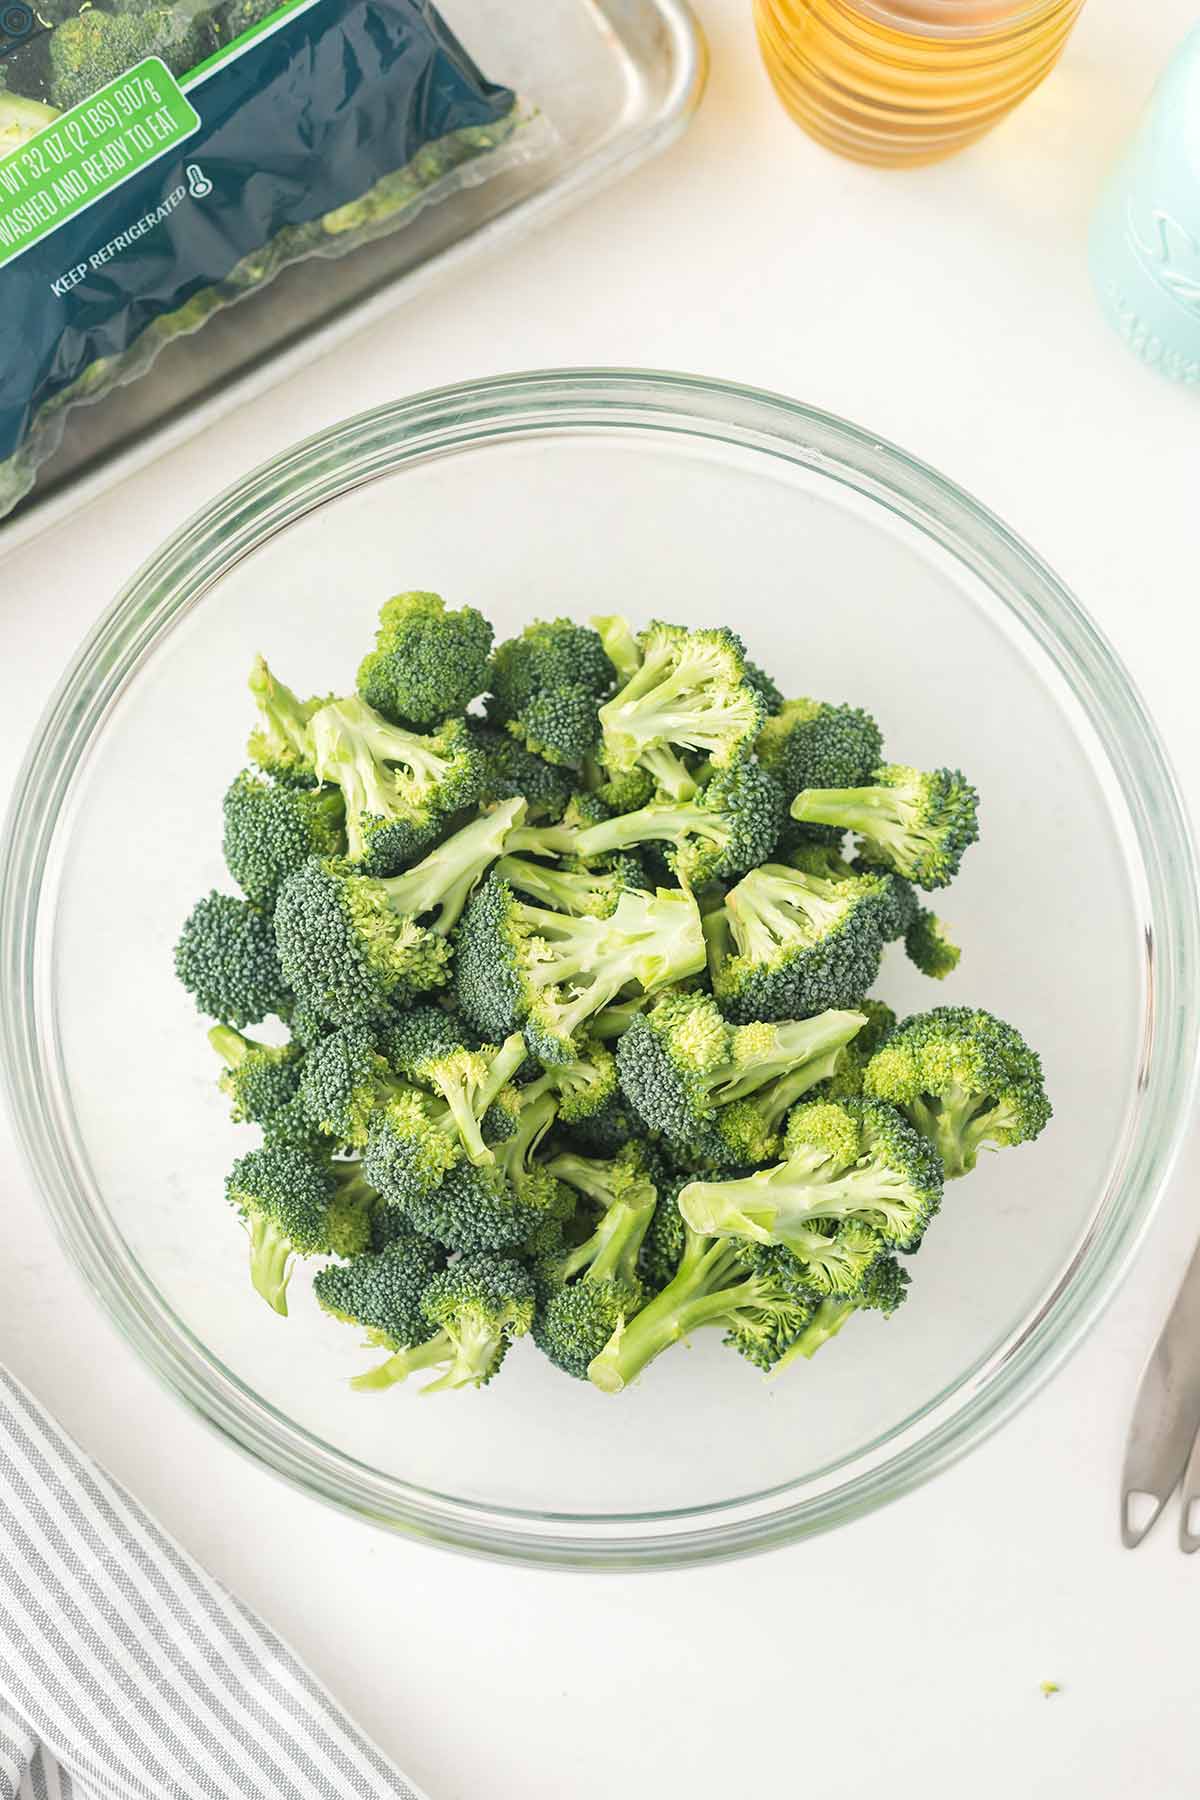
For roasting broccoli, you can use regular broccoli heads, broccoli crowns, or chopped broccoli florets – it really doesn’t matter. If you use the heads or crowns, you’ll just want to chop the florets into smaller chunks. 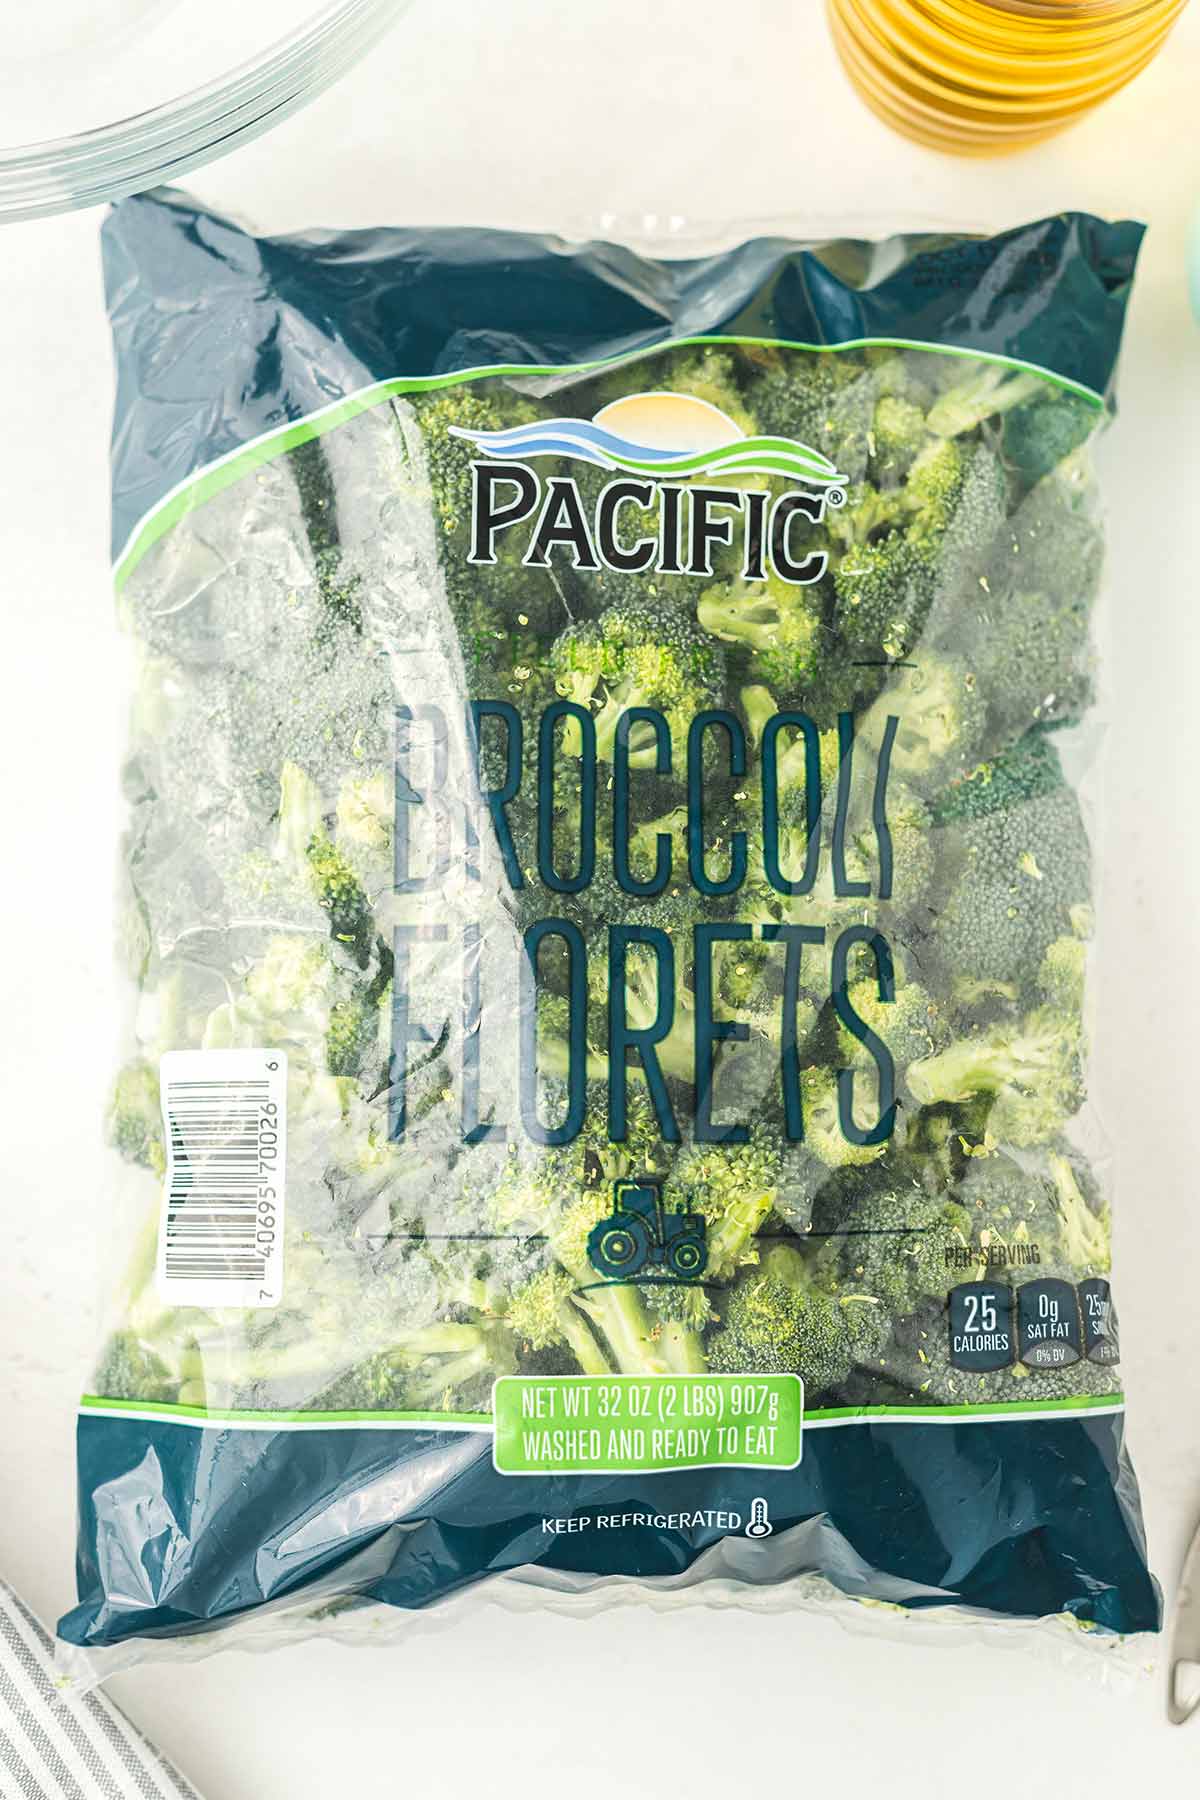
In this example, I’m being lazy and using some pre-chopped broccoli florets. But if you want to save money, get the normal broccoli heads and just spend a couple minutes chopping them into the florets yourself.
Oil
This one is essential for roasting, as you won’t get nearly the same caramelization and browning without it. You have a lot of choices when it comes to what oil you use though. Most oils are going to be okay for roasting broccoli, EXCEPT extra virgin olive oil. It just isn’t good for roasting – too low of a smoke point (the temperature at which the oil starts to burn and smoke).
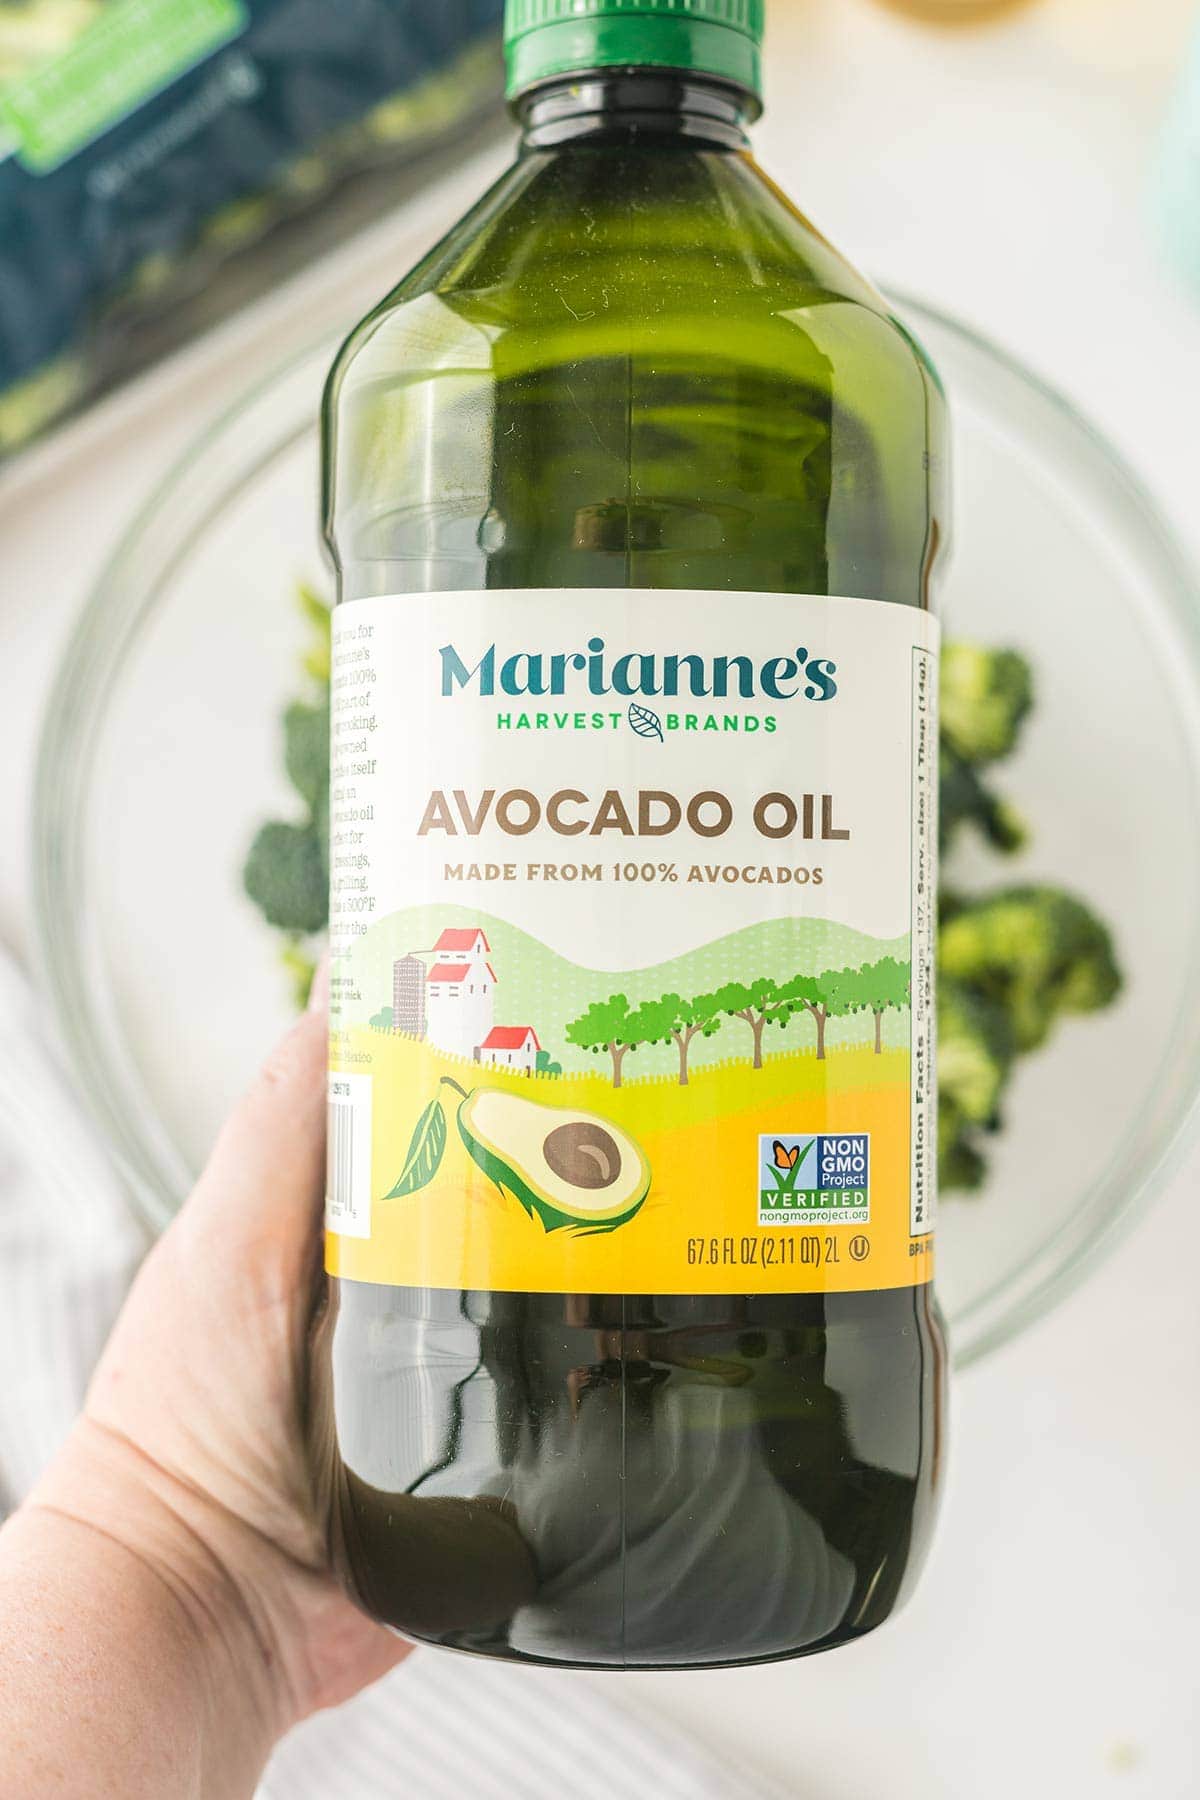
Your standard vegetable oil, canola oil, or regular olive oil (not the extra-virgin stuff) will all work great. I’ve been trying to do some research into “healthier” oils, so I’ve been using avocado oil recently. I’m allergic to soy, which is what is in vegetable oil. So my go-to’s for this are canola oil or avocado oil.
So, in this demo I’ll be using avocado oil, but I also sometimes use flavored olive oil (yum!, more on that at the end of the post).
Salt
I prefer to use kosher salt in most of my cooking. It is the larger, flaky stuff you may see in the stores. As opposed to the very small grain table salt. You can absolutely use table salt here. However, because of the difference in the salt crystal sizes, you’ll need to adjust how much salt you use based on the type of salt you use.
The recipe below uses kosher salt. If you use table salt, you’ll want to use slightly less than what is called for in the recipe, so in this case, only ½ to ¾ teaspoon salt, rather than a full teaspoon.
A Note on Baking Sheets
You can roast broccoli on any kind of baking sheet or even in a 9×13 metal pan. But it really needs to be metal. Glass just doesn’t quite work as well for this.
I like to use what are called half-sheet baking trays. They are bigger than cookie sheets, about 13” x 18”. And they often have a higher lip than cookie sheets.
I love them for making eggs for freezer breakfast sandwiches (you can do a lot of eggs in one of these pans!) or sheet pan pancakes. Plus the higher edge means you can also use these things for making focaccia bread, pizza, even thin sheet cakes! I also use mine for baking granola, Chex mix, and of course, cookies and rolls.
If you don’t have one of these, that’s totally fine. Use whatever you’ve got.
But if you can get some of these, I highly recommend stocking them for your kitchen. I have 8. I’m weird, and also a food blogger, so I have more than normal. Three or four should be sufficient for everyday use. I’ll link to some resources below where you can purchase them. I’ve gotten most of mine from Costco and Sam’s Club I think.
Now, on to the nitty gritty…
How to Roast Broccoli
What You’ll Need
You’ll want to start by gathering your ingredients and tools. That will include:
- Ingredients:
- Broccoli
- Oil
- Salt and pepper
- Tools:
- Baking sheet
- Large mixing bowl
- Large wooden or plastic or silicone spoon
- A teaspoon and tablespoon measuring spoons
- A knife and cutting board (if you are using broccoli heads or crowns and need to cut into florets)
Preparing the Broccoli
Start by washing and rinsing your broccoli, and let it drain for a bit.
Go ahead and preheat your oven to 400F. Make sure that you have one of your oven racks in the center position, or as close to center as you can get.
If you are not using pre-cut florets, go ahead and cut your broccoli into bite-size florets. No need to make them super small. I usually start at the edges of each head and cut into the outer stems about 2 inches down from the top. That is usually enough to break them into florets of decent size.
Then rotate the head of the broccoli and cut additional stems, then work towards the center. The ones in the center may require you to cut apart as they are more tightly spaced.
How much broccoli you use really just depends on how much you are wanting to make and how much your family will eat. I often get the big bags from Costco or Sam’s Club, and will usually use about half a bag for one meal.
Make sure there are no leaves still attached to the broccoli pieces.
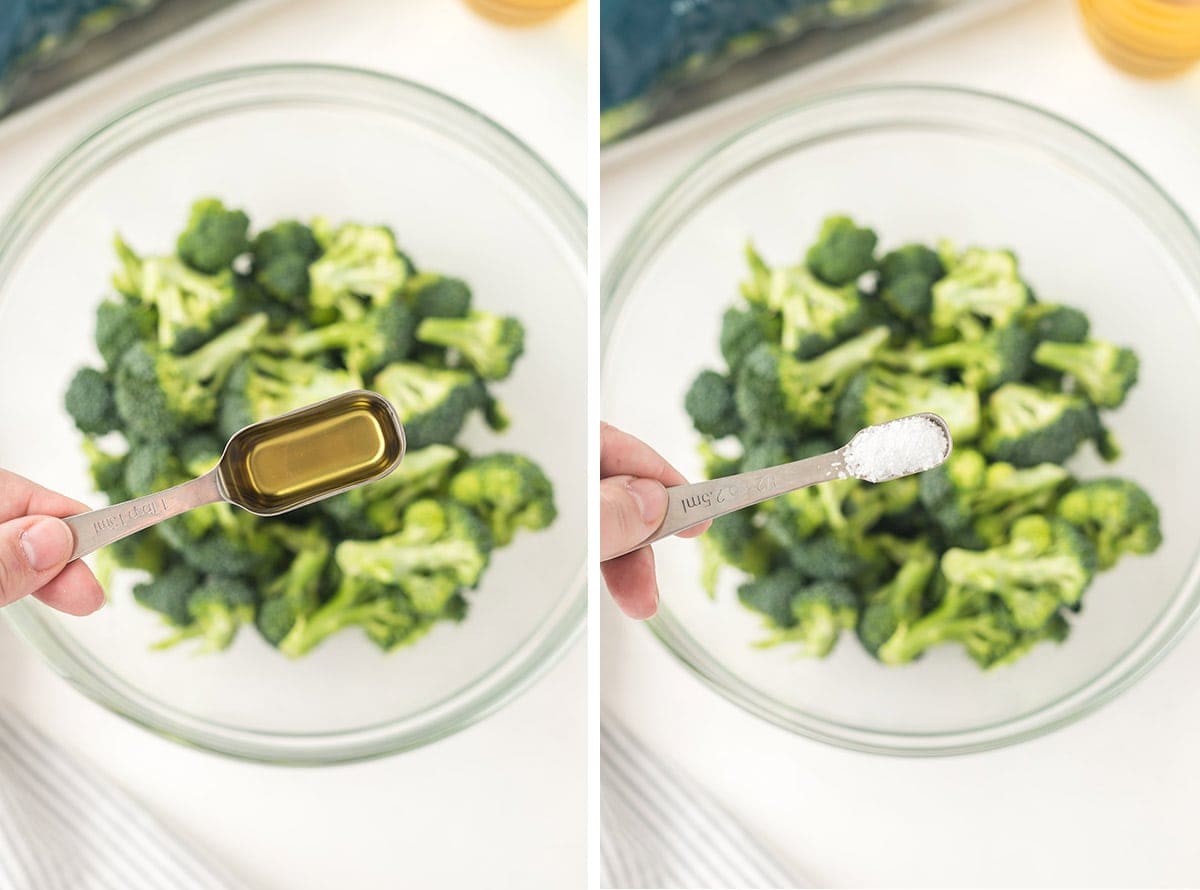
Next, take your oil and measure out 2 tablespoons and pour it into the bowl all over your broccoli. Take your spoon and gently mix the broccoli around in the bowl to help cover it with the oil.
Once your broccoli is covered in the oil, go ahead and sprinkle the salt in, and mix again, to get the salt spread all over the pieces of broccoli.
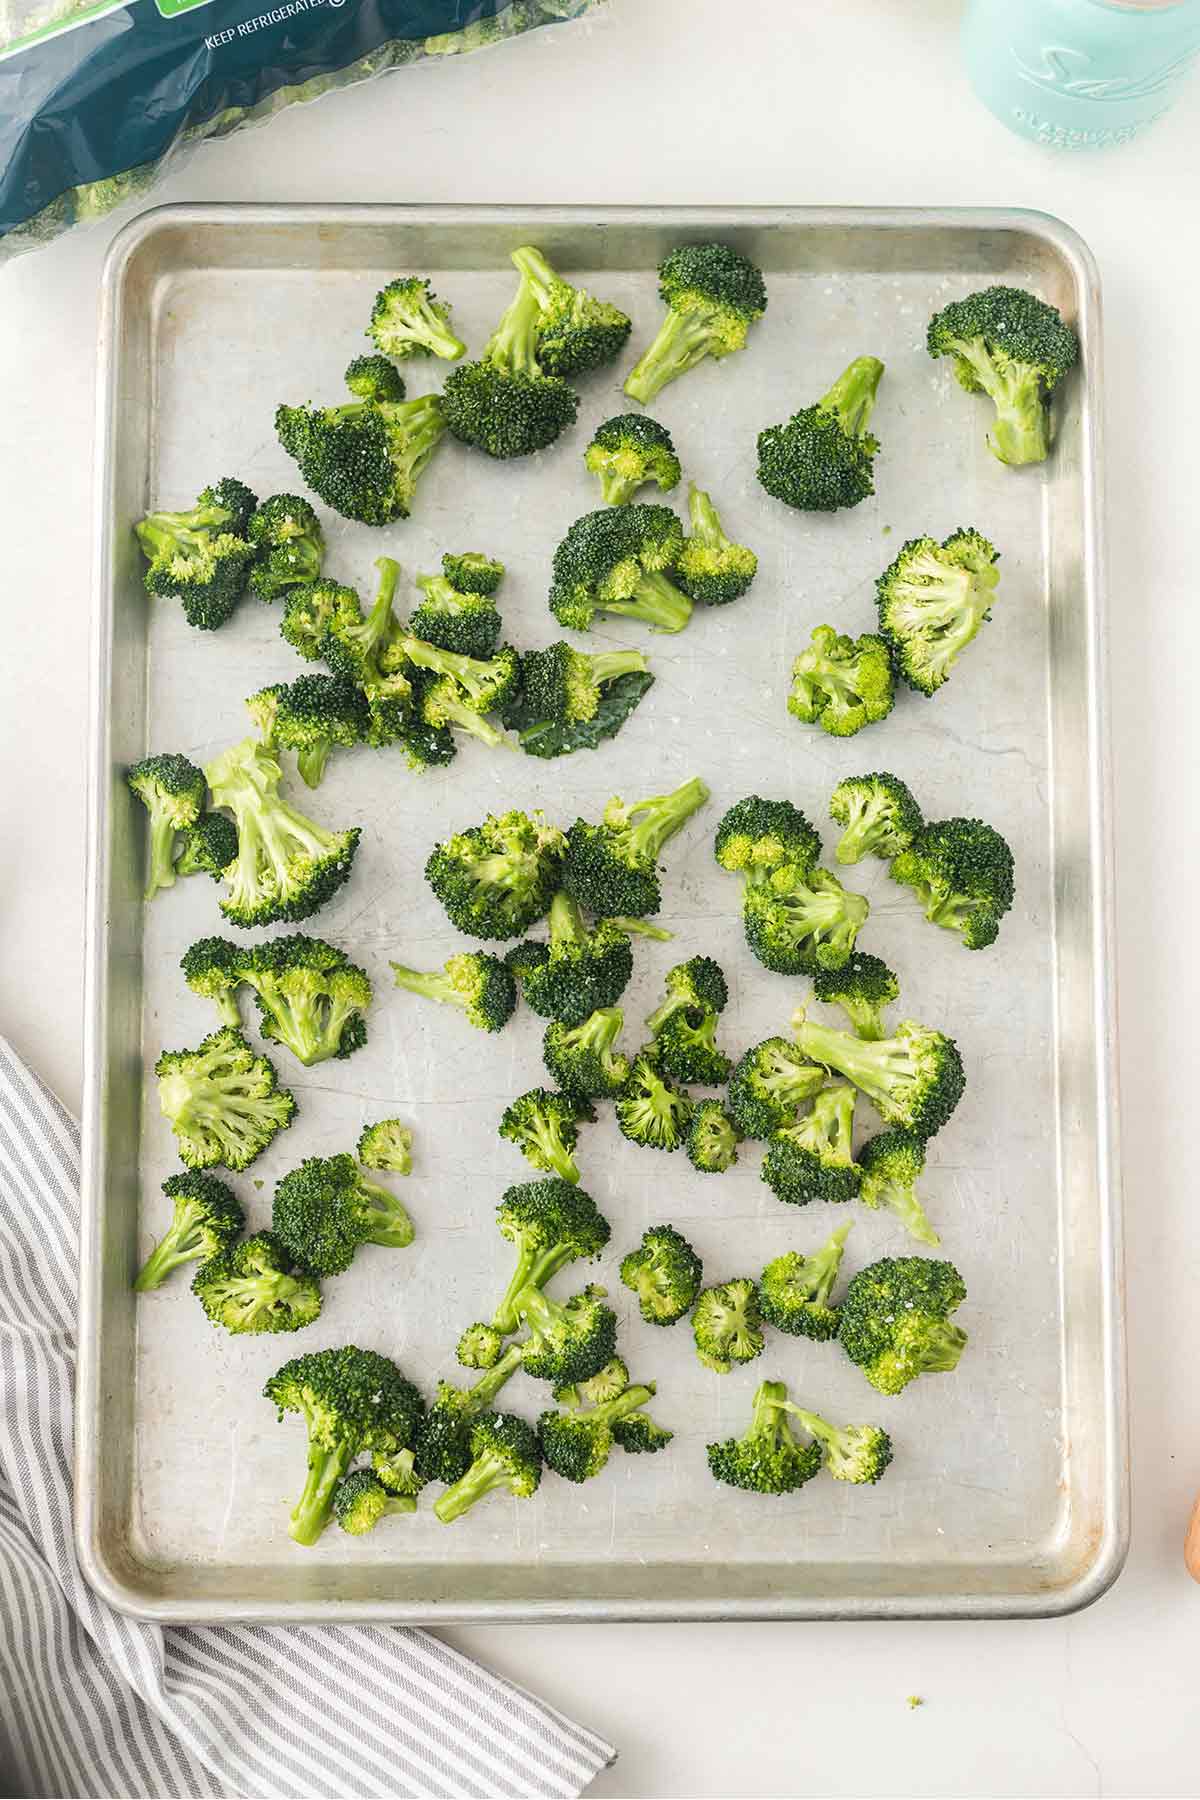
When everything is covered and coated, carefully pour out your broccoli onto your baking sheet. Use your spoon to move it around so it is all in a single layer. It doesn’t have to be precise, but the more broccoli you have touching the pan, the better it will turn out.
Roasting the Broccoli
Now, simply place your baking sheet into your oven on that center rack, and set your timer for 20 minutes.
There is no need to stir your broccoli. In fact, the more you stir the longer it can take to form that Maillard reaction. I haven’t had any problems with it burning on the bottom, but you might want to check at about the 15 minute mark just to be sure.
Ovens can vary quite a bit in how hot they get and how accurate they are. If you know that you have an oven that runs hot, you may need to adjust your cook time, and/or flip or stir the broccoli around to avoid burning.
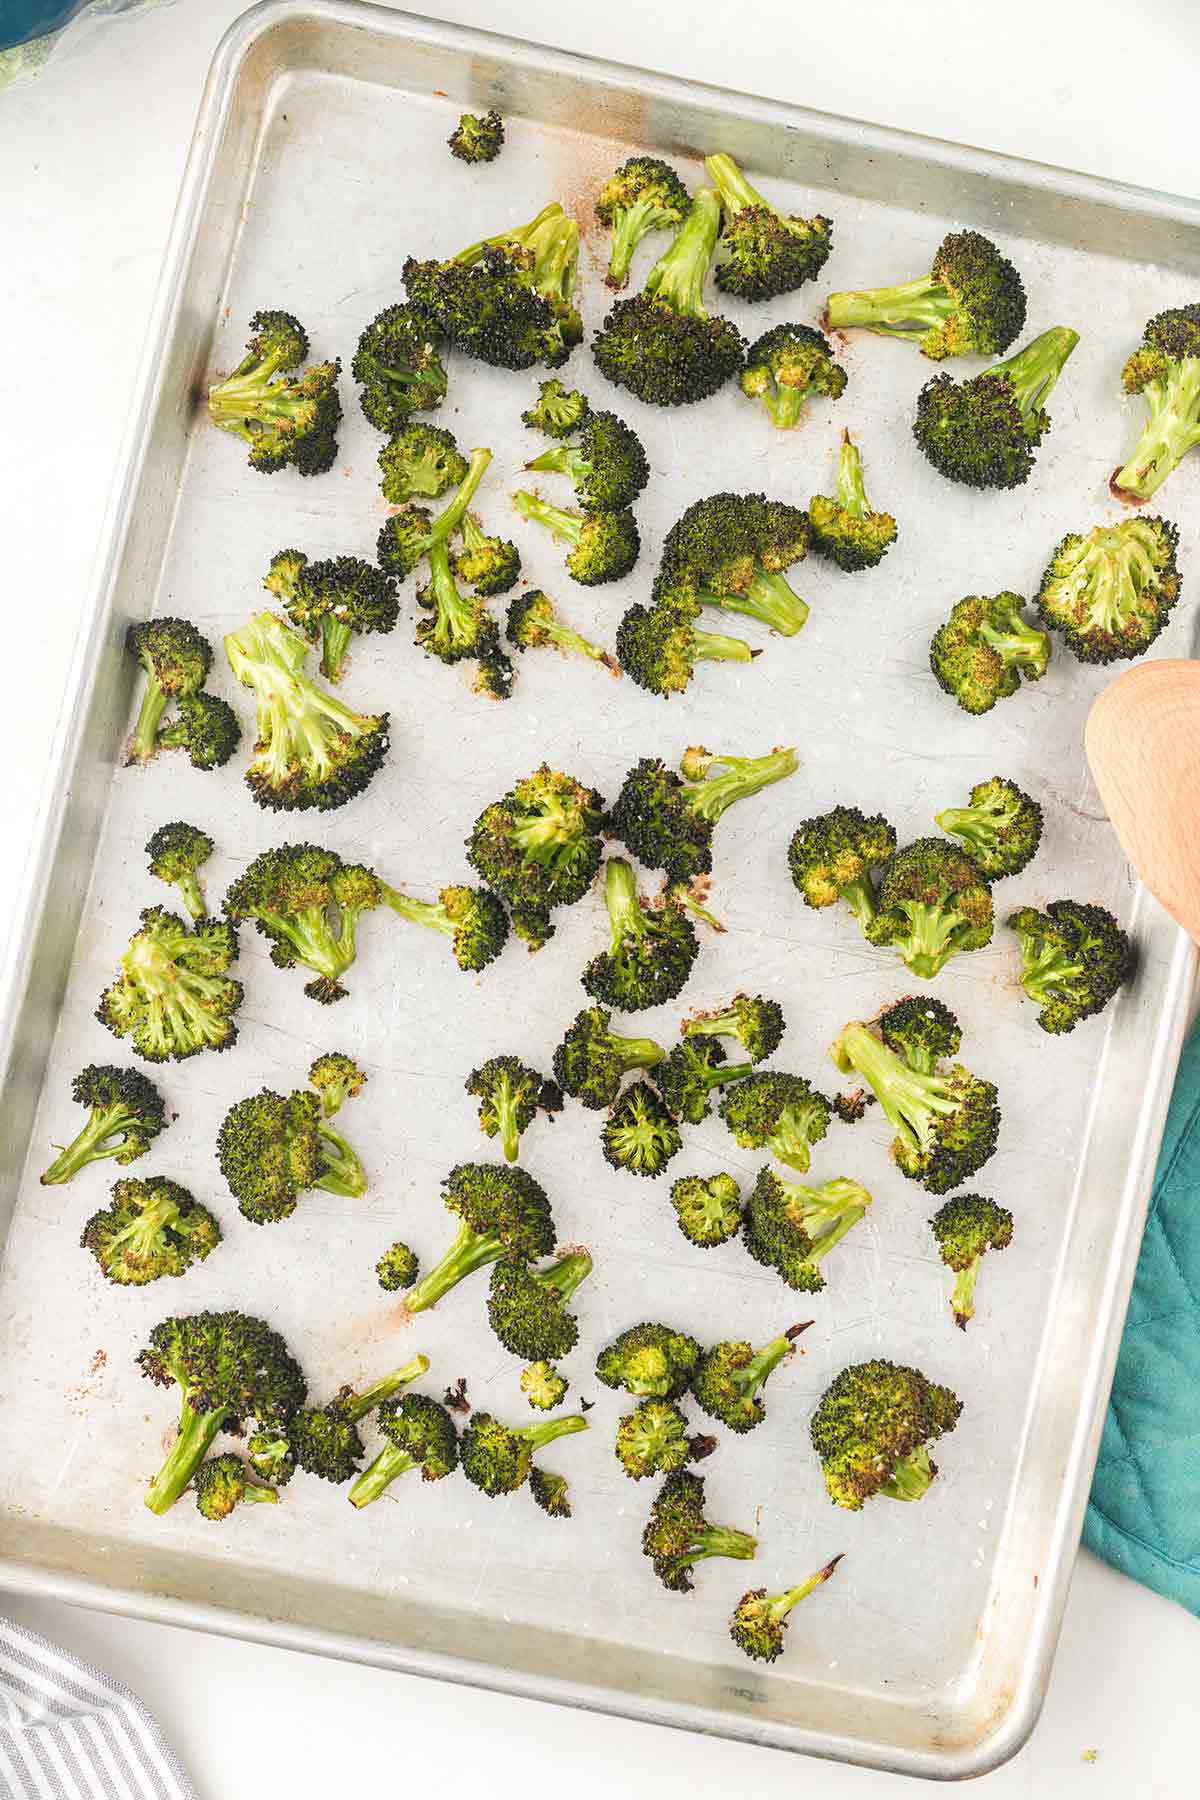
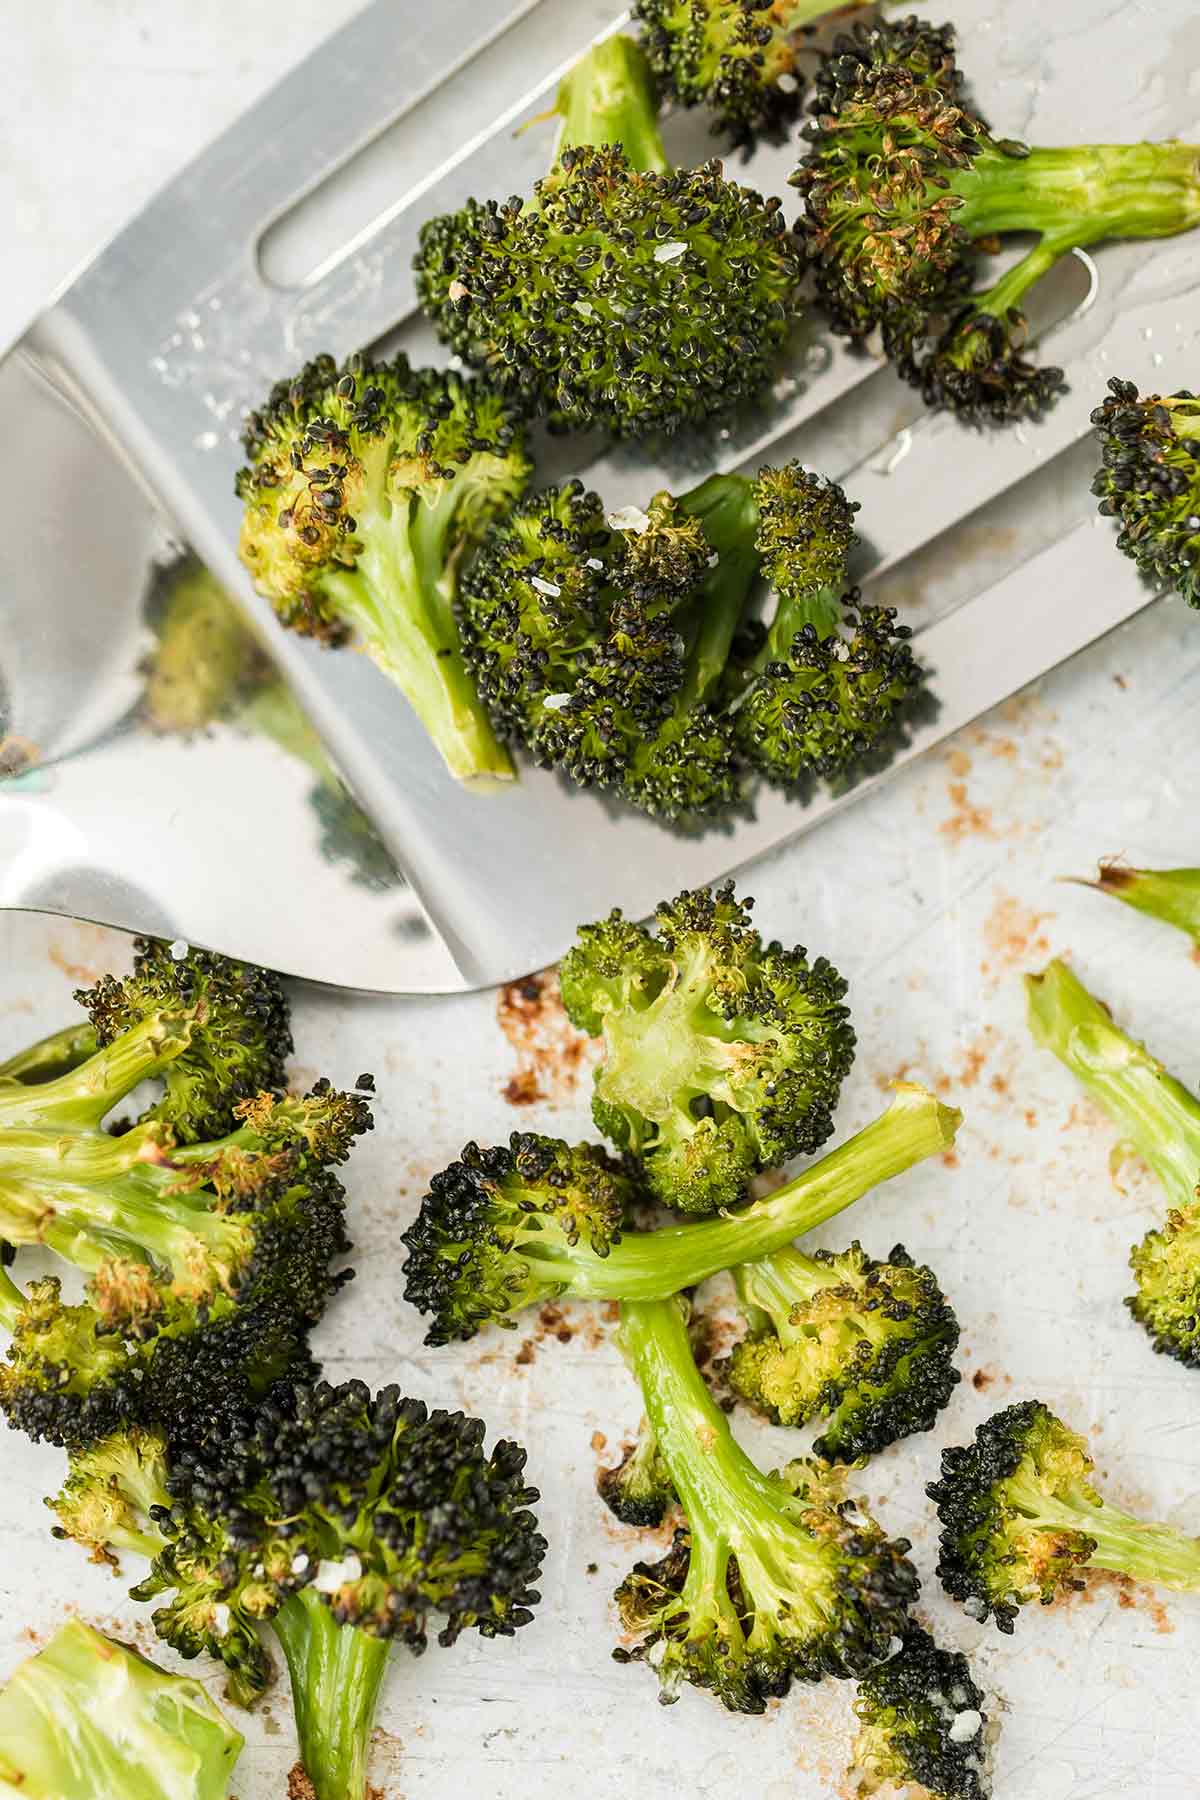
You will see that the little tiny flower ends of the broccoli start to get dark and crispy, and the undersides of the florets, where they touch the pan, should be getting nice and brown. Once that happens, it’s time to pull your broccoli out of the oven and dive into the deliciousness!
Cooking Time
There’s a lot of difference in personal preference regarding how “done” people like their broccoli, so just watch it that last couple minutes or so and pull it out when you feel it has gotten to your preferred level of “done”. My family and I like our broccoli more on the crispy side, so I usually go 20-24 minutes. If you don’t want yours as crispy, or if the ends begin to burn a bit, just pull the broccoli out early.
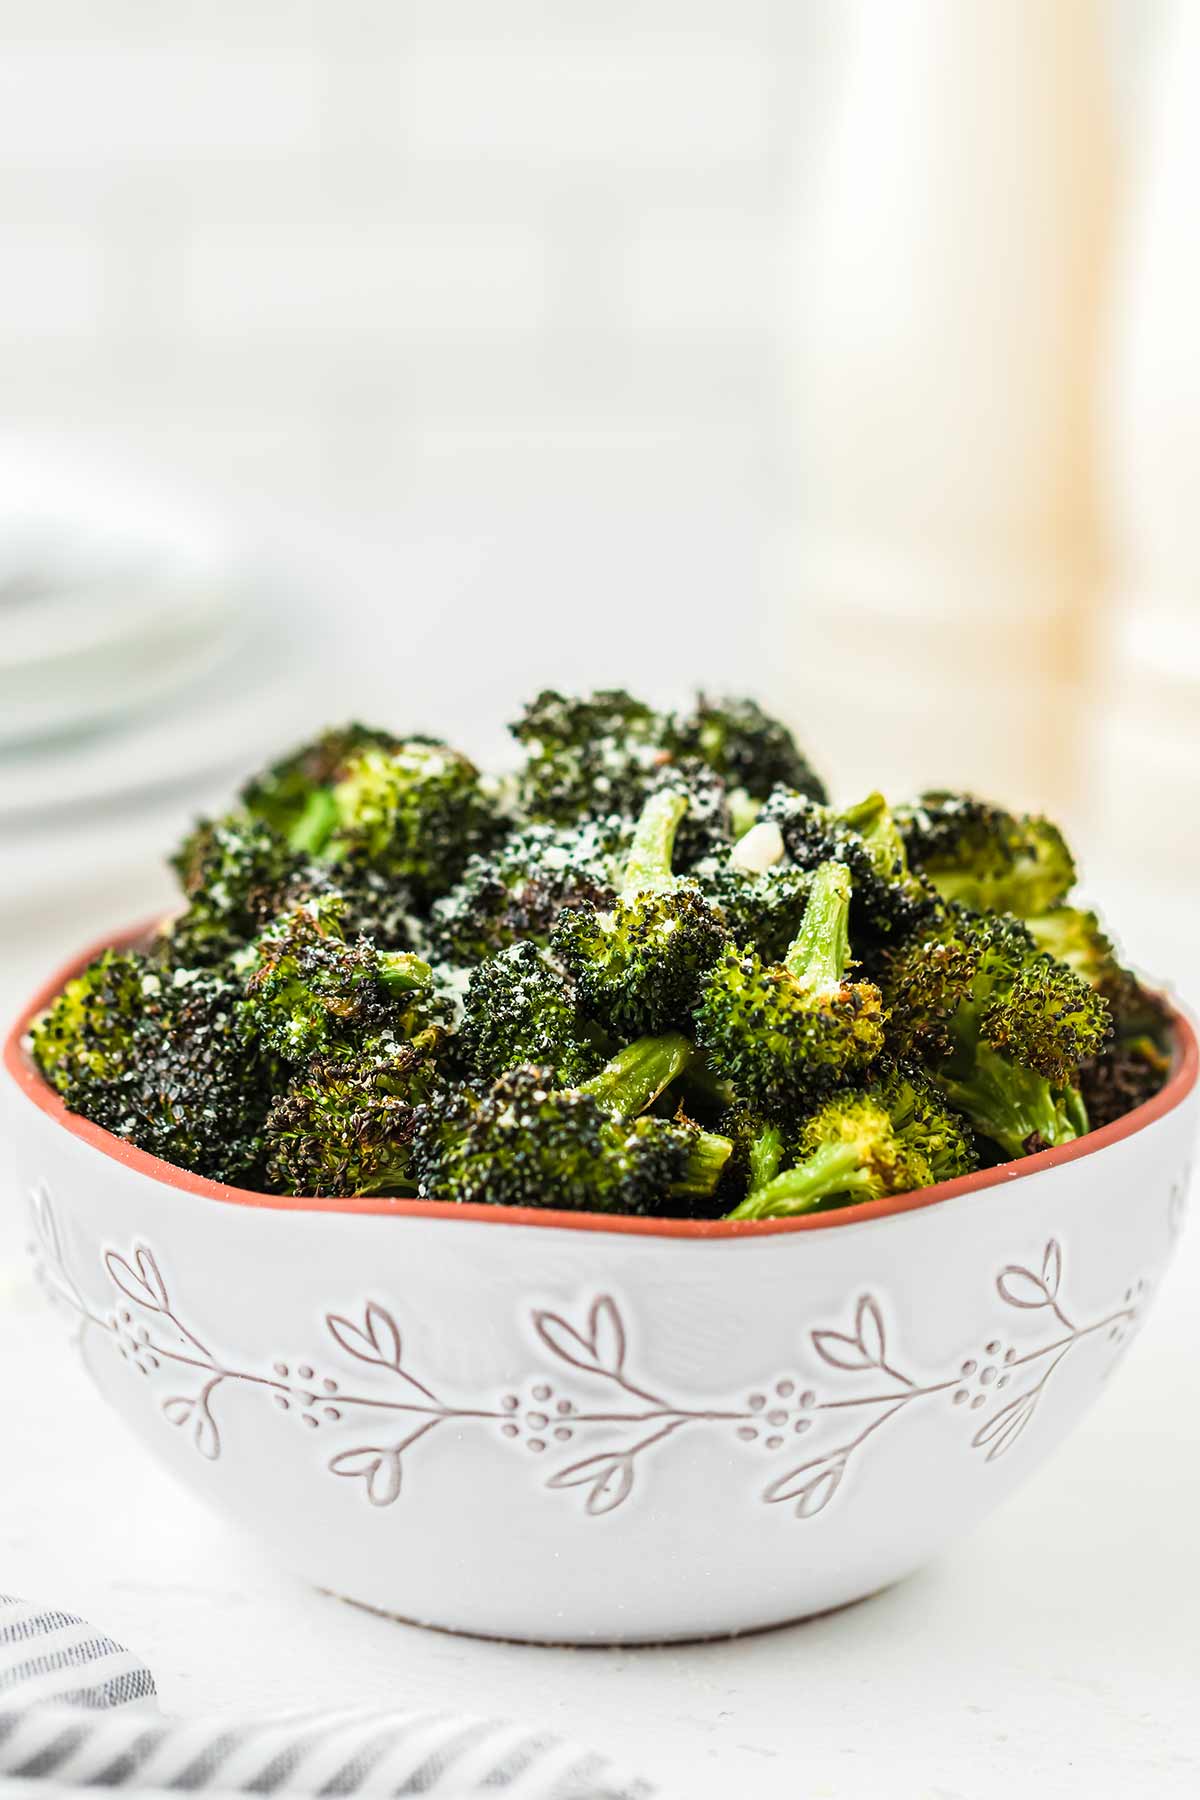
Now the last thing left to do is serve your roasted broccoli!
A Note About Serving the Broccoli
The one tricky part about roasting vegetables is that they don’t stay hot out of the oven for very long. They are so small that they start to cool off very quickly, so you will want to time your broccoli to be done once everything else in the meal is ready to go. The longer it sits, the cooler it will get, and the less crispy it will be. It will still taste amazing, but the texture will begin to soften, so if you’re like me and like it on the crispy side, it’s best to eat it as soon as it comes out of that oven.
Variations
Once you get the hang of it, and have tried it a couple times with the basics, feel free to branch out and get creative – you don’t have to stick with straight broccoli. You could try some of the following variations and substitutions:
- Use flavored oils. These will mostly be olive oil, but you can get some great infused or flavored oils that will really kick up the flavor a notch. My personal favorite is to use garlic olive oil. Lemon olive oil is also fabulous! Grocery stores are starting to carry the flavored oils more, so they are easier to find. Your best option is to go directly to an olive oil store as you’ll get the widest assortment there, and many can be ordered online. Higher-end grocery stores will also usually carry a variety of flavors as well. I keep several bottles from Redstone Olive Oil (not affiliated with them in any way, I just love their product) in my kitchen for this very purpose.
- Use garlic salt or seasoning salt. Or try other herbs/spices.
- Use your roasted broccoli to enhance an already divine dinner, my favorite Chicken Alfredo Bake!
- Sprinkle your broccoli with grill seasoning mixes or something like McCormick’s Montreal Steak Seasoning – it’s amazing!
- About two minutes before its done, pull the broccoli out of the oven, sprinkle it with Parmesan cheese (you can use shredded or the stuff in the green cylinder) and put back in the oven just until the cheese has melted! Maybe not as “healthy”, but definitely delicious!
- Or instead of Parmesan cheese, try using an “Everything But the Bagel” seasoning! You’ll want to put it on the broccoli towards the end of the cooking time, to avoid burning the sesame seeds or herbs/spices. But it’s a great way to add a little flavor boost and some extra crunch to your broccoli!
Happy roasting! I hope this will help give you an easy, healthy side dish to add into your dinner options!!

Easy Roasted Broccoli
INGREDIENTS
- 8 cups trimmed broccoli florets cut into bite-sized pieces (about 16 oz package)
- 2 tablespoons oil avocado, canola, vegetable or olive oil
- 1 teaspoon kosher salt
INSTRUCTIONS
- Preheat oven to 400 degrees Fahrenheit. Place oven rack in center-most position.
- If using full broccoli heads or crowns, wash broccoli and cut into bite-sized florets. If using pre-cut, wash, rinse, and drain florets. Be sure to remove any leaves.
- Place broccoli in large bowl.
- Drizzle oil over broccoli and then sprinkle on salt. Mix to combine and coat broccoli.
- Pour broccoli onto baking sheet in single layer.
- Bake at 400F for 20-25 minutes until edges of broccoli are browned.
- Remove from oven and serve!
Hi,
Could this be made ahead of time and then reheated?
Thank you!
Kristen Berry
That is a really good question! I worry that the texture would change enough for you to notice (and undo the crispy part of the roasting, but perhaps not an issue if you prefer a softer broccoli) but I think I should put it on my “to test out” list for sure! Stay tuned.