Easy Breakfast Pastries
No need to buy at the store, you can make these Easy Breakfast Pastries yourself at home in just minutes! So simple, and much cheaper! Plus, you can make a bunch and freeze them so they’re ready to go on busy mornings!
Easy Breakfast Pastries
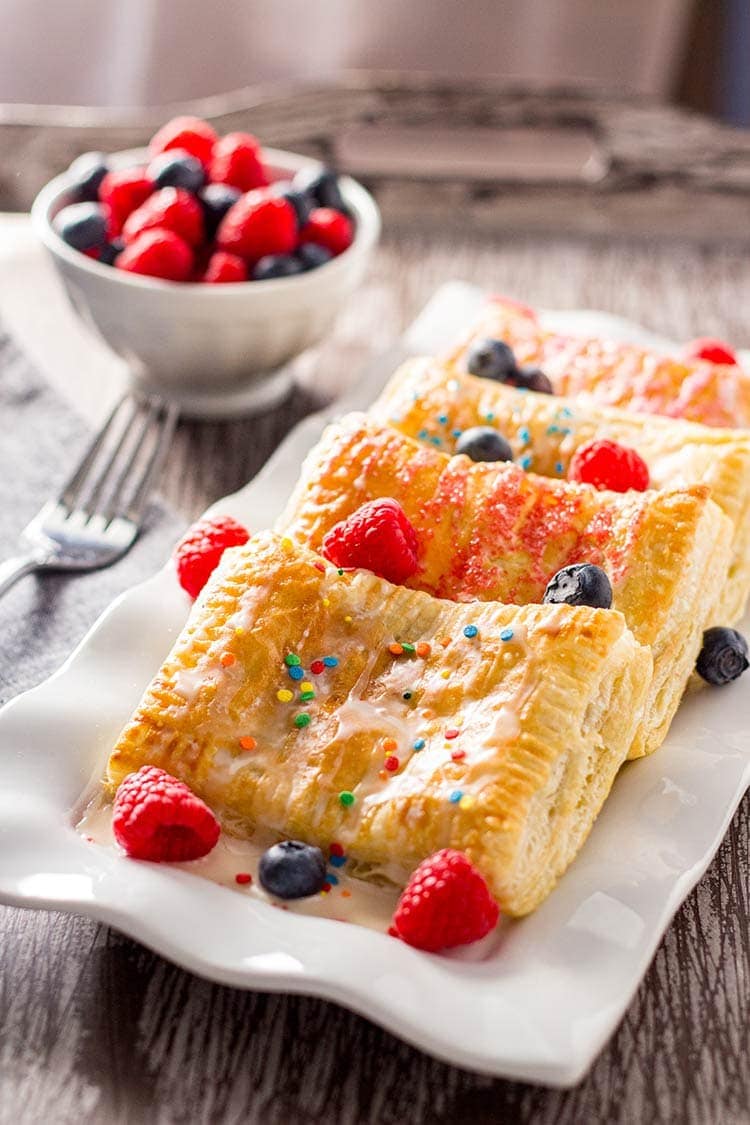
These great Easy Breakfast Pastries are simple to put together, and they freezer great! You can make up a bunch and keep them in the freezer for special treats, weekend brunch, or pull them out for when you have house guests. Add fun sprinkles to gear them more towards the kids, or keep them simple and classy for the adults. Or sprinkles for the adults, and simple for the kids. Whatever puffs your pastry… 😉
Just so you don’t get the wrong idea, we don’t eat breakfasts like this very often. I’m sure my kids wish we did! But I’m too practical to feed my kids dessert for breakfast every morning. It’s really more about self-preservation as a mom, you know? My kids and sugar are not a good combo. So for their health, and for my sanity, these special treats are only brought out for limited engagements. Because mommy can’t deal with kids hyped up on too much sugar, even with all the caffeine in the world…
But I can’t deny that it is nice to have a “treat” for breakfast every once-in-a-while. And who doesn’t love a nice warm, flaky, fruity pastry??
Ingredients for Easy Breakfast Pastries
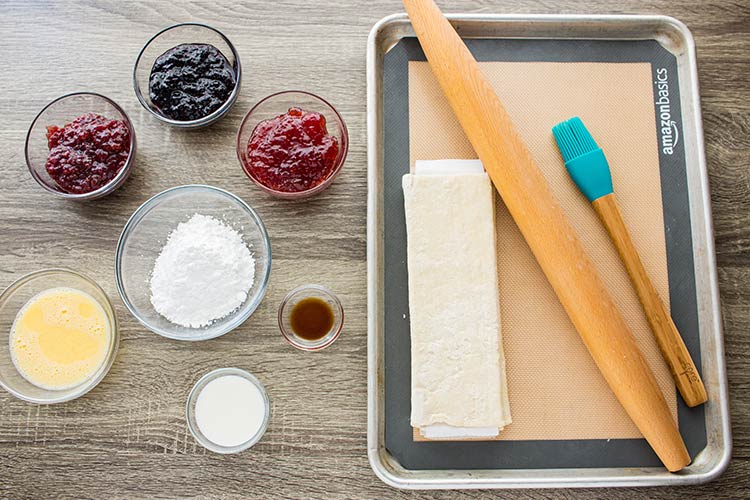
For the breakfast pastries themselves, you really only need three ingredients:
- puff pastry
- jam, jelly, preserves or other fruit filling (you can even go with fresh fruit if you like)
- egg wash (1 egg + 1 tbsp water)
Around my house, I usually just use jam as the filling. I always have a couple jars hanging around. Today I’m using strawberry, raspberry and blueberry.
You’ll want to prep an egg wash by mixing one egg with one tablespoon of water. The egg wash is to help seal the edges of the puff pastry, and also to give them a nice shiny golden brown crust as they bake.
And for the icing glaze, you will need:
- powdered sugar
- milk
- vanilla extract
A Note about the Egg Wash and Potential Substitutes
If you are allergic to eggs, you can just wet the edges of the puff pastry with plain water, and skip the egg wash on the top of the pastries.
You can also use just the egg white to make your egg wash.
If you’re allergic to both parts of the egg, you can also opt to use a milk wash. Just know that the milk wash will encourage browning, so you’ll need to watch you cook time carefully so the pastries don’t get too brown.
I have not tried them with an alternative milk, such as almond milk, coconut milk, etc. They may work, I just can’t say for sure as I haven’t tried it personally. But perhaps I need to put that on my list!
Equipment and Utensils
There isn’t really anything special you’ll need to make these. You will want a large shallow baking sheet or tray for both freezing and baking the breakfast pastries. And you’ll need a sharp knife for cutting the puff pastry dough into squares, and a pastry brush (if you have one – if not, you can use your fingers).
You’ll also want a silicone mat or parchment paper, to line your baking sheet, especially for the freezer.
At one point silicone baking mats were hard to come by and were quite expensive. But that isn’t the case any longer. I have several different brands of silicone mats, some from Amazon, some from Costco, and they have ALL held up well! I’ve linked to some silicone mats in the recipe card below.
In fact, the only silicone mats that are showing signs of wear are my expensive original Silpats. Probably because they are well over 12 years old now. But it’s just a small fray on one corner, otherwise even they too are in great shape! So I highly recommend investing a small amount in a couple of silicone mats – then you never run out of parchment paper!
(Although parchment paper still does have its uses, so actually, you should probably keep both around, just to be safe. Ha ha!)
You will also need wax paper (or additional parchment paper) for freezing the breakfast pastries (to keep them from sticking together).
Assembling your Easy Breakfast Pastries
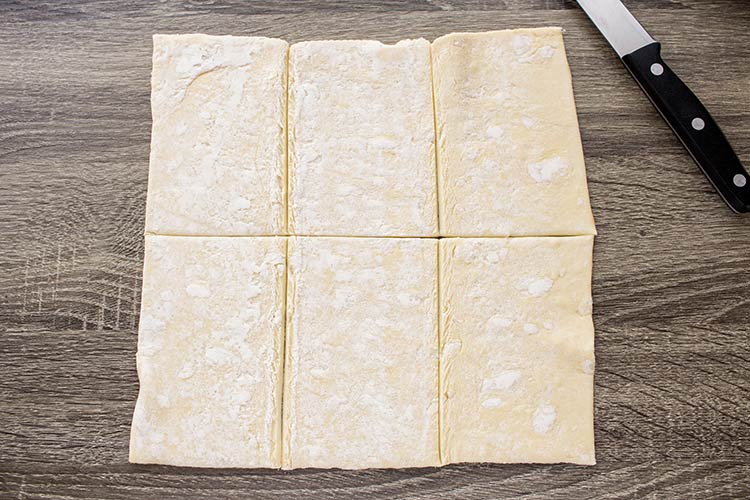
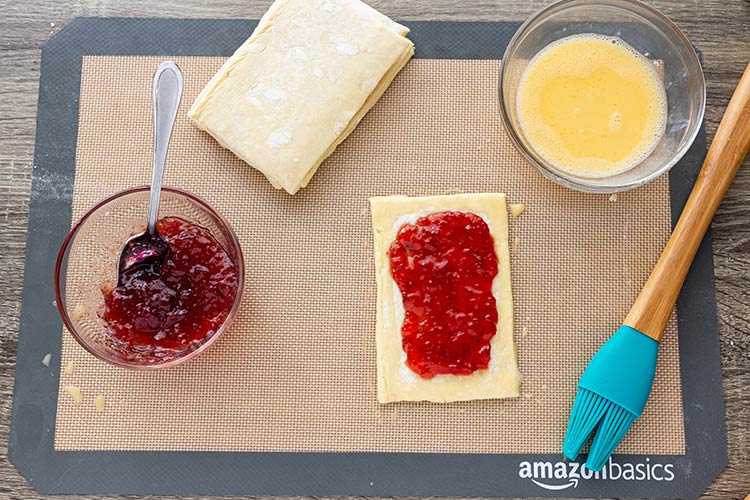
Thaw your puff pastry according to the package directions. When it is pliable enough to work with, unfold one sheet and cut along the two fold lines, to make three columns. Then cut in half horizontally, making 6 rectangular sections. Repeat with the second sheet, so that you have 12 individual rectangles.
Working one at a time, spread 2-3 tablespoons of jam on one rectangle, making sure to leave about a half inch border on each edge of the pastry dough.
With a pastry brush, wet the exposed edges of the pastry with the egg wash. Carefully lay another dough rectangle over the top and press the edges together tightly. Crimp with the tines of a fork to help seal, then brush the top of the pastry with egg wash.* (See note above if you need alternatives to eggs.) Prick the top of your pastry with your fork or sharp knife to make a few small holes for venting. Lay your completed pastry flat on your prepared baking sheet.
Freezing Your Breakfast Pastries
Repeat steps with the remaining pastry. Once all of your completed pastries are on the baking sheet, put the entire sheet directly in the freezer, and leave for about four hours (or overnight).
After the pastries have frozen solid, remove them from the tray and wrap loosely with wax or parchment paper, and then store in a labeled gallon-size freezer bag.
When you’re ready to make these, pull your pastries out and lay them on a prepared baking sheet. Bake at 375 degrees Fahrenheit for 25-30 minutes.
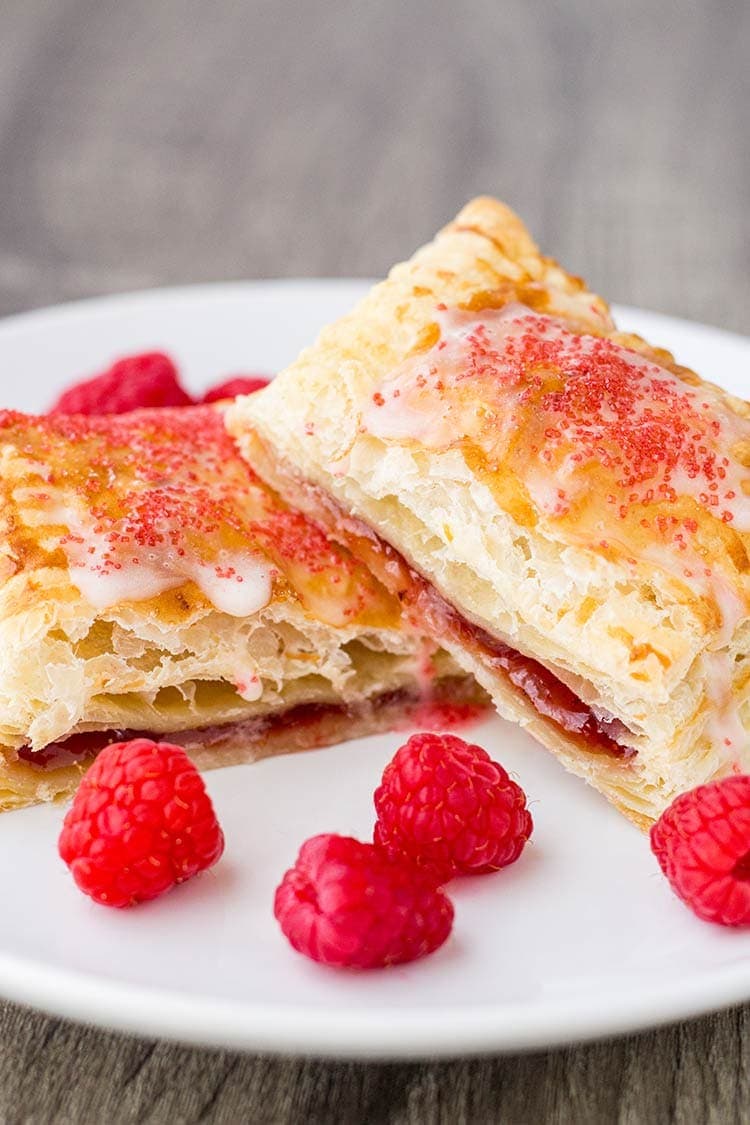
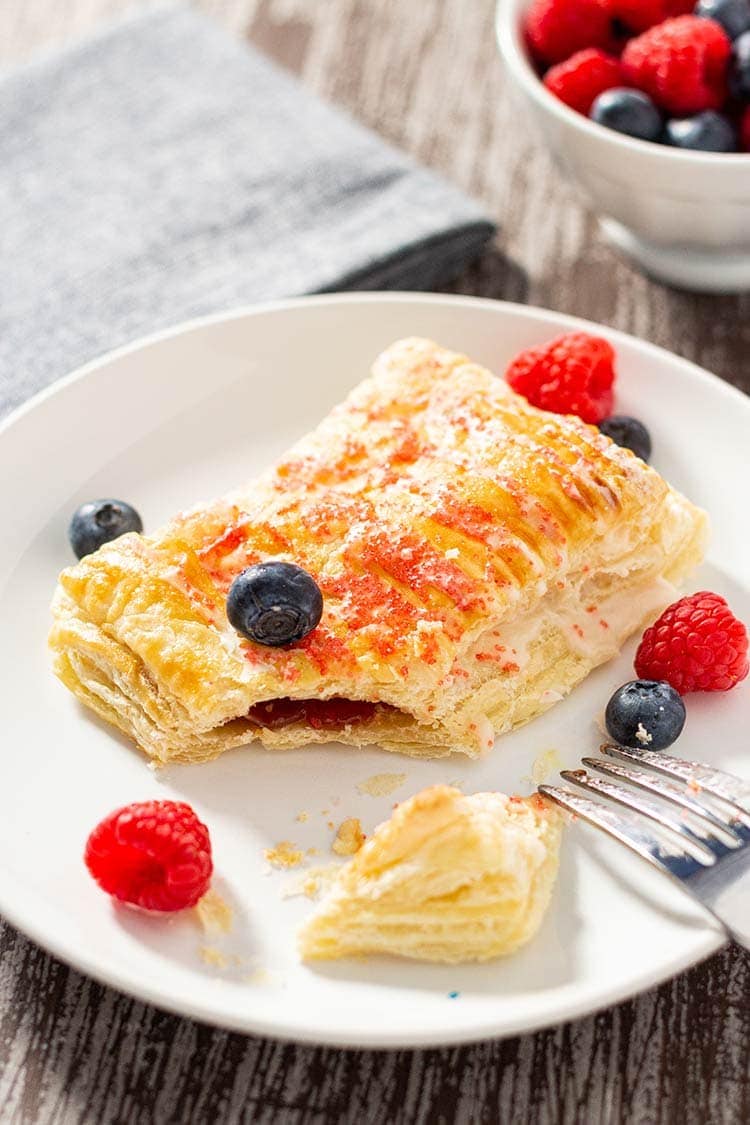
While the pastries are baking, make an icing glaze by mixing powdered sugar, milk and vanilla. Drizzle over baked pastries.
You can stop there, or add sprinkles or course sugar for a little extra fun!
Easy Breakfast Pastries
EQUIPMENT
INGREDIENTS
- 1 package puff pastry 2 sheets
- 1 1/2 cups jam about 2-3 tablespoons per pastry
- 1 egg
For the icing:
- 1 cup powdered sugar
- 4-5 tablespoons milk
- 1 teaspoon vanilla extract
INSTRUCTIONS
- Thaw puff pastry as directed on package. Once pliable, unfold each sheet and cut vertically along the fold lines, creating three columns. Then cut the entire sheet in half horizontally to get 6 individual rectangles from each sheet (12 in total).
- Working with one pastry section at a time, spread with 2-3 tablespoons jam, leaving a 1/2-inch margin at each edge.
- Prepare egg wash by mixing 1 egg with 1 tablespoon water in small bowl. Gently brush exposed edges of the pastry section with egg wash.
- Take a second pastry rectangle and gently place on top of the first, pressing down on the edges to seal. Crimp edges with the tines of a fork, and then prick the top of the pastry with the fork to create vent holes.
- Brush top of pastry with egg wash, and carefully transfer completed pastry to a baking sheet lined with a silicone mat or parchment paper.
- Repeat steps with remaining sections of puff pastry.
To freeze:
- Once all pastries are completed, place baking sheet directly into freezer and allow pastries to freeze until solid (about four hours).
- Once pastries are frozen, remove from freezer, wrap loosely with wax paper or parchment paper, and place in labeled gallon-size freezer bag(s). Seal bag and return to freezer.
To bake:
- Remove pastries from freezer and place on baking sheet lined with silicone mat or parchment paper.
- Bake at 375 degrees Fahrenheit for 25-30 minutes, until pastries are fully puffed and tops are golden brown.
- While pastries are baking, combine powdered sugar, milk and vanilla extract in small bowl to make icing glaze.
- When pastries are done, remove from oven and drizzle with prepared icing. Add sprinkles or course sugar if desired.
Thanks for posting this wonderful recipe. After these have been baked how long will they keep? Should you store in the refrigerator.
I’m not quite sure how long they would keep. Probably a day or two in the fridge, but they would risk becoming soggy. Definitely store in the refrigerator if possible, although they might hold overnight in the pantry – I’d need to look up the food safety recommendations for the jam. In all honesty, there have never been any leftovers when I’ve made them so I haven’t tried storing any yet… 😉
Hello – do you happen to know, if you used a “heartier” filling, like fruit or pie filling, would they need to thaw prior to baking, or cook longer, so that the middle is hot and cooked through? Or would that spoil the pastry?
Thank you.
It would probably work better in that case to thaw slightly before baking as the increased baking time needed to get the centers hot might be too long for the pastry. You could also try doing 20 min at a much lower temp and then cook at the normal time and temp to see if that would work. A lot will just depend on what you use for that filling so you might just need to test a few different options out.