Barbecue Beef Biscuit Cups
This Beefy Barbecue Biscuit Cups freezer meal is a family favorite – loved by young and old alike! Prepared them ahead of time and freeze, then pull out later when needed and reheat. Or use these for your weekly meal preps, too! If they last that long, that is…

Barbecue Beef Biscuit Cups
A few weeks ago I got to share with you a family-favorite freezer meal, my Savory Italian Biscuit Cups! Today, I bring you a different twist on that same biscuit cup idea – this time, Barbecue Beef Biscuit Cups!
Now, I’m going to warn you up front, the ingredient list may sound just a wee bit strange. But stay with me on this one.
It’s not nearly as weird as it seems. (And those who have tried the Catalina Cranberry Chicken recipe know what I’m talking about here…)
I love these beefy biscuit cups because they are easy, portable, portion-able (unlike a big casserole), and you can eat them without silverware (which my kids think is the mark of a “good dinner”), so they are versatile for lots of different kinds of meals – easy dinner, backyard picnic, outdoor barbecue potluck, etc.
They are also sturdy and hold up great in the freezer. You can go from frozen to ready to eat in under 30 minutes!
How to Make Barbecue Beef Biscuit Cups
You make these Barbecue Beef Biscuit Cups the same way as the Savory Italian Biscuit Cups.
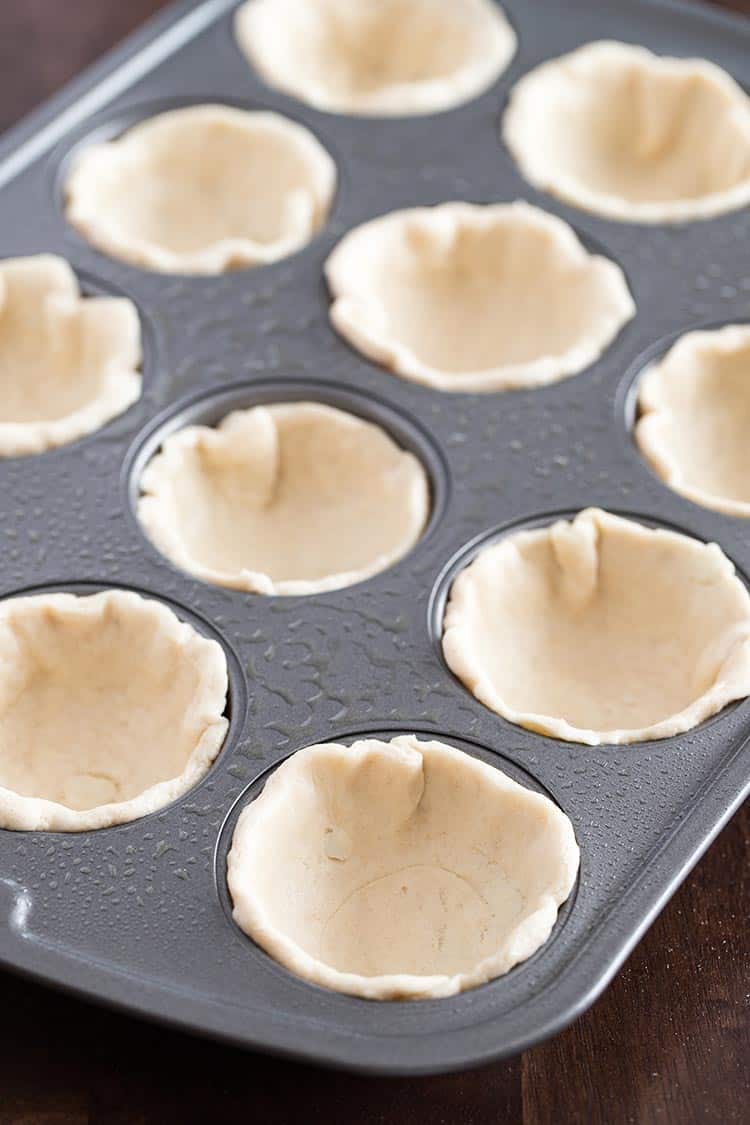
You’re going to start with a can of flaky biscuits, and a prepared muffin tin.
Open the can of biscuit dough and separate the biscuits.
A little secret on avoiding being scared out of your pants by the exploding can: I carefully peel off the outer wrapper, specifically trying NOT to get the can to open, then take the can and bang it on the counter just under the top of the can rim. Works every time (or mostly every time – sometimes I have to give it a second whack) and that way I can ANTICIPATE the “pop” and not be startled out of my ever-lovin’ mind when it pops on its own!!
Take each biscuit and divide roughly in half along one of the “flaky layers”.
Flatten each half into a circle about 4-5 inches in diameter.
You can put these on the counter and roll with a rolling pin (dust counter with flour or spray with non-stick spray first), but I’m usually too lazy, and just use my hands and fingers flatten and spread each half out.
Place each biscuit half into a cup in your prepared muffin tin, and press into bottom and up sides. You may have to pinch the top just a little – that’s totally okay.
The Filling
Once you’ve got all your biscuit dough in the muffin tins, move on to making the filling.
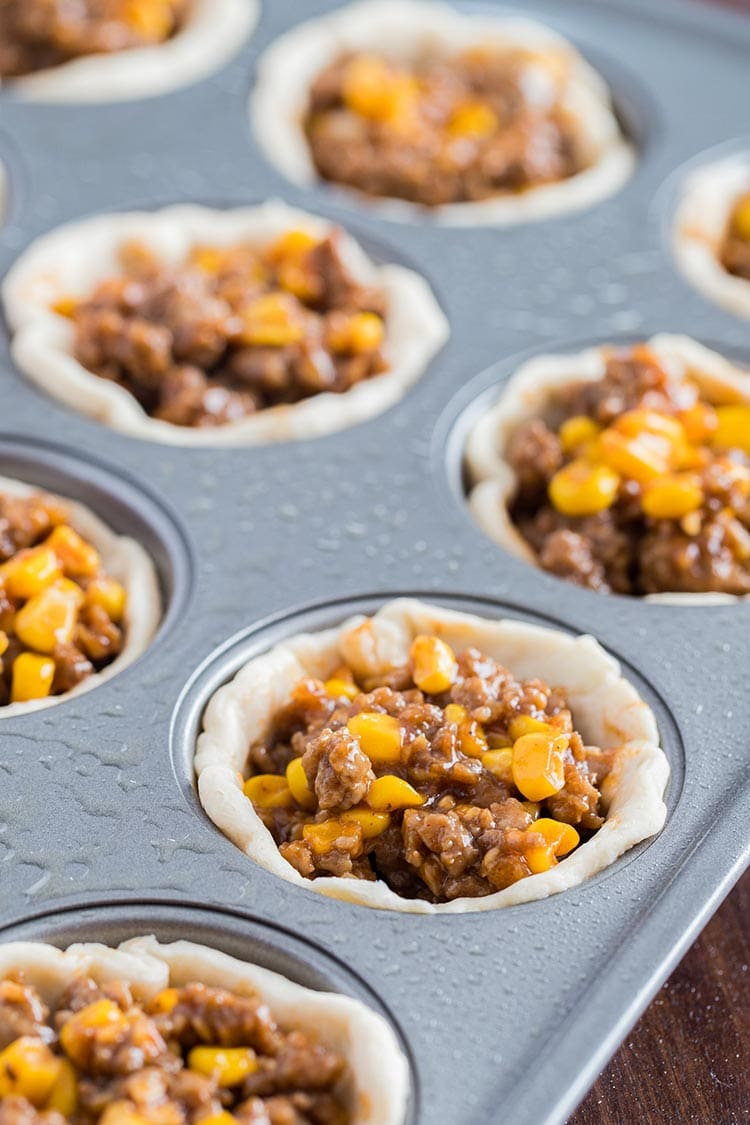
Here’s the easy part – just brown a pound of hamburger, drain, then mix with barbecue sauce (yup, I use jarred stuff to save time), finely diced red onions (optional), and frozen corn.
Fill your biscuit cups with the meat mixture, and bake.
Important note: If you will be freezing these to eat later, do not add the cheese at this point! We save that goody for later. 😉

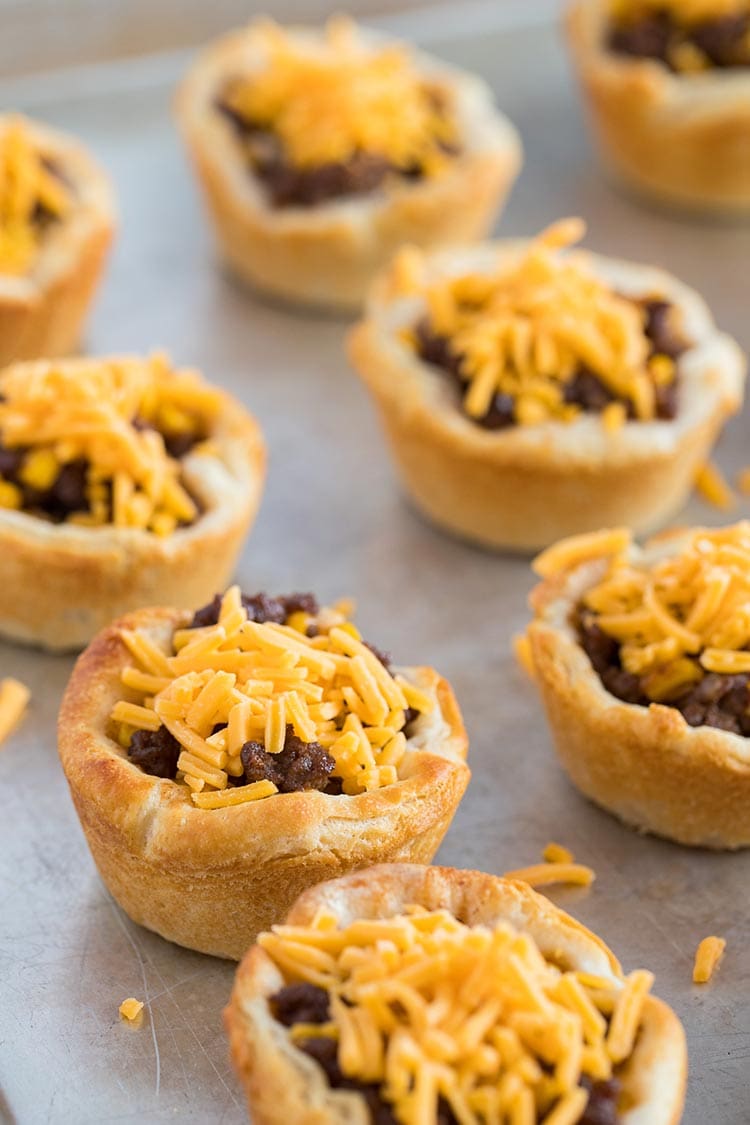
At this point, after they are baked, you can either let them cool and freeze them for later use, or you can proceed with the cheese, bake a little longer to let that cheese melt, and then enjoy right now!
Or do both.
Sometimes I make a double batch of these barbecue biscuit cups and cook one right away for dinner, and then stash the second batch in the freezer.
Freezing and Reheating Your Barbecue Beef Biscuit Cups
If you opt to freeze them:
Allow them to cool and then carefully place them in a plastic ziptop freezer bag, label, date and place in freezer.
I don’t usually have a problem with them sticking together, but you can flash freeze the biscuits first on a sheet tray for an hour and then transfer to a freezer bag.
They will keep for upwards of six months in the freezer easily, if packaged correctly. But I bet you will end up eating them all long before they can stick around for six months…
To reheat:
Place frozen biscuit cups on a baking sheet and bake for about 15 minutes (or slightly longer) at 350 degrees Fahrenheit until centers are heated.
Remove the biscuit cups from the oven, sprinkle shredded cheese on top (cheddar is best here, but you could do others), and bake for an additional 3-4 minutes until the cheese is melted and bubbly.
Of course, you don’t have to freeze these beefy biscuit cups. You could portion them, out as part of your meal preps for the week. They can be microwaved just fine – they won’t be as crispy, but they are still good!

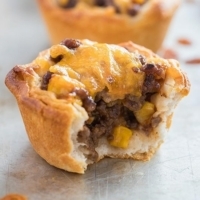
I hope you will give these Barbecue Beef Biscuit Cups a try – you will be pleasantly surprised at just how good they are!
And stay tuned, there are more variations to come, including a breakfast option that my kids and husband LOVE almost more than the dinner version! 🙂
Beefy Barbecue Biscuit Cups
INGREDIENTS
- 1 pound ground beef
- 1/3 cup finely diced red onion (optional)
- 1/3 cup barbecue sauce
- 1/2 cup frozen corn
- 1 8-count tube refrigerated biscuits, "flaky" variety
- 1 cup shredded mild Cheddar cheese
INSTRUCTIONS
- Preheat oven to 400 degrees Fahrenheit.
- In skillet over medium heat, cook ground beef and onions (if using) until beef is no longer pink; remove from heat and drain excess grease.
- Add barbecue sauce and frozen corn, and mix thoroughly.
- Spray muffin tins with non-stick cooking spray. Split each biscuit in half along the flaky layers (so there is a top half and a bottom half). Take each half and flatten into a circle approximately 4-5 inches in diameter.
- Press each circle into bottom and along sides of prepared muffin tin cups.
- Spoon 2-3 tablespoons of beef mixture into the center of each cup.
- Bake at 400 degrees Fahrenheit for 10 minutes. Remove from oven.
To eat now:
- Sprinkle tops of biscuit cups with shredded Cheddar cheese. Bake an additional 3-4 minutes until cheese has melted and is bubbly. Serve.
To freeze for later:
- Cool baked cups to room temperature. Do not add shredded cheese. Place biscuit cups on baking sheet and place sheet in freezer for one hour or overnight. Then transfer biscuit cups to freezer bag, label, date, and return to freezer until needed. (I often skip the flash freezing and just put the biscuit cups right in the bag after they have cooled and then right into the freezer - I have found that they really don't have too much of an issue with sticking together.)
To reheat after freezing:
- Preheat oven to 350 degrees Fahrenheit. Defrost biscuit cups overnight in refrigerator (or cook directly from frozen). Place biscuit cups on baking sheet. Bake for 10-15 minutes (or longer if baking from frozen) until heated through. Remove from oven, sprinkle tops with shredded Cheddar cheese, and bake an additional 3-4 minutes until cheese is melted and bubbly. Serve.


9 Comments