Easy Honey Wheat Bread
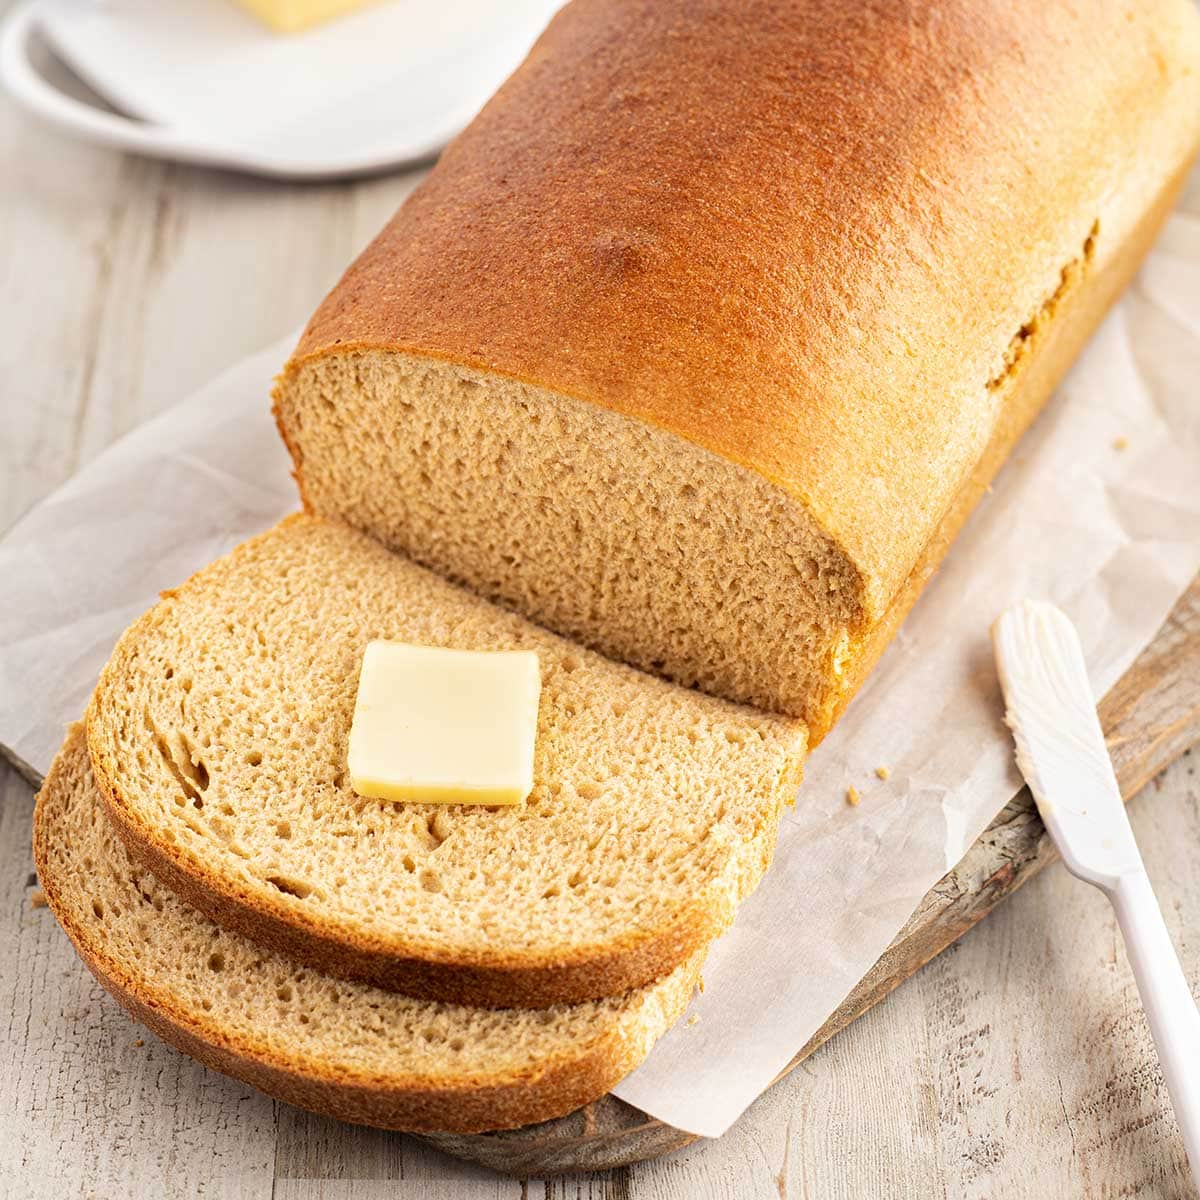
This is my go-to, most favorite homemade wheat bread recipe on the planet - hand's down! My entire family loves this stuff! It is light and fluffy and tasted great, and it is a very forgiving dough, easy enough for even bread making novices. If it works for me, a certified yeast killer, then it will work for just about anyone!
Ingredients
- 3 1/2 cups wheat flour
- 1/3 cup vital wheat gluten
- 1 1/4 tablespoons instant yeast, NOT active dry or bread-machine
- 2 1/2 cups hot water (110F-120F)
- 1 tablespoon salt
- 1/3 cup vegetable or canola oil
- 1/3 cup honey
- 1 1/4 tablespoons lemon juice
- 2 1/2 cups wheat flour
Instructions
- Add first three ingredients to bowl or mixer. Stir to combine.
- Heat water, but do not exceed 120F (above that will kill your yeast). Add to dry ingredients and mix until moistened. Cover and let rest for 10 minutes.
- Add salt, oil, honey and lemon juice and stir to combine. (This will deflate your dough a little, but don't worry.)
- Gradually add in remaining wheat flour. Dough will be fairly soft and rather sticky. (Dough should not be stiff.)
- If kneading by hand: Spread a thin layer of oil over a section of your work surface - do not flour. Turn dough out and knead for 6-10 minutes.
- If using a mixer, knead in your mixer for 6-10 minutes. Then turn out onto oiled work surface.
- Place a small amount of oil in each pan and spread it around and in corners and up sides. Do not flour your pans.
- Divide dough. Shape and place into oiled bread pans.
- Cover and let rise in warm spot for 20-30 minutes.
- Place bread pans into COLD oven. Turn oven to 350F and allow it to preheat WITH THE BREAD INSIDE THE OVEN. Count the preheat as part of the baking time. Bake for 30-35 minutes until crust is golden brown.
- When done, remove from oven. Allow bread to cool for 10 minutes in pans, and then turn out of pans onto a cooling rack to finish cooling (this will keep your bread from getting soggy on the sides and bottom).
- Store in ziptop bags or other suitable containers. You may not want them to be completely airtight, as moisture may build up inside and turn your bread soggy.
- To freeze: Wrap cooled bread in a layer of plastic wrap, then a layer of aluminum foil and place in freezer.
Notes
There are no preservatives in this bread, so it will only last a few days before mold will set in. If you won't get through all three loaves before that time, freeze one or two until needed.
We use two Lock & Lock plastic bread containers, but we have drilled a few small holes in the sides and bottom so they are not airtight (to allow excess moisture to escape and not build up inside).
Nutrition Information:
Yield:
48Serving Size:
1 sliceAmount Per Serving: Calories: 75Total Fat: 1gSaturated Fat: 0gTrans Fat: 0gUnsaturated Fat: 0gCholesterol: 0mgSodium: 137mgCarbohydrates: 15gFiber: 1gSugar: 2gProtein: 3g
Nutrition information provided as an estimate only.