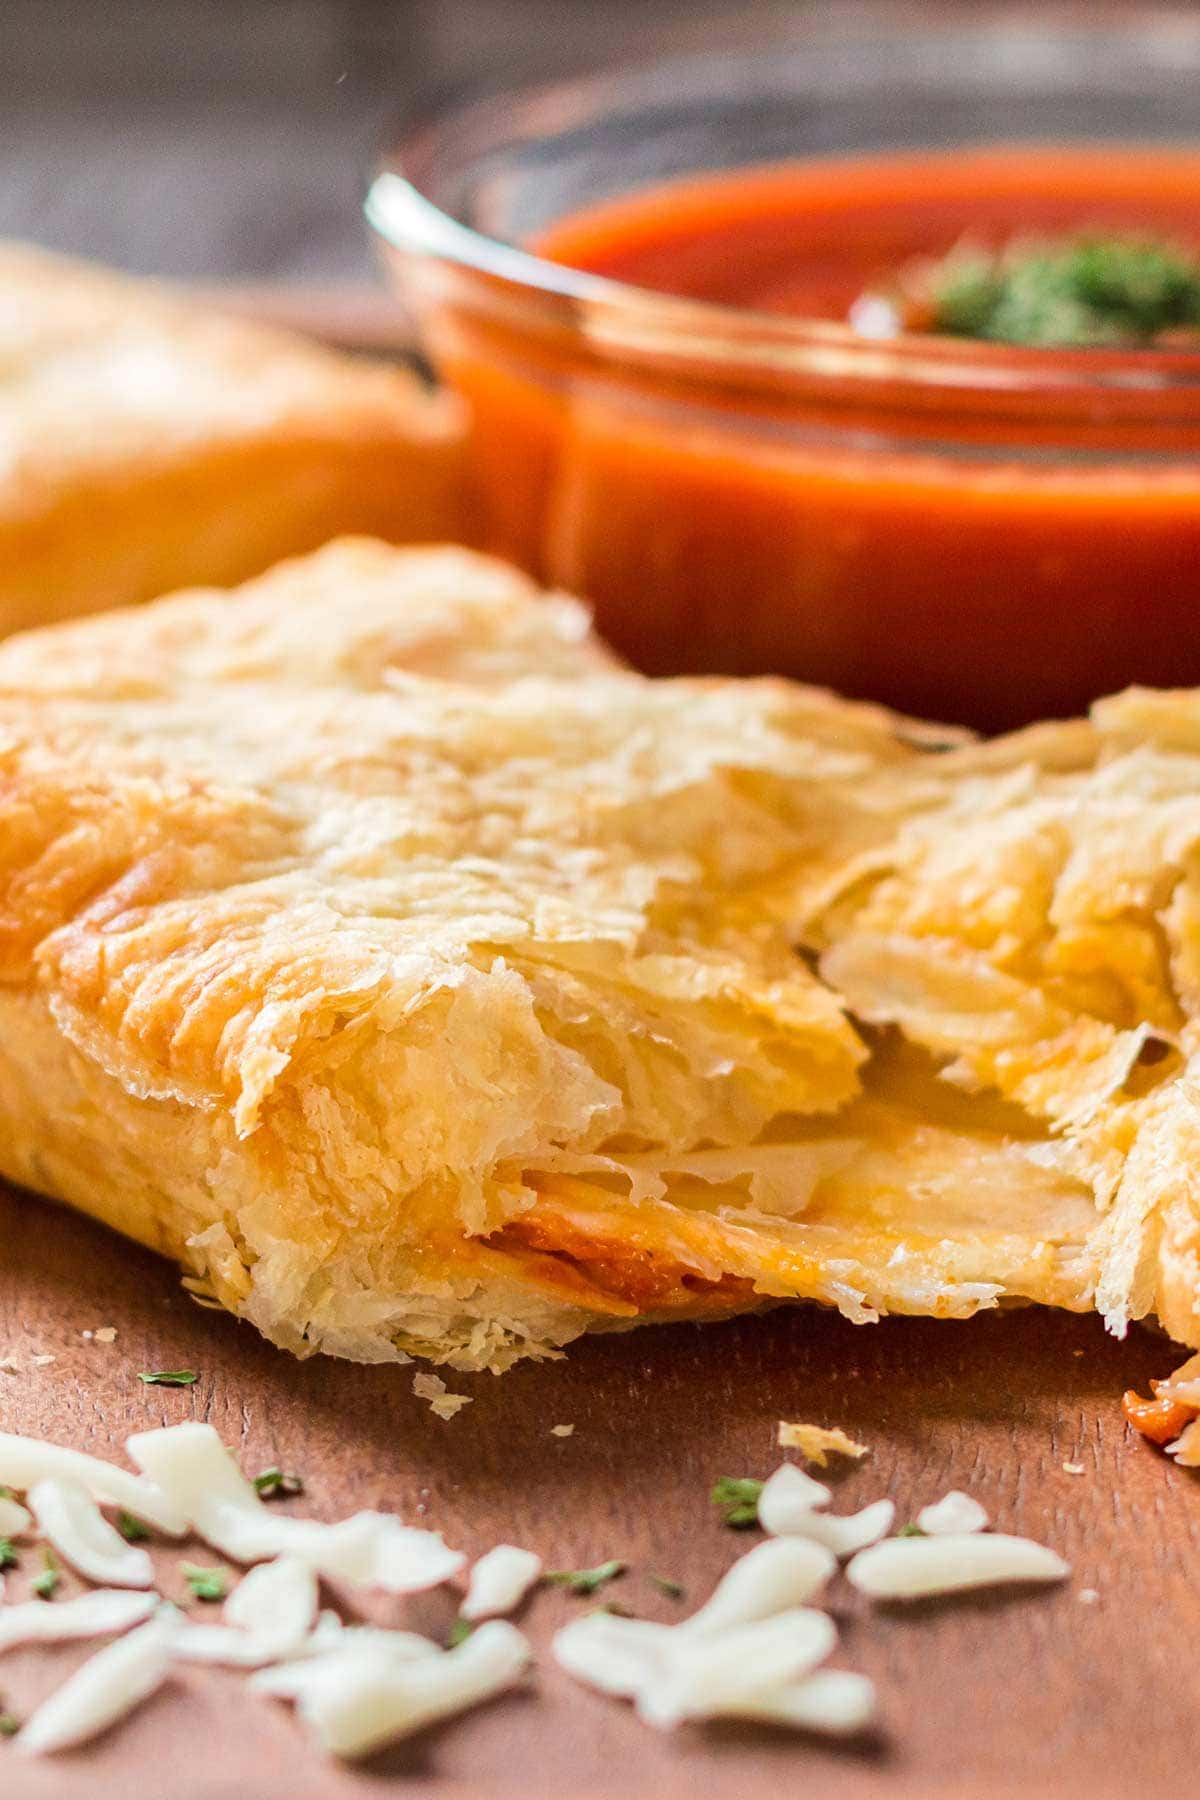
Puff Pastry Pizza Pockets (Freezer Friendly!)
These freezer-friendly homemade pizza hot pockets are so easy to make there’s no need to spend $$$ on the store-bought versions! Make a big batch in just a few minutes, and store in the freezer for easy dinners, school lunches, or afternoon snacks!
Homemade Pizza Hot Pockets with Puff Pastry
Did you know that you can easily make your own homemade puff pastry pizza pockets?! And they are SO simple! Plus, you can make up a
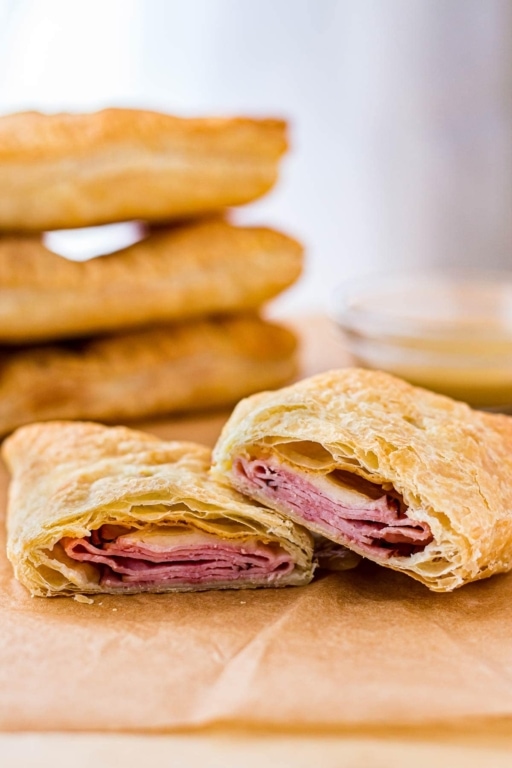
My family has really loved the Ham & Swiss Puff Pockets, and I’d like to have a few more varieties to add to the mix.
Notes on Ingredients
You can go as “from scratch” on these as you’d like. You can even make your own puff pastry, or use your own pizza sauce. BUT…I’m lazy, so I go the easy route.
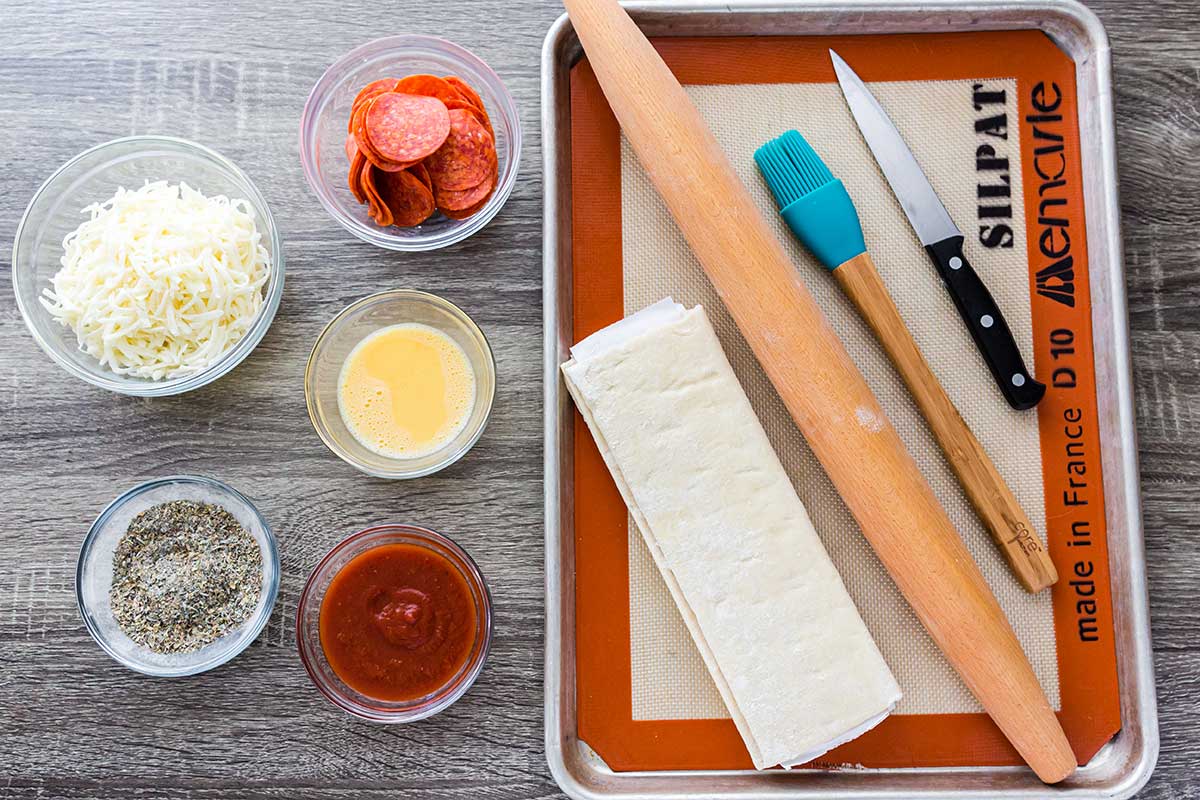
For the sake of not spending all day in the kitchen, I generally use store-bought puff pastry, and jarred spaghetti or marinara sauce. Because of that, you’ll also see a dish of pizza seasoning in the photo.
Jarred spaghetti sauce can be pretty bland sometimes, so I like to add pizza seasoning just to bring in a little more flavor.
If you’re working with pizza sauce you’ve made yourself, you may not need or want any additional seasonings. That’s okay.
Working with Puff Pastry
You’re going to need to let your pastry thaw before you work with it, so you will need to plan a bit in advance.
Once thawed, carefully unwrap and unfold your sheets of pastry, being careful with the fold lines (they can have a tendency to tear there).
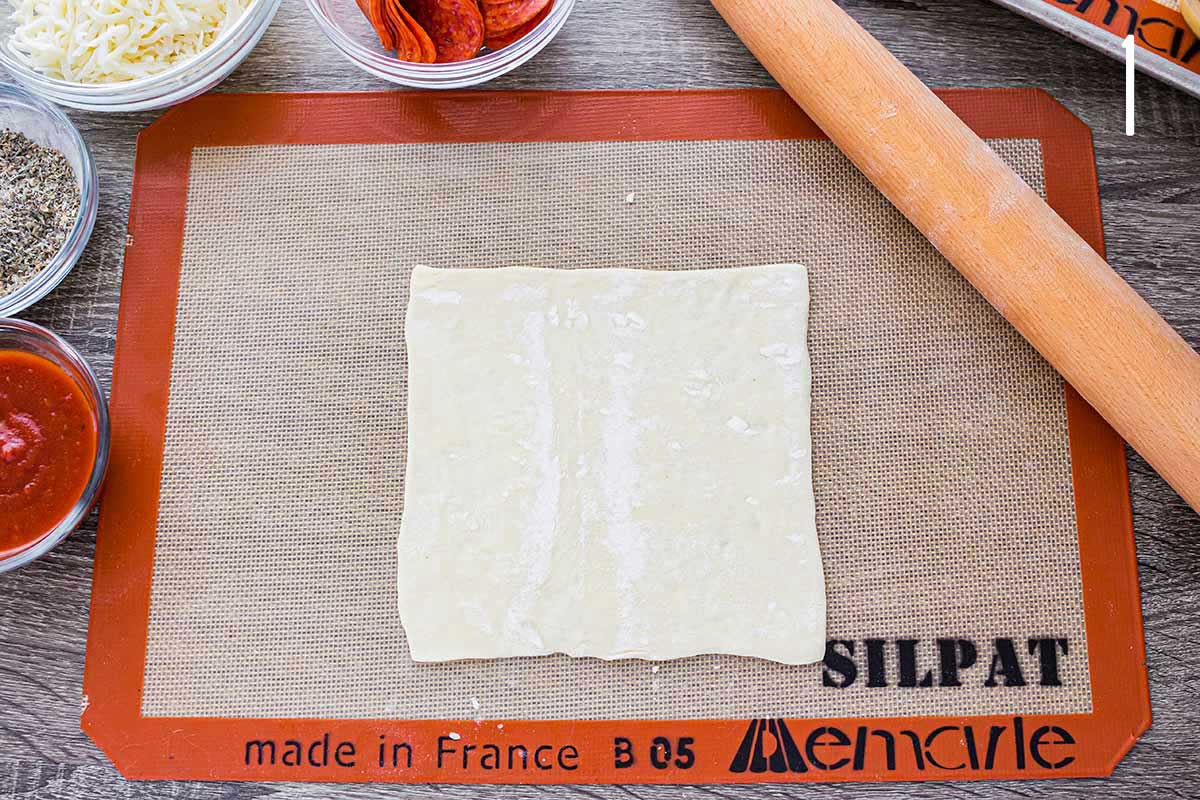
Go ahead and cut each sheet into four squares. Working one at a time, roll one section out until it is about 6 to 8 inches square.
Pro Tip: I like to do this on a silicone mat, but you can use wax paper, parchment paper or just flour your work surface really well.
Assembling the Pizza Hot Pockets
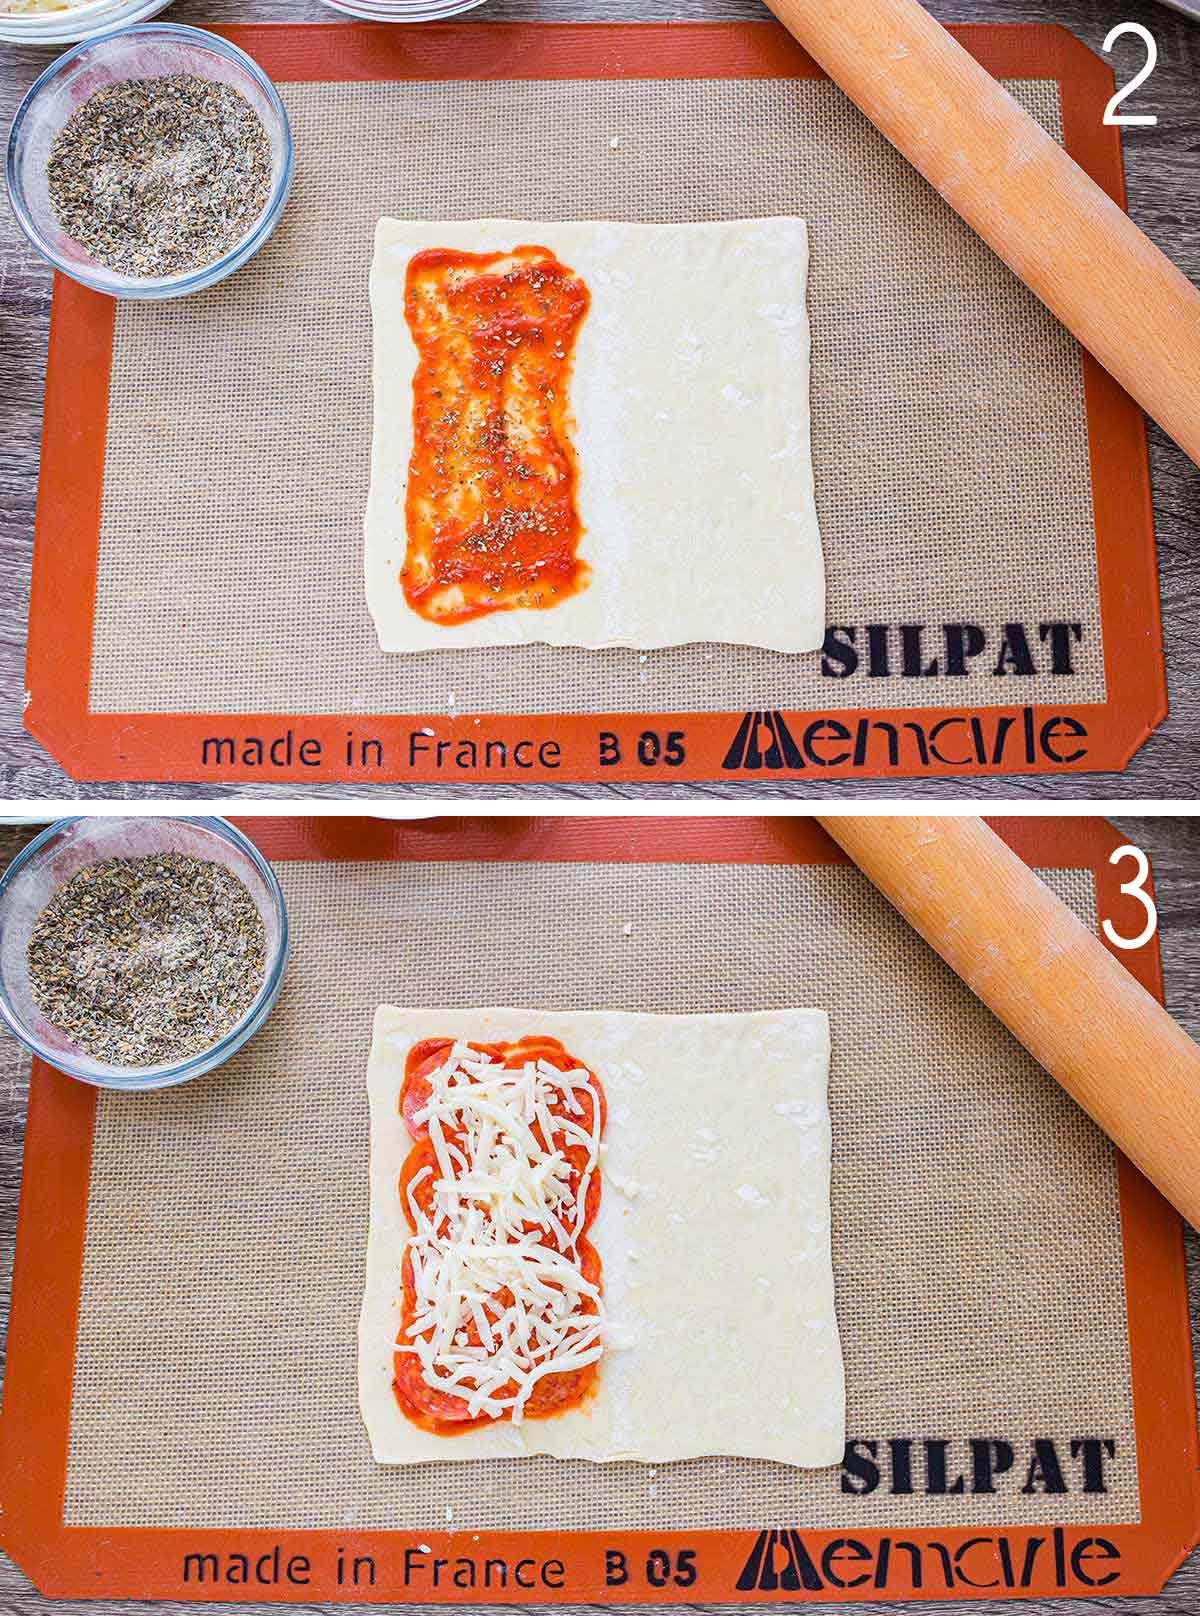
Start by spreading 1-2 tablespoons of your pizza/pasta sauce on one half of the pastry dough, being sure to leave a half-inch border. Sprinkle with a bit of pizza seasoning.
Next, place 8 slices of pepperoni over the pizza sauce, overlapping slightly to fit.
Then, add about a 1/4 cup of shredded mozzarella cheese over the pepperoni slices.
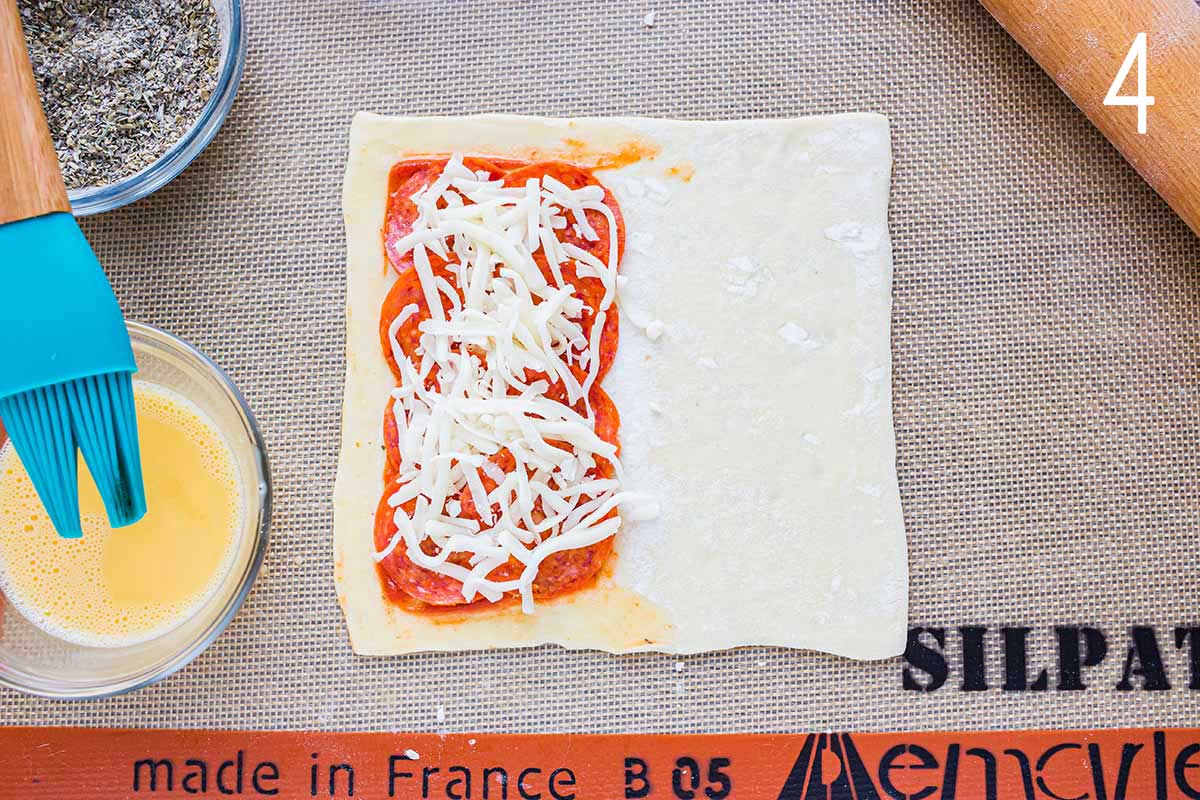
Next prepare an egg wash by mixing 1 egg with 1 tablespoon of water.
Dip a pastry brush into your egg wash and brush the wash gently onto the exposed edges of your pasty.
Carefully fold the other half of the pasty square over and press down on the edges to seal, then crimp the edges with the tines of a fork.
Transfer your completed pizza pocket onto a baking sheet lined with a silicone mat, wax paper or parchment paper.
Then go back and repeat the steps with the remaining pastry dough sections.
Freezing Your Puff Pockets
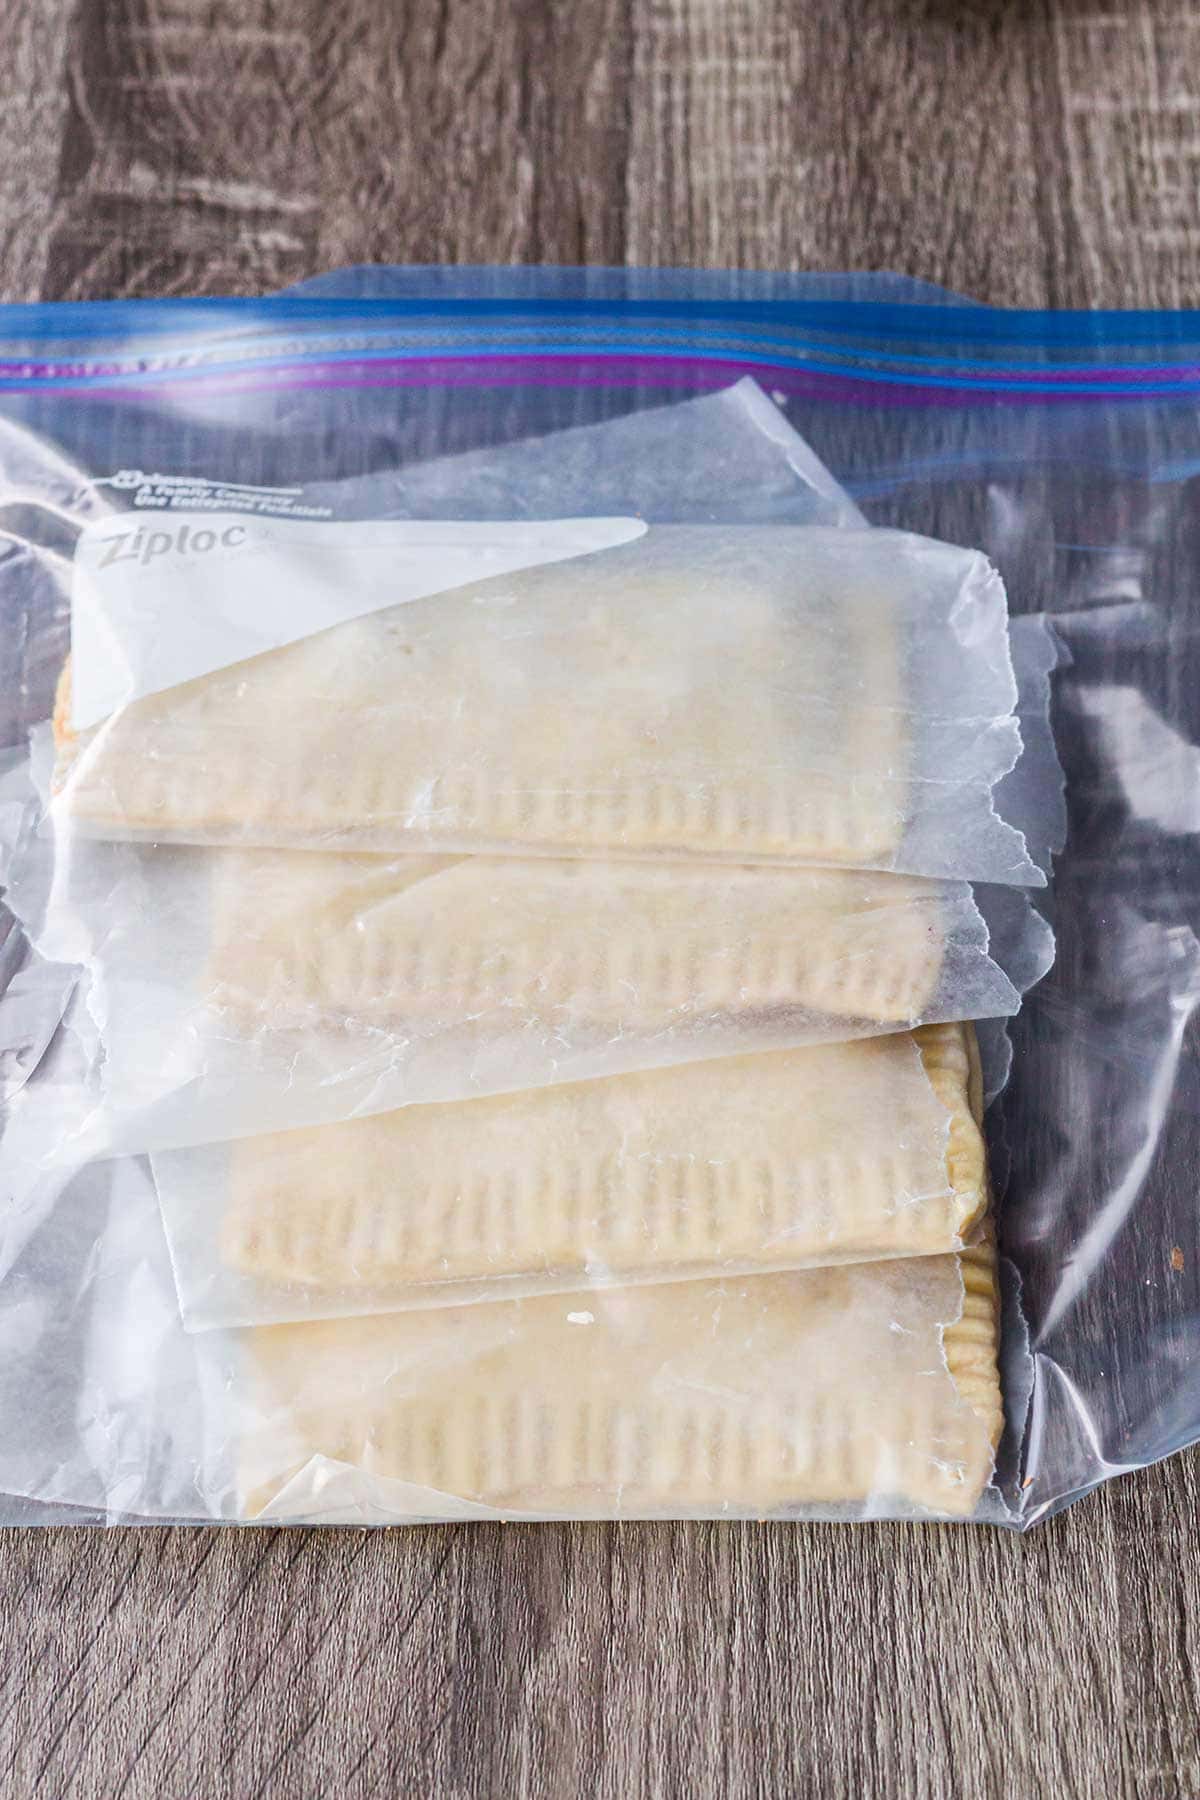
Once you’ve finished all 8 puff pockets, place your tray (or trays) directly into the freezer. Allow your puff pockets to freeze until solid.
Once frozen solid, you can remove the trays from the freezer, wrap the pockets in parchment or wax paper, and place in a gallon-size freezer bag. Label and return to the freezer until you’re ready to make them.
Suggested Variations
You’ll want to experiment with what your family likes best as far as “insides” go.
Don’t be afraid to try your favorite pizza toppings, or make it a family night and let the kids help create their own!
Here are some suggestions to get you started. You’ll want your fillings to to be a total of about 1/2 cup.
- Cheese Pockets – try a combination of several cheeses! Provolone, cheddar, feta, parmesan and mozzarella are all great for this, or go simple and buy a pre-made blend.
- Meat Lovers Pockets – add in a combination of pepperoni, sausage, ham, ground beef and maybe even some bacon.
- Cheeseburger Pockets – go with ground beef, diced onions, diced tomatoes, and some cheddar, provolone, and American cheese.
- Veggie Pockets – add diced onions, diced tomatoes, sliced black olives, sliced mushrooms, some spinach and red bell peppers, and hold it all together with some provolone and mozzarella cheese.
- Hawaiian Pockets – pile on the ham, bacon, some pineapple tidbits and red peppers, and add in some provolone. If you like your Hawaiian pizza on the sweeter side, you can add in a dollop of barbeque sauce!
- Supreme Pockets – pepperoni, sausage, diced onions, diced green peppers and don’t forget the mushrooms.
- Margherita Pockets – go simple with just some great sauce, sliced of fresh mozzarella cheese, and some basil leaves. It’s a classic combo for reason!
- BBQ Chicken Pockets – make a sauce of half tomato sauce and half barbeque sauce, then add in some diced or shredded chicken (grab some from the deli or get a rotisserie chicken), red onions, a bit of cilantro, and do a cheese mix of half cheddar or Gouda and half mozzarella.
Pro Tip: Want to take your pizza pockets to the next level? Brush your uncooked pockets with egg wash, then sprinkle on some additional pizza seasonings and a bit of garlic salt! Or brush with a tiny bit of butter and a sprinkle of garlic salt just before baking.
Homemade Pizza Pockets
INGREDIENTS
- 1 box puff pastry 2 sheets
- 1 cup pizza sauce
- 2 cups shredded mozarrella cheese
- 1 package pepperoni slices 7oz
- pizza seasoning if desired
- 1 egg for egg wash
INSTRUCTIONS
- Thaw puff pastry according to package directions.
- Gently unfold pastry sheets and cut each into 4, for a total of 8 pieces.
- Working one at a time, on a silicone mat or floured work surface, roll one section of pastry dough into a slightly larger square, about 6-8 inches on each side.
- Spread 2 tablespoons pizza/pasta sauce over one half of the pastry square, leaving half an inch of exposed pastry dough on edges. Sprinkle pizza seasoning over sauce (if desired).
- Layer 8 slices pepperoni over sauce, overlapping slightly to fit. Top pepperoni slices with 2-3 tablespoons shredded mozarrella cheese.
- Make egg wash by mixing 1 egg with 1 tablespoon water. Using a pastry brush or folded paper towel, carefully brush exposed edges of the pastry (the side with the meat and cheese) with egg wash.
- Gently fold the other half of the pastry over the meat and cheese, and press edges down to seal. Crimp with a fork if desired.
- Cut a slit or poke holes with a fork in the top of the pocket. Lay completed pocket on baking sheet lined with silicone mat, wax paper or parchment paper.
- Repeat steps with remaining pastry squares.
- Place baking sheet(s) with prepared puff pockets directly into freezer. Allow pockets to freeze until solid.
- Once pockets are solid, remove from freezer, place in between layers of wax or parchment paper, and place into gallon-size freezer bag. Label and return to freezer.
To bake:
- Preheat oven to 400 degrees Fahrenheit.
- Remove frozen pocket(s) from freezer. Place on baking sheet lined with parchment paper or silicone mat.
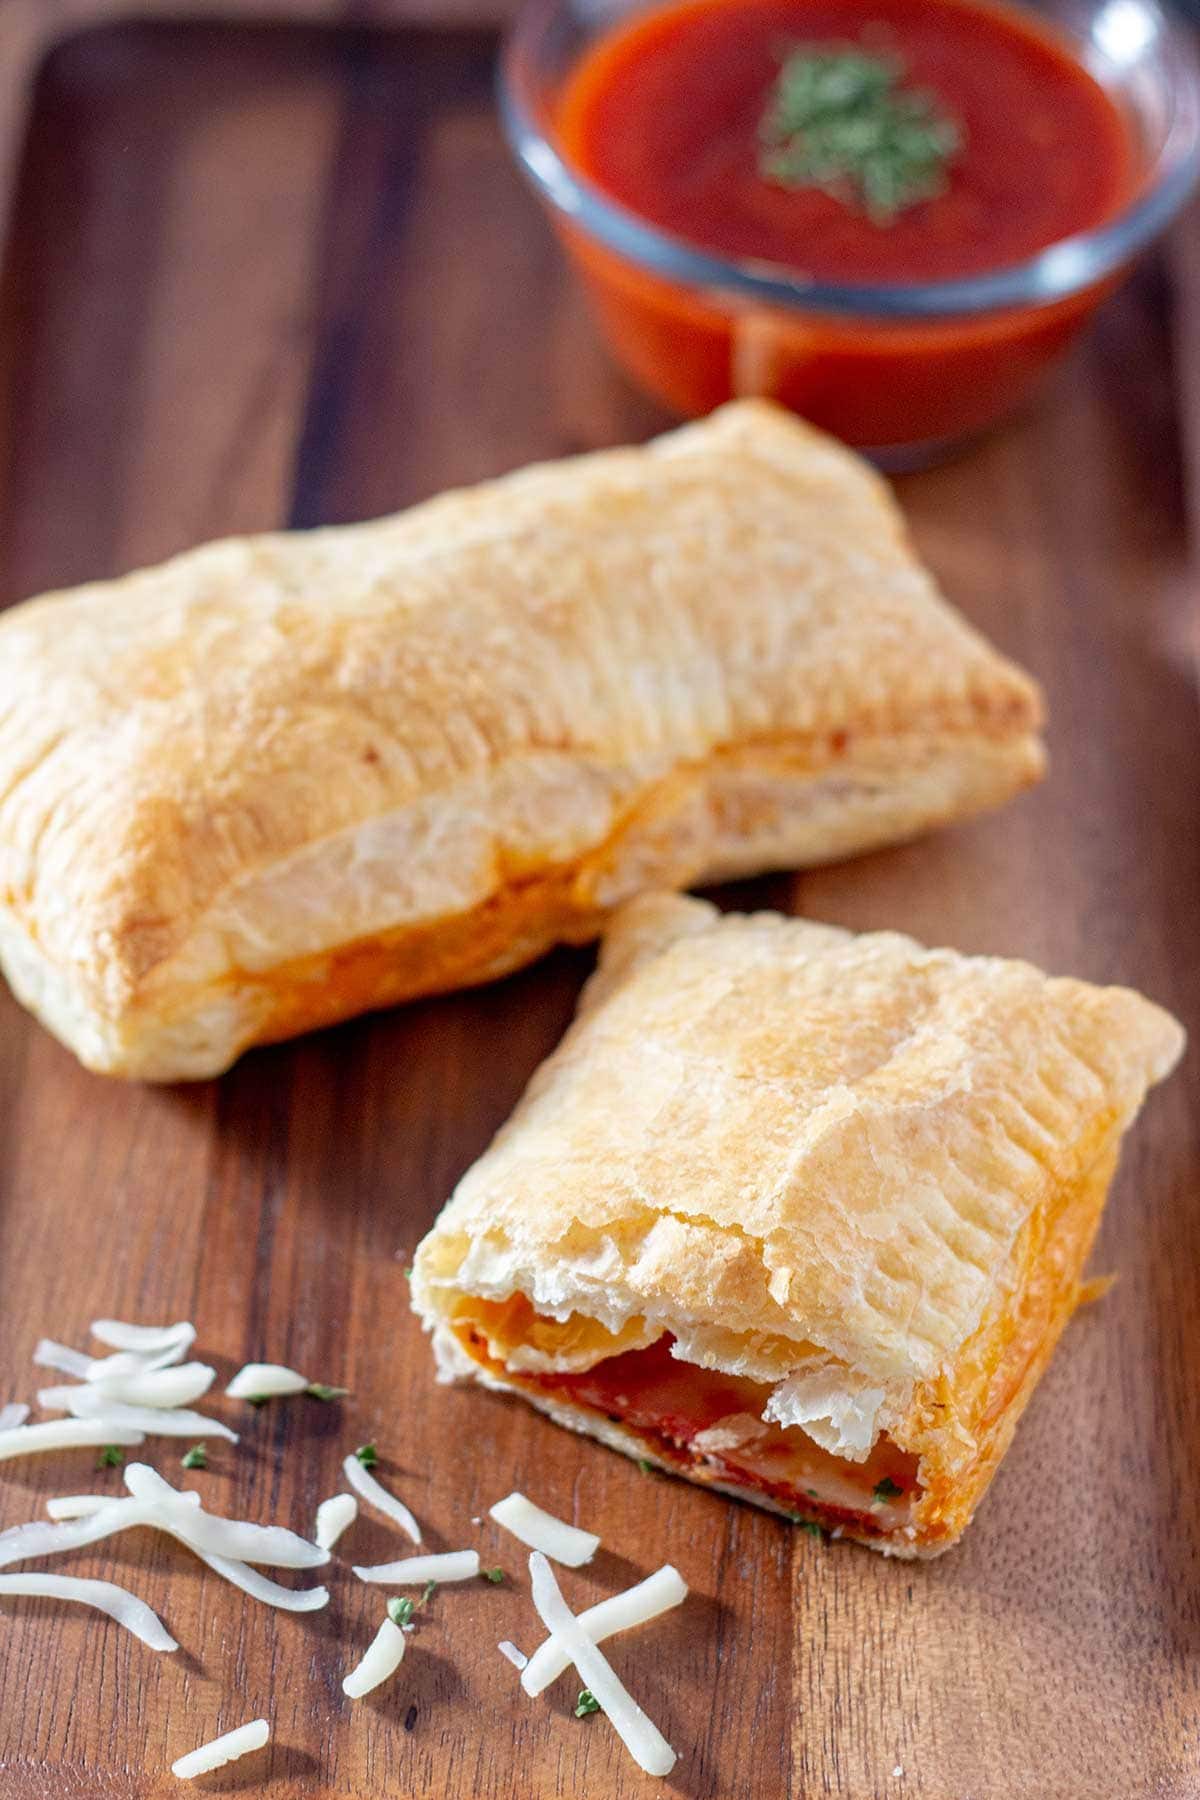
- Bake from frozen, at 400 degrees Fahrenheit for 20-25 minutes, until pastry is fully puffed and golden brown.

This is the perfect balance of nostalgia but grown-up and high quality flavor. I love this creative hot pocket type recipe!
Thank you! 🙂
Can you cook these directly after making them? Or do they have to be frozen first?
You can absolutely cook them directly after making them – they do NOT need to be frozen first. 🙂
Can these be air fried also?
Yes! 🙂 I’m not sure on the exact timing and temp though. My air fryer broke over the weekend…