Homemade Dry Cornbread Mix Recipe (Just Add Water)
How to Make Your Own Cornbread Mix Alright, hopefully you’ve followed me over from the intro post for the whole cornbread story and you’re ready to take your make-ahead mix to a whole new level! Right? Let’s dive in. For this version of the best-ever cornbread, I’ve removed all of the wet ingredients and replaced…
How to Make Your Own Cornbread Mix
Alright, hopefully you’ve followed me over from the intro post for the whole cornbread story and you’re ready to take your make-ahead mix to a whole new level! Right?
Let’s dive in.
For this version of the best-ever cornbread, I’ve removed all of the wet ingredients and replaced them with their dry equivalents. This will make a fully shelf-stable mix that only requires water to mix up. Just like what you might buy from the store. Only you made it yourself. Without any extra fillers, or preservatives, or chemicals. And you probably made it for a fraction of what the store-bought stuff costs. Yay us!!
Ingredients
Here are the cast of characters for this version. Now, some of these may be new to you. Just hang tight – I’ll walk you through them.
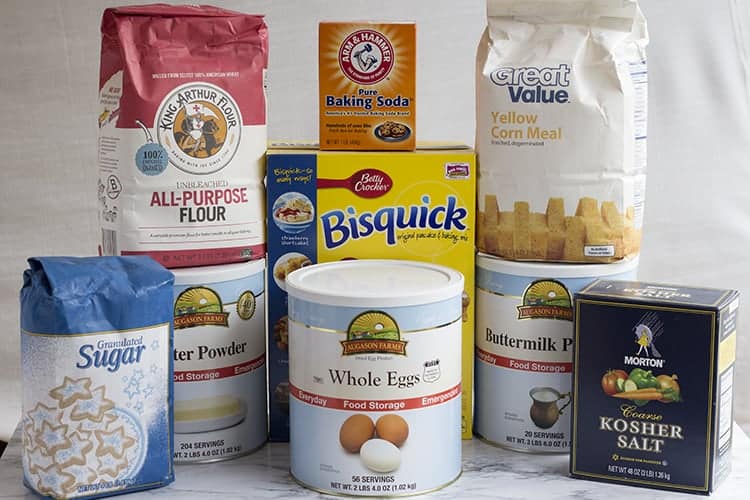
The dry ingredients are all the same, from the original version of the recipe. But you’ll notice I’ve got three new stand-ins in this shot. Those are my dry subs. They’re kinda like understudies. And for this version, we’re going to put them to work.
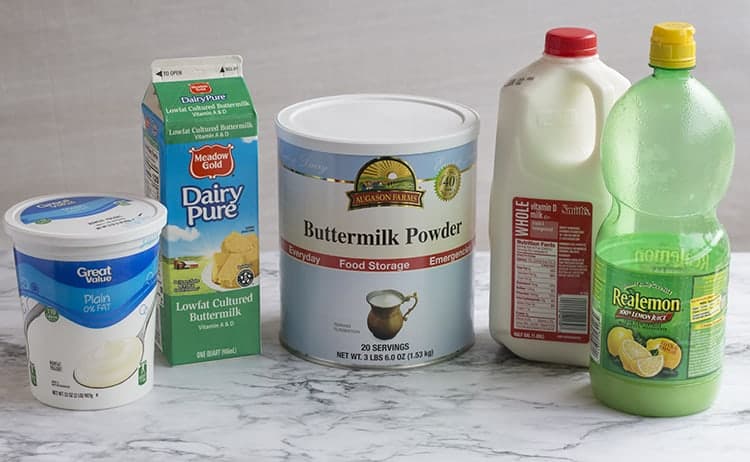
First is the sub for the buttermilk. We already talked about the wet subs for the buttermilk in the other recipe.
Buttermilk Powder
This is buttermilk powder. It is just straight buttermilk that has been sprayed into a thin film and dried, then ground into a powder. That’s it – that is all that is in there.
It isn’t often available in your local grocery store (unless you live out west near Utah, Idaho or even Arizona).
But there is a commercially available similar version, also called powdered buttermilk, made by Saco, and you can usually find it in your local grocery store in the baking goods aisle (or here on Amazon now). Either will work in this recipe just fine.
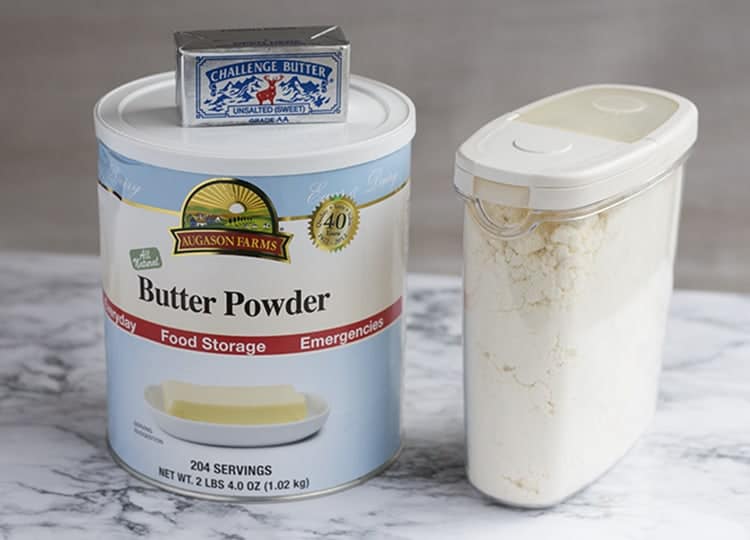
Butter Powder
Next up, I’m subbing the regular butter for butter powder. Again, this is just straight butter that has been sprayed into a thin film, dried and then ground into a powder.
I don’t use this to make butter. But I do use it in some recipes as a butter substitute. Like this one.
When you buy a mix from the store and it only requires water, that mix is usually using this stuff, too.
This is one you’ll probably have to order online. I keep #10 cans in my food storage, but you can get smaller sized cans or sometimes even pouches.
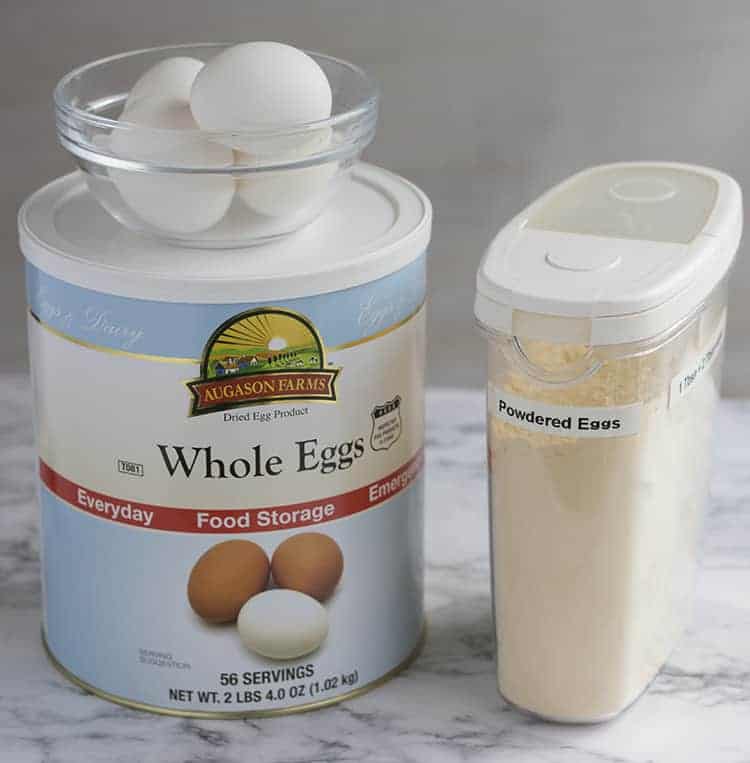
Powdered Eggs
Last is the egg substitute. I love this stuff! Again, I don’t usually use it to make straight scrambled eggs or anything (although you absolutely could, and this is what many restaurants actually use).
Like the others, this is just straight eggs. They are mixed, sprayed into a fine layer or mist, and allowed to dry into a powder.
Use this stuff in your cookie recipes in place of regular eggs, and you can eat your raw cookie dough without any guilt of possible salmonella poisoning!
Nice, right? Plus, this is handy to have for the times when I run out of eggs, or I need 6 and only have 5…grr…
Storing Your Cornbread Mix
So, for this mix, you’re going to simply add all of your dry ingredients into a zip-top bag, squeeze out the air, and seal. Label your bag and stick it in a cool dry spot until you’re ready to use it.
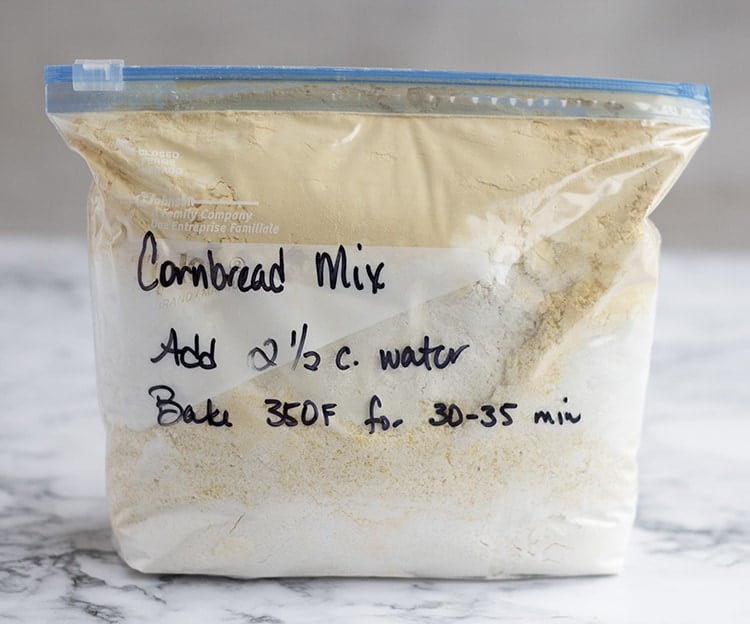
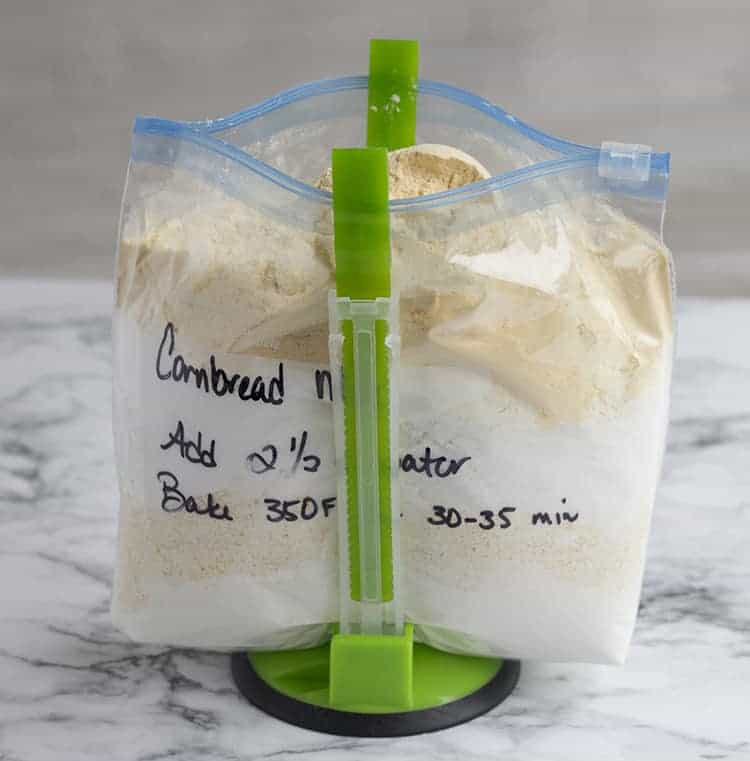
It’s a bit of a tight fit, but it will just barely all make it in there.
Again, I highly recommend getting your hands on one or two bag holders, like these (affiliate link), especially if you’re interested in doing freezer meals.
They come in handy – a LOT! (But you can also just stick your bag into a cup or jar, and turn the top out over the edge of the rim, to help support while you’re putting ingredients in.)
Shelf-Life
If you keep your mix in a cool, dry location in an airtight container, your mix will last 6-12 months.
I like to keep a couple of these on hand at any given time, so I can add an easy (and delicious) side option for quick meals.
If you’d like your mix to be a bit more secure than just in a ziploc bag, you can put it in plastic storage containers or reusable silicone bags.
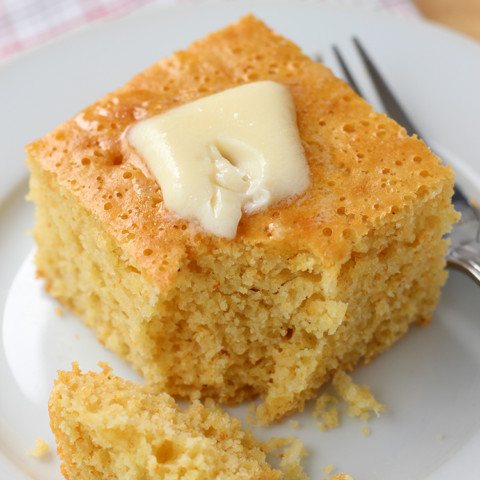
Making the Cornbread
Because you’ve gone with all dry ingredients and substitutes, to make this mix into cornbread, you simply need to add water, mix, pour into your prepared pan and bake!
I make this cornbread both ways, and most of the time my family can’t really tell the difference. I hope you’ll give it a try! It makes getting a nice warm pan of golden delicious cornbread on the table with dinner such a breeze!

Easy "Just Add Water" Cornbread Mix
INGREDIENTS
- 1 cup Bisquick
- 1 cup all-purpose flour
- 1 cup cornmeal
- 1 cup sugar
- 1 teaspoon salt
- 1 teaspoon baking soda
- 1/2 cup butter powder
- 4 tablespoons powdered whole eggs
- 5 tablespoons buttermilk powder
INSTRUCTIONS
To make mix:
- Add all ingredients to quart-sized zip-top bag. Squeeze out as much air as possible and seal.
- Label with baking instructions and date, and store in a cool dry place until ready to use.
To make the cornbread:
- Add dry ingredients to large bowl. Add 2 1/2 cups water. Stir just until combined. Batter will be slightly lumpy.
- Grease and flour a 9x13 pan or dish, and dust with a little cornmeal. Pour batter into prepared pan/dish.
- Bake at 350 Fahrenheit for 23-30 minutes, or until toothpick or knife stuck into center comes out clean.


Hi Candi, thank you for posting this recipe, exactly what I was looking for! Do you know the shelf life of this mix?
If it’s just in a regular ziptop storage bag, and if you can keep it well-sealed, it should be okay for 3-6 months generally, depending on how you store it and the environment you are in. I’ve gone longer and not had problems but I live in a very dry state with hardly any humidity. More humid climates may push you closer to the 3 month mark, maybe even more like 2 if it’s really humid. You could vacuum seal the mix and it would last much longer – several years. I’ve toyed with trying to do a version that will fit into a quart-size mason jar that can then be vacuum sealed. Another option for prolonging storage time would be to freeze the dry mix – that would make it last indefinitely! I hope that helps! If not, feel free to send me an email and we can look into it deeper with more specifics. Usually the default is go by the shelf life of each individual ingredient and use whichever one is the shortest of the bunch, but with dried and powdered items the actual viable shelf life outside of the original packaging can vary wildly per item and per manufacturer. For example, the powdered eggs in a #10 can have a 10 year shelf life. But even that will vary based on storage conditions. And the manufacturer on mine doesn’t give an expected shelf life once opened. I do keep powdered eggs in my pantry by themselves and I have never had a problem with them going bad and I’m sure some of it has been out for more than a year before being used. (I’m in a super dry climate though so that does factor into shelf life for me.)
@Candi, store with a few dried hot chili peppers seems to keep the bugs out.
What a great tip – thank you for sharing!
Please share where you got that handy-dandy little green thing to hold the bags open. That looks so handy.
The baggie holders are from Amazon. 😉
Nice
How do I make it without sugar
Do I add something else or just omit
Ty
That depends on why you are wanting to remove the sugar. If it’s just because you don’t want to store the sugar in with the mix (and you plan to add the sugar in at the time of baking – this is a must), then just omit. If you’re wanting to remove for calorie purposes, you could try using Splenda instead. For no refined sugar, you could try coconut sugar or palm sugar. But I have not tried either of those substitutions so I can’t make any promises that they will work or that they will result in something you want to eat. Generally, I would say if the sugar in this recipe is a concern for you, you might want to find a recipe that is more tailored to your specific needs. Especially with baking, it’s all based on chemistry, so removing or substituting one thing can lead to the entire recipe failing. Better to find a recipe that is developed specifically with no sugar or a sugar substitute that you are comfortable with. If you give me more info on why you want/need to remove the sugar, I can point you to some recipes that might fit your needs.